
Tutorials • 5 minutes
Summary
Create a quote generation pipeline using data in a table in Airtable, a template designed with Switchboard Canvas, and SkedSocial - the perfect tool to schedule posts to your Instagram Grid or Stories.
Share
Create a quote generation pipeline using data in a table in Airtable, a template designed with Switchboard Canvas, and SkedSocial - the perfect tool to schedule posts to your Instagram Grid or Stories.
This guide recreates a content automation pipeline using Zapier, in turn connecting Airtable, Switchboard Canvas and SkedSocial.
Airtable is known as a spreadsheet-database hybrid where you can store data of any kind and manage it through various views.
SkedSocial is a social media publishing platform that specializes in distributing to Instagram. It is one of the few platforms that can post to Instagram Stories as well as your grid.
Switchboard Canvas is a an API-driven image generation tool where images, once created in the template designer, can be modified using an API.
Zapier is a platform for connecting tools and creating automation pipelines.
— The goal of this tutorial is to add a number of quotes to an Airtable sheet, and use Zapier to pull each quote and generate an image from them using Switchboard Canvas. Each image will then be sent to a collection in SkedSocial. —
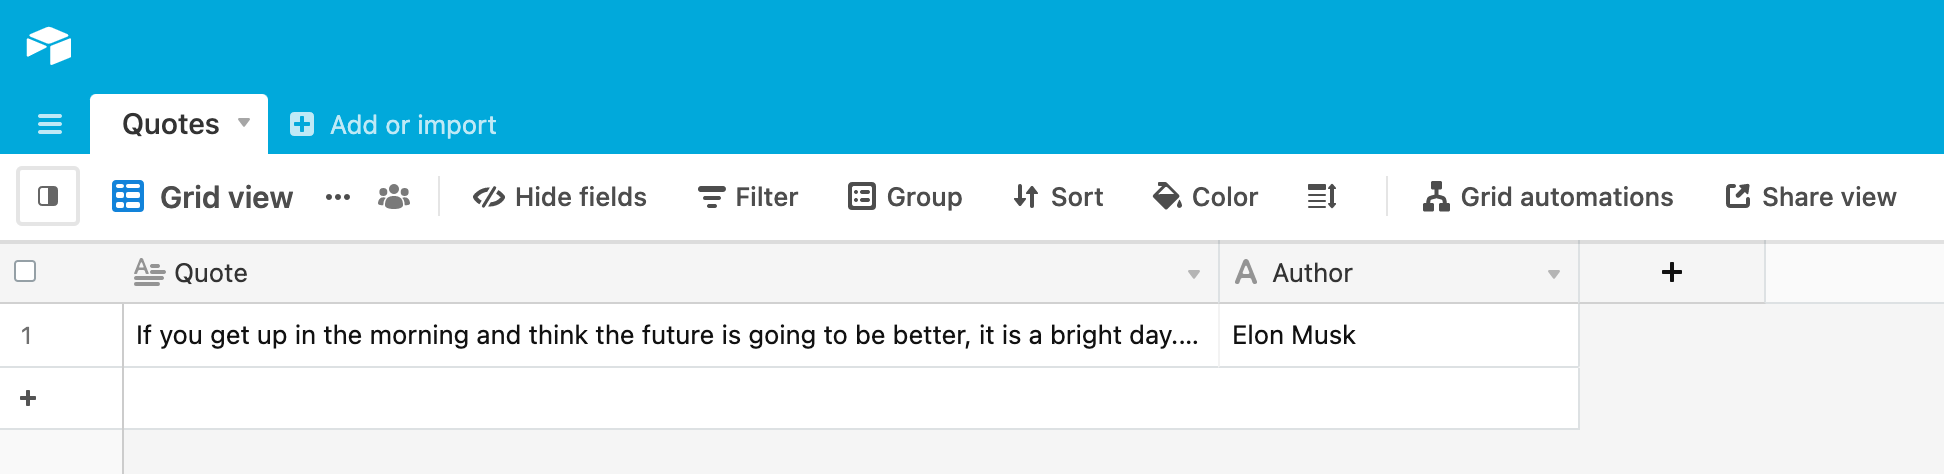
We’ll start with adding some quotes to Airtable. I’m just using the Free plan, with a single table with two fields: Quote and Author.
For now, let’s just add one of these quotes to the table, and remove any empty rows that might exist.
If you get up in the morning and think the future is going to be better, it is a bright day. Otherwise, it's not. - Elon Musk
We can do anything we want to if we stick to it long enough. - Helen Keller
It always seems impossible until it's done. - Nelson Mandela
The world breaks everyone, and afterward, some are strong at the broken places. - Ernest Hemingway
Don't compare yourself with other people; compare yourself with who you were yesterday. - Jordan Peterson
Now that the quotes are in Airtable, we can design our template with Switchboard Canvas. We’ll make a basic template with the elements we need and an image to make it slightly prettier. The text elements will be placeholders for the actual quote text and author that Zapier will supply later.
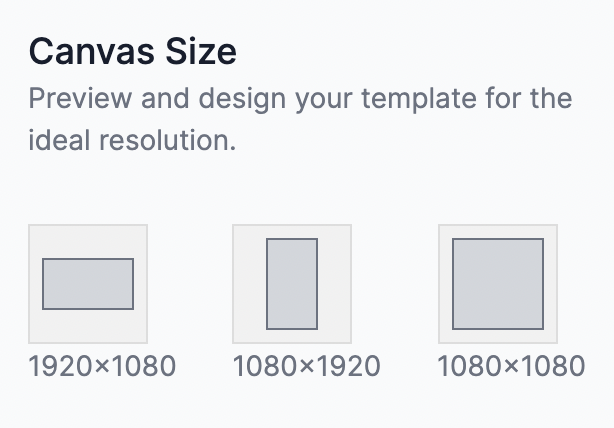
So in Switchboard Canvas, make a new template and called it quotes. Open the Previewer panel and change the default resolution to 1080x1920. This is the same resolution as an Instagram Story post.
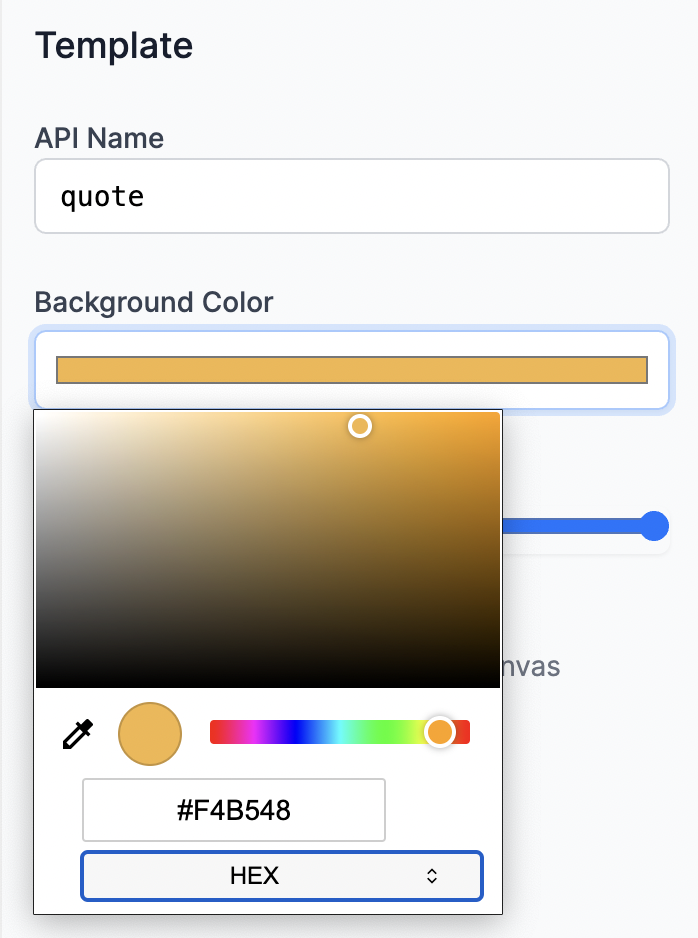
The background of the template is white currently so let’s change that to #F4B548 - a sort of yellow orange.
Now let’s add a Text element for the text of the quote itself. Change the font to Oswald, which by default is in your Library.
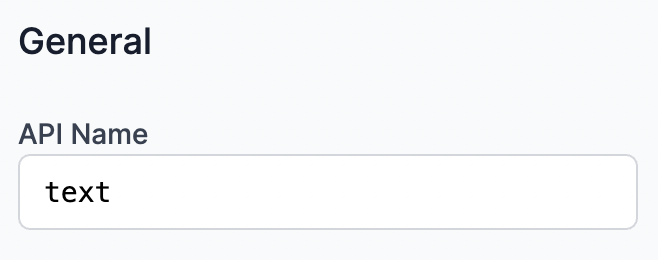
We’ll also just make the API name of this element text instead of text1.
What we’re going to do with the quote Text element is pin it to the sides of the template so that it’s responsive when we changed resolution, although in this tutorial we’re just publishing to Instagram Stories which is one size.
Set the Top pin property to 200px. Set the Left pin property to 50px. Set the Bottom pin property to 200px. Set the Right pin property to 50px.
We can leave the text as the default Lorem Ipsum for now. Change the Maximum Font Size to be 100 and the Horizontal Alignment to Left.
Your template should look like this: 
Add a new Text element for the author. Change its API name to author. The font should have defaulted to the last used, Oswald. We can set the text of this element to something like “Author Name”.
We’ll place this element in the bottom left corner of the template, so:
Enable the Bottom pin and set it to 50px. Disable the Top pin.
Set the Left pin property to 50px. Set the Right pin property to 50px. Set the Height to 175px.

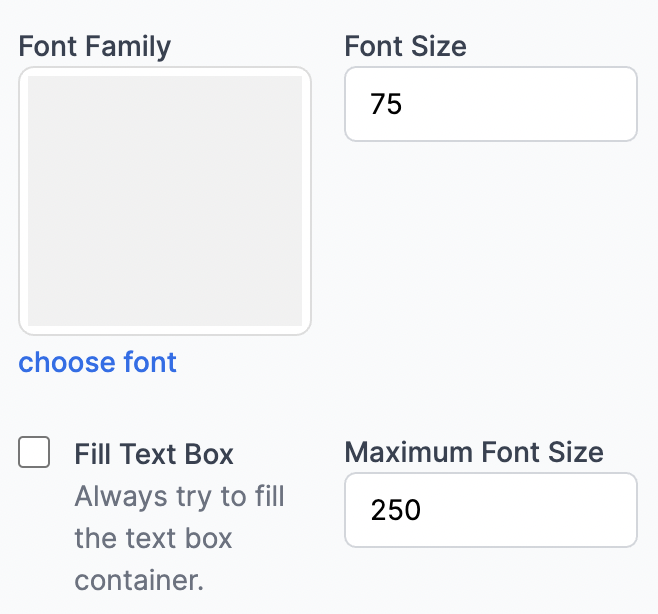
Uncheck the Fill Text Box option as we don’t want the Author name resizing to fit this bounding box. In this case we can set the font size to a fixed 75.
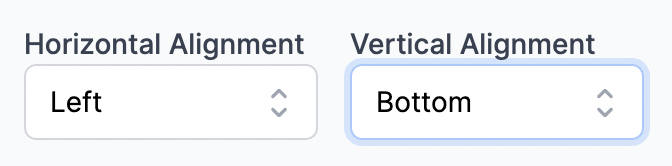
Lastly, set the Horizontal Alignment to Left and the Vertical Alignment to Bottom to make sure it sits in the bottom left.
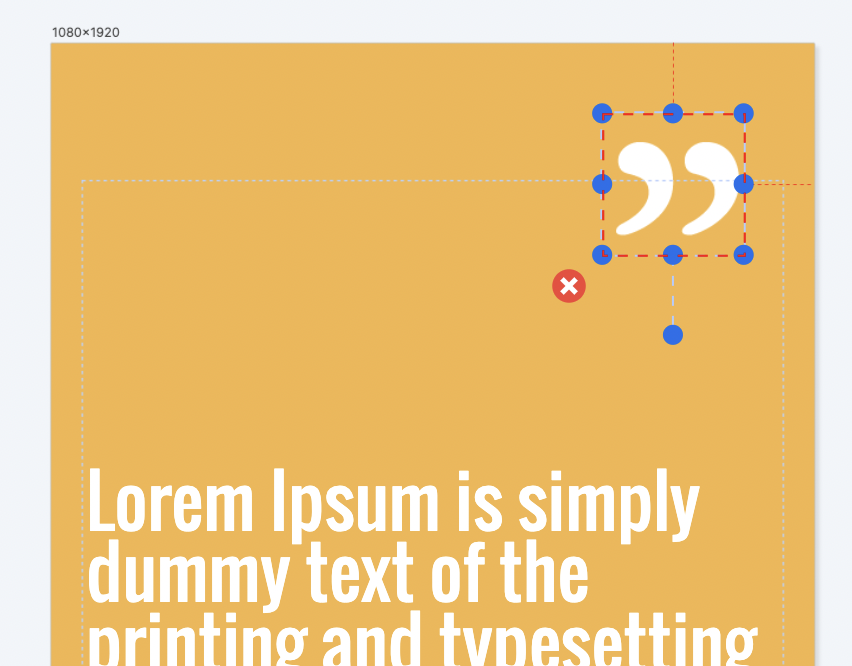
Your template should now look like this: 
The last element we’ll add is an Image. Click ‘Add Image’ and then choose the canvas-quote-symbol.png image from Library.
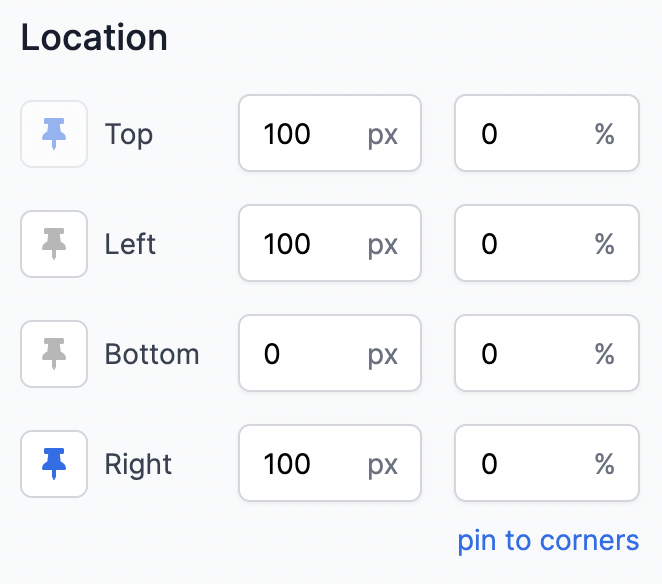
Let’s pin this to the top-right corner, so enable the Right pin and set it to 100px. Set the Top pin property to 100px. Set the Width and Height properties to 200px.
Set the angle to 180.
The Trigger in our new Zap will be Airtable. Whenever a new row is added to the table we created earlier, the Zap will fire.
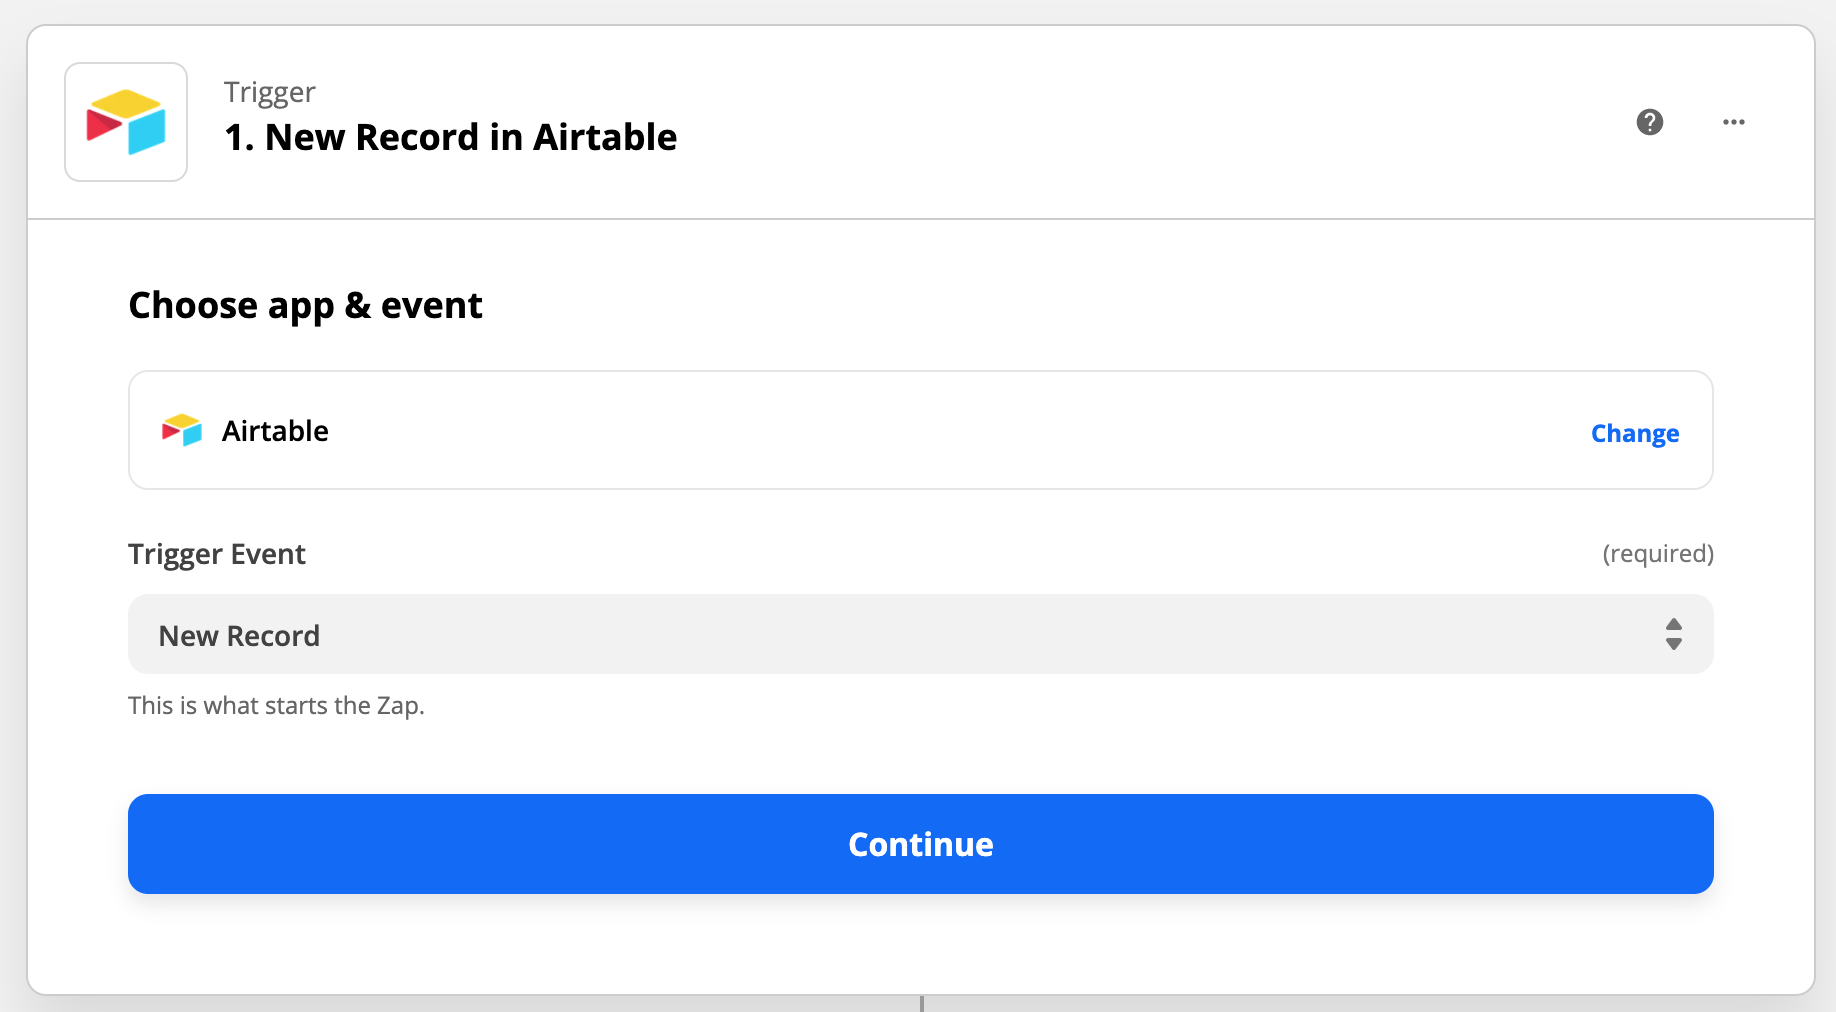
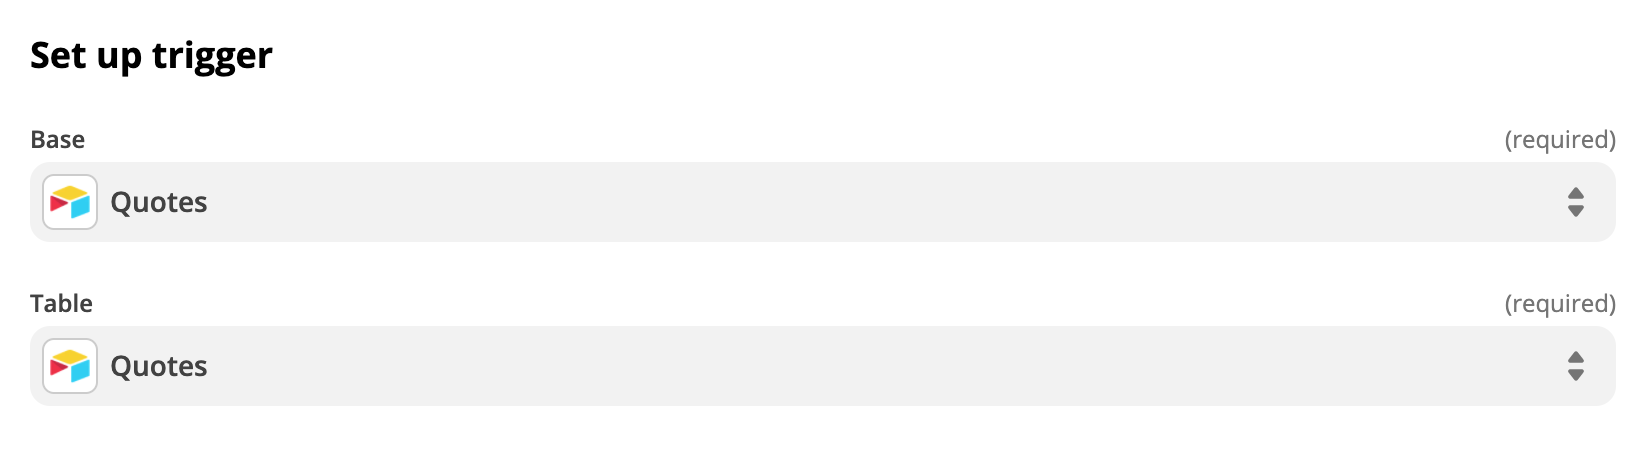
Once you’ve connected your Airtable account and provided your API key, you can choose the Base and Table that contains the data.
When you test the Trigger, it will call Airtable and return the data for the quote you added in the table. Click Continue to create an Action.
For the Action, add Switchboard Canvas and choose the “Create Image” Action Event.
You’ll then need to connect to your Switchboard Canvas account using the API Key.
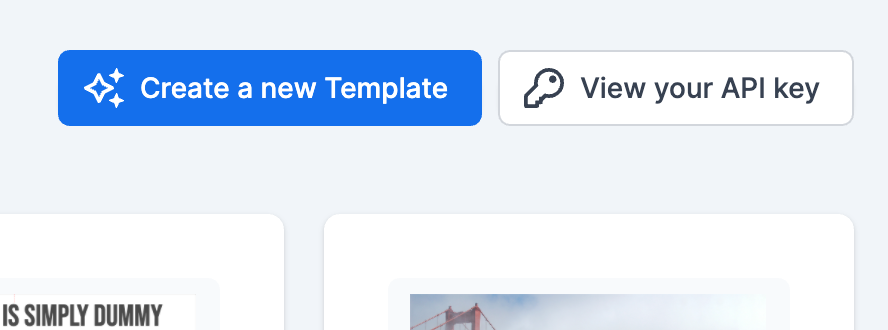
Click “View your API key” in the top-right corner and copy the key shown.
Set up the action properties using the dropdown fields. Firstly the template is the Quote template you created earlier.
‘Sizes’ a text field where you can specify a comma-separated list of dimensions to render the image in. In this case we’ll specify the same dimensions that we used when we designed the template: 1080x1920.
Then for the Text and Author fields we specify values from the Airtable response: 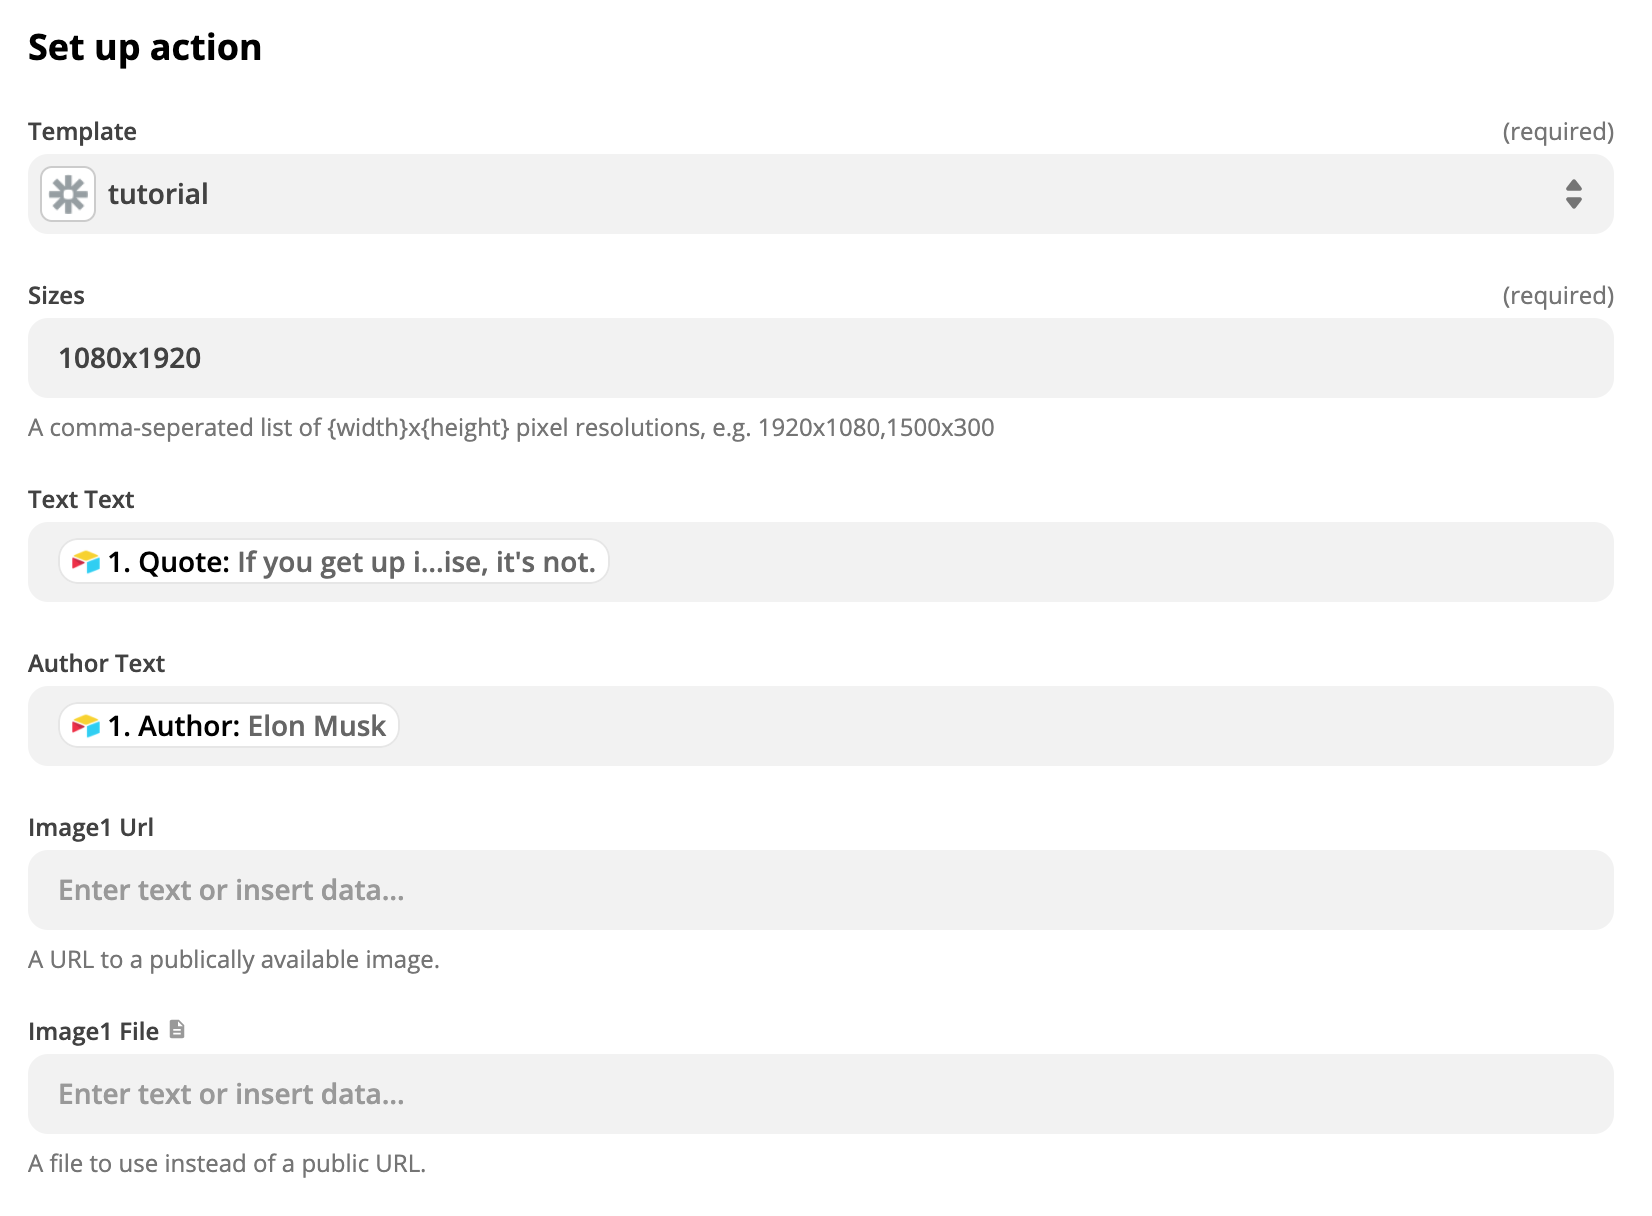
The Image1 fields we can leave blank as they’re referencing the quote symbol image, and this won’t change.
Test the Action is successful before continuing. You should see a successful response from Switchboard Canvas.
Click the + sign at the bottom of the Zap to add another action: 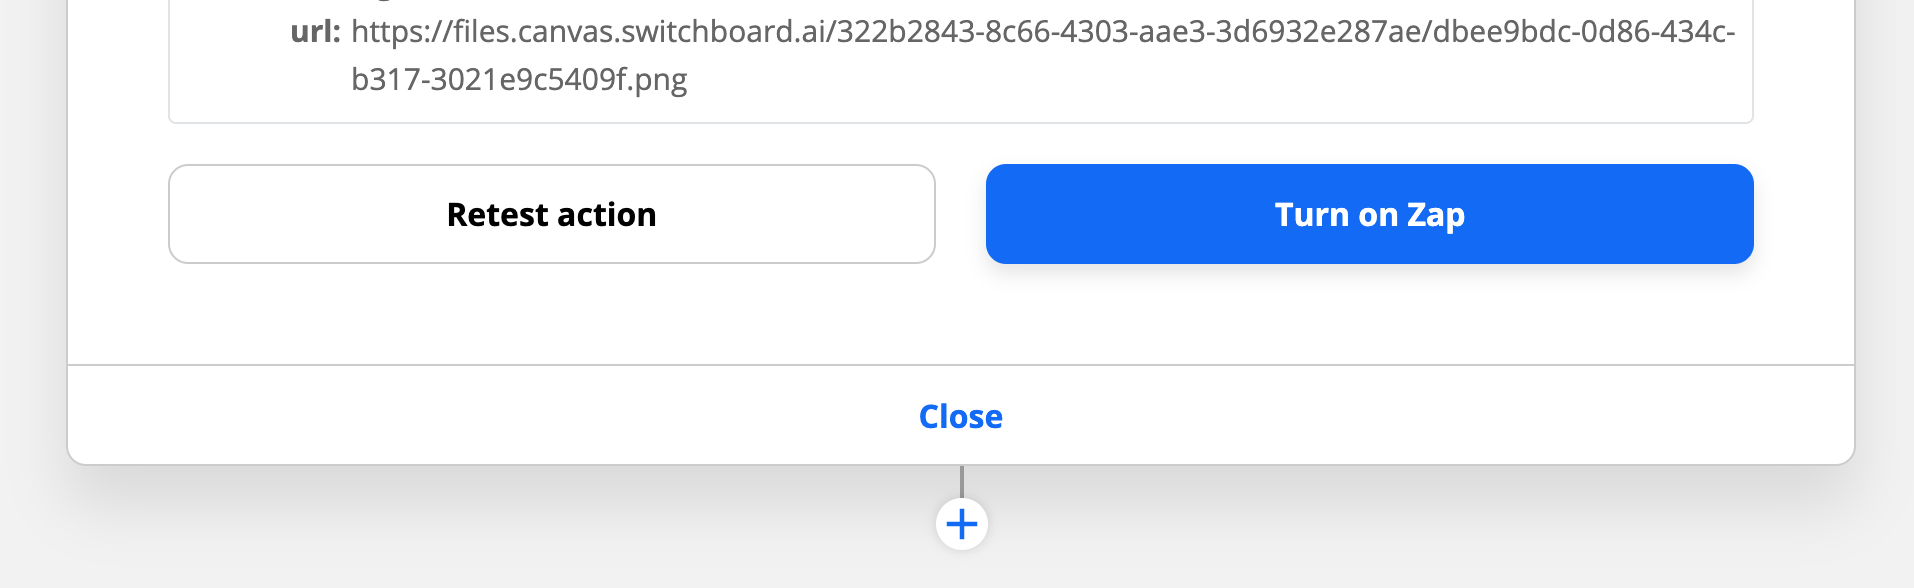
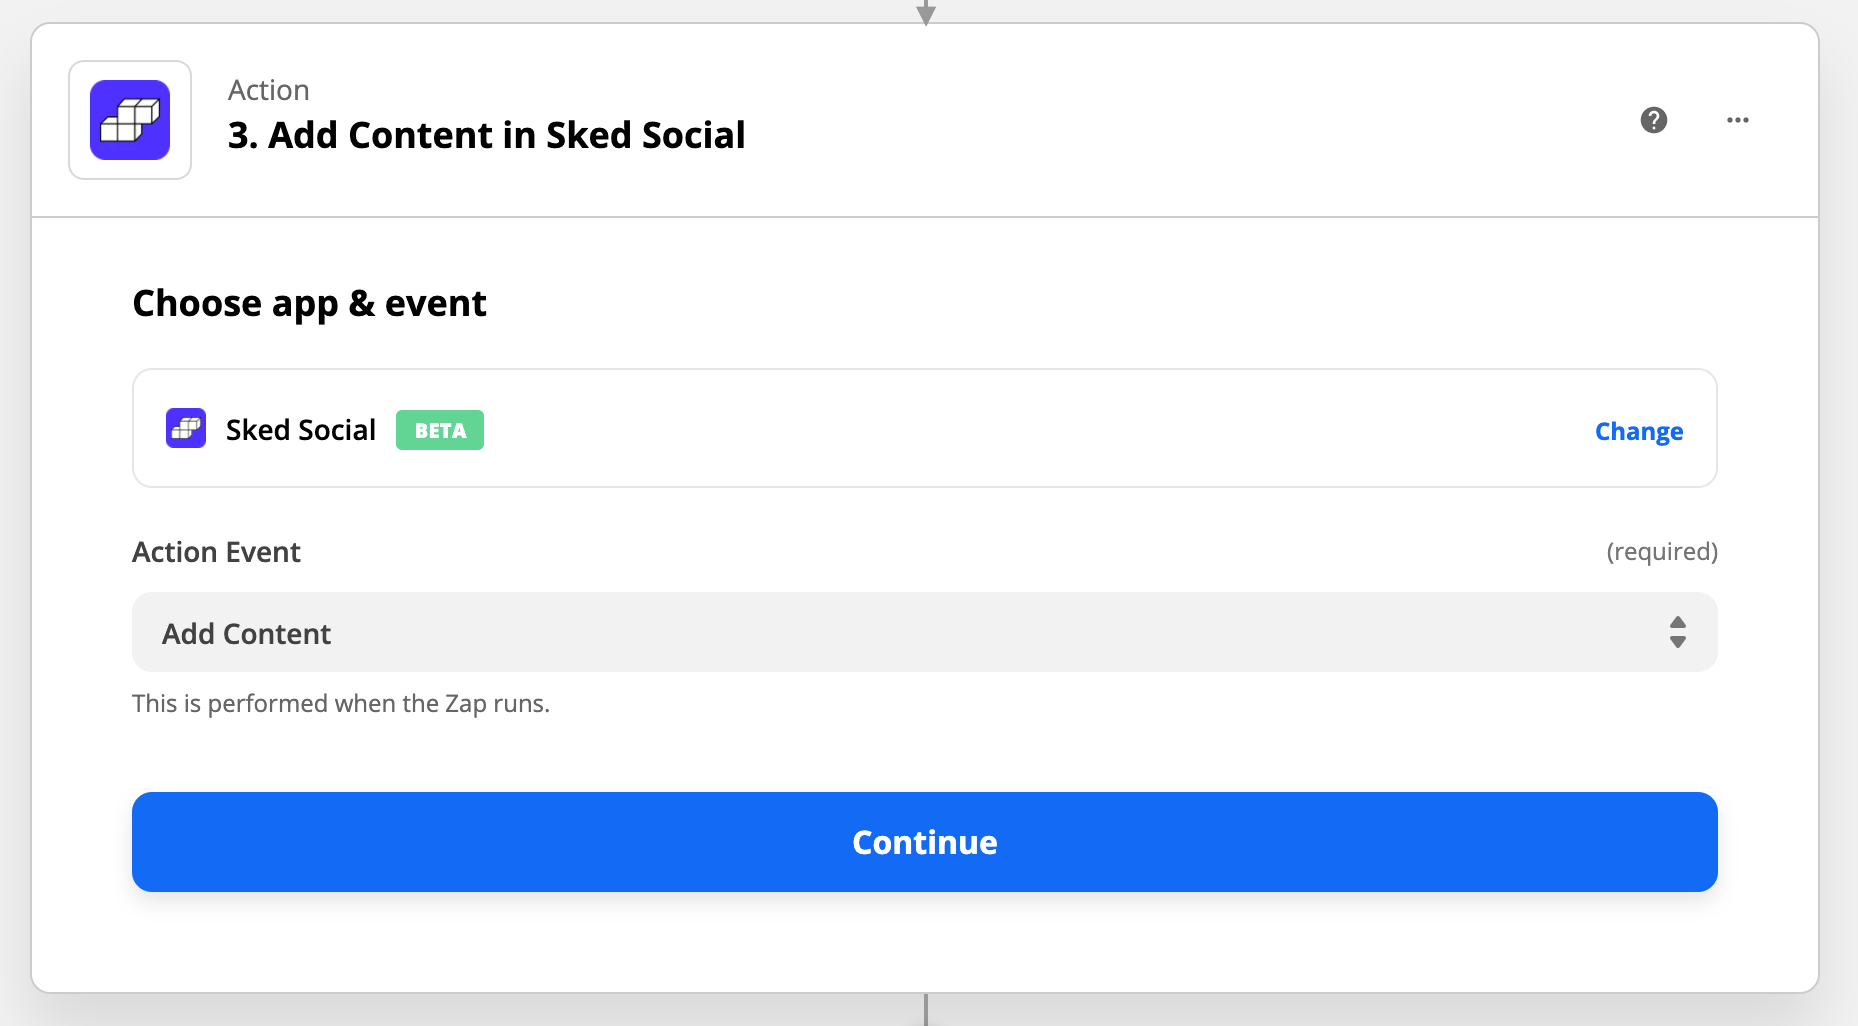
This time, we’ll add SkedSocial.
At the time of writing, SkedSocial’s Zapier integration only supports adding the image to an asset collection, so choose the “Add Content” Action Event.
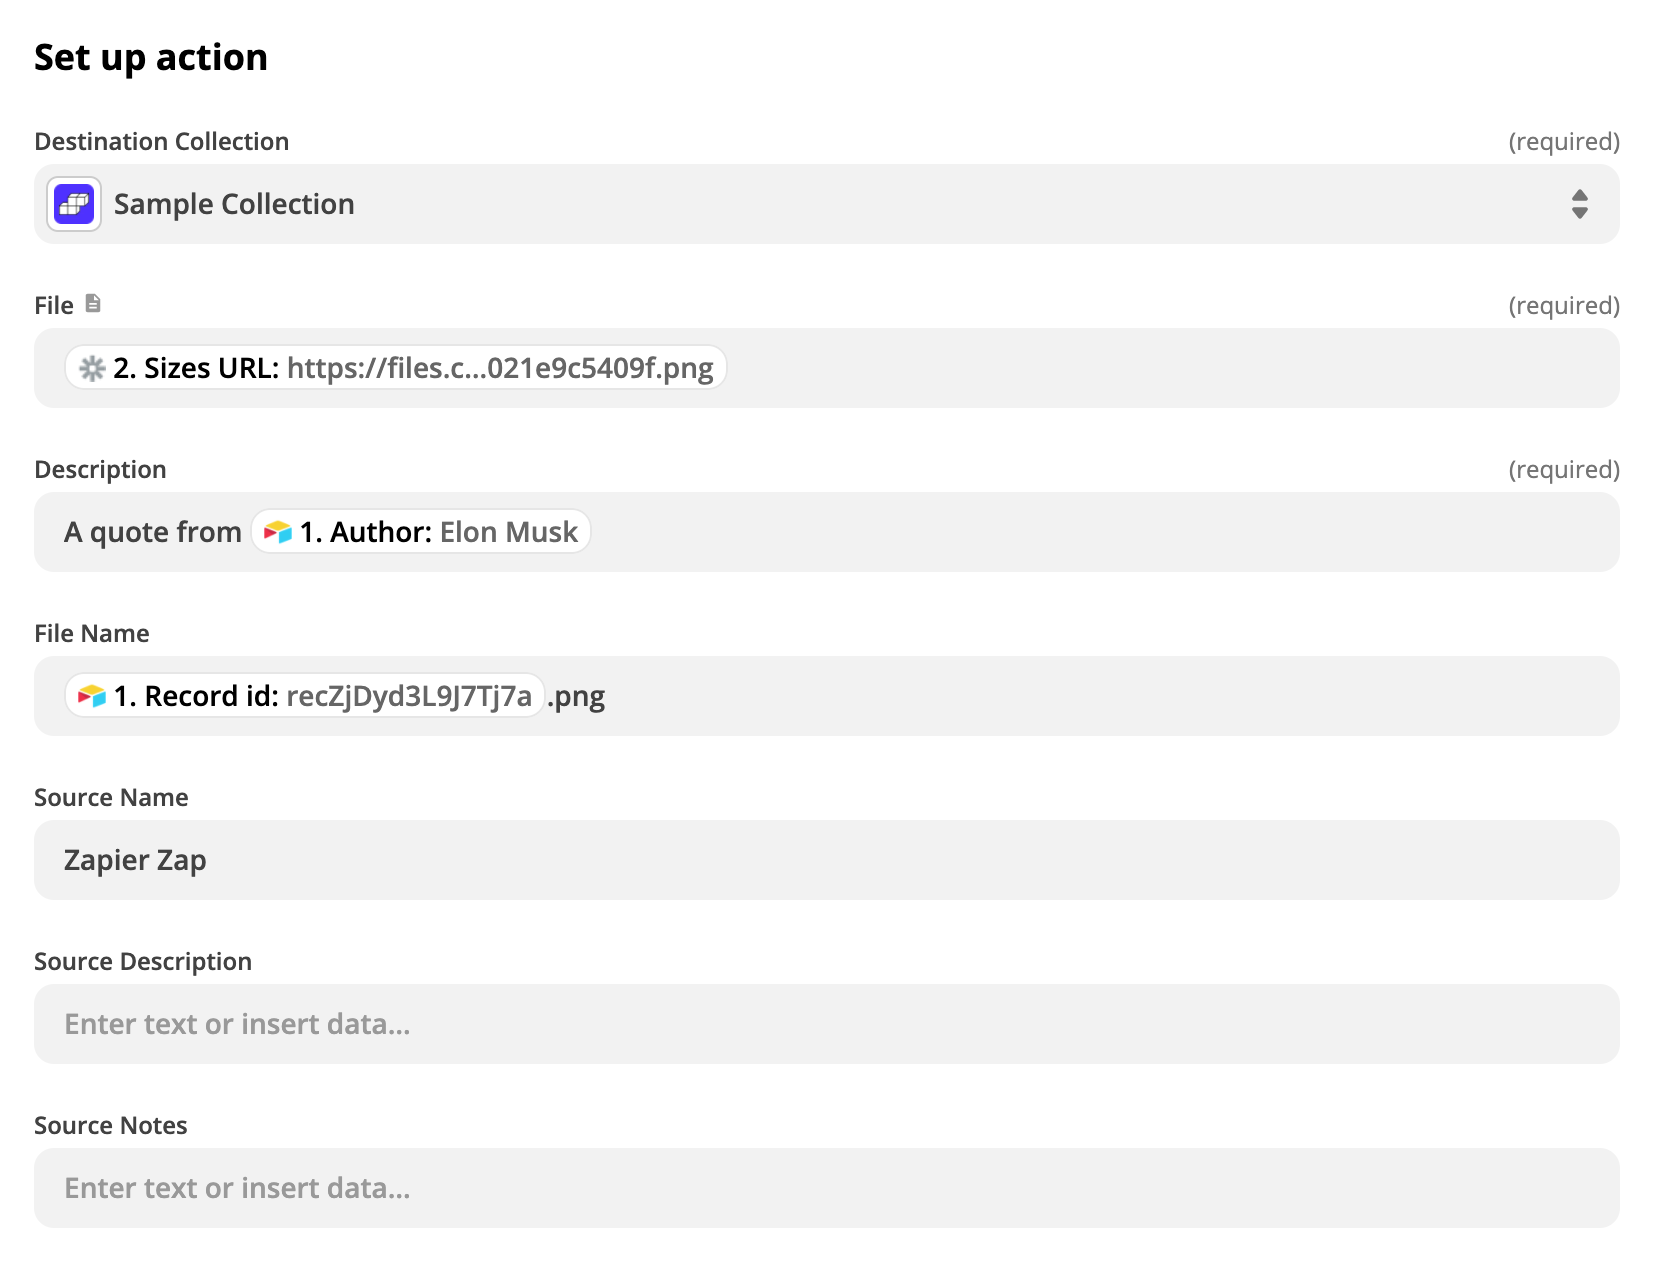
After connecting to your SkedSocial account, choose the collection you’d like to add the created image to and set the remaining properties.
The File field will be the URL field generated from the Switchboard Canvas response.
SkedSocial also needs a filename for your image so in this example I used the Record Id generated from the Airtable step:
Click Test & Continue and you should see a successful response from SkedSocial. Viewing your collection you should see the generated image.
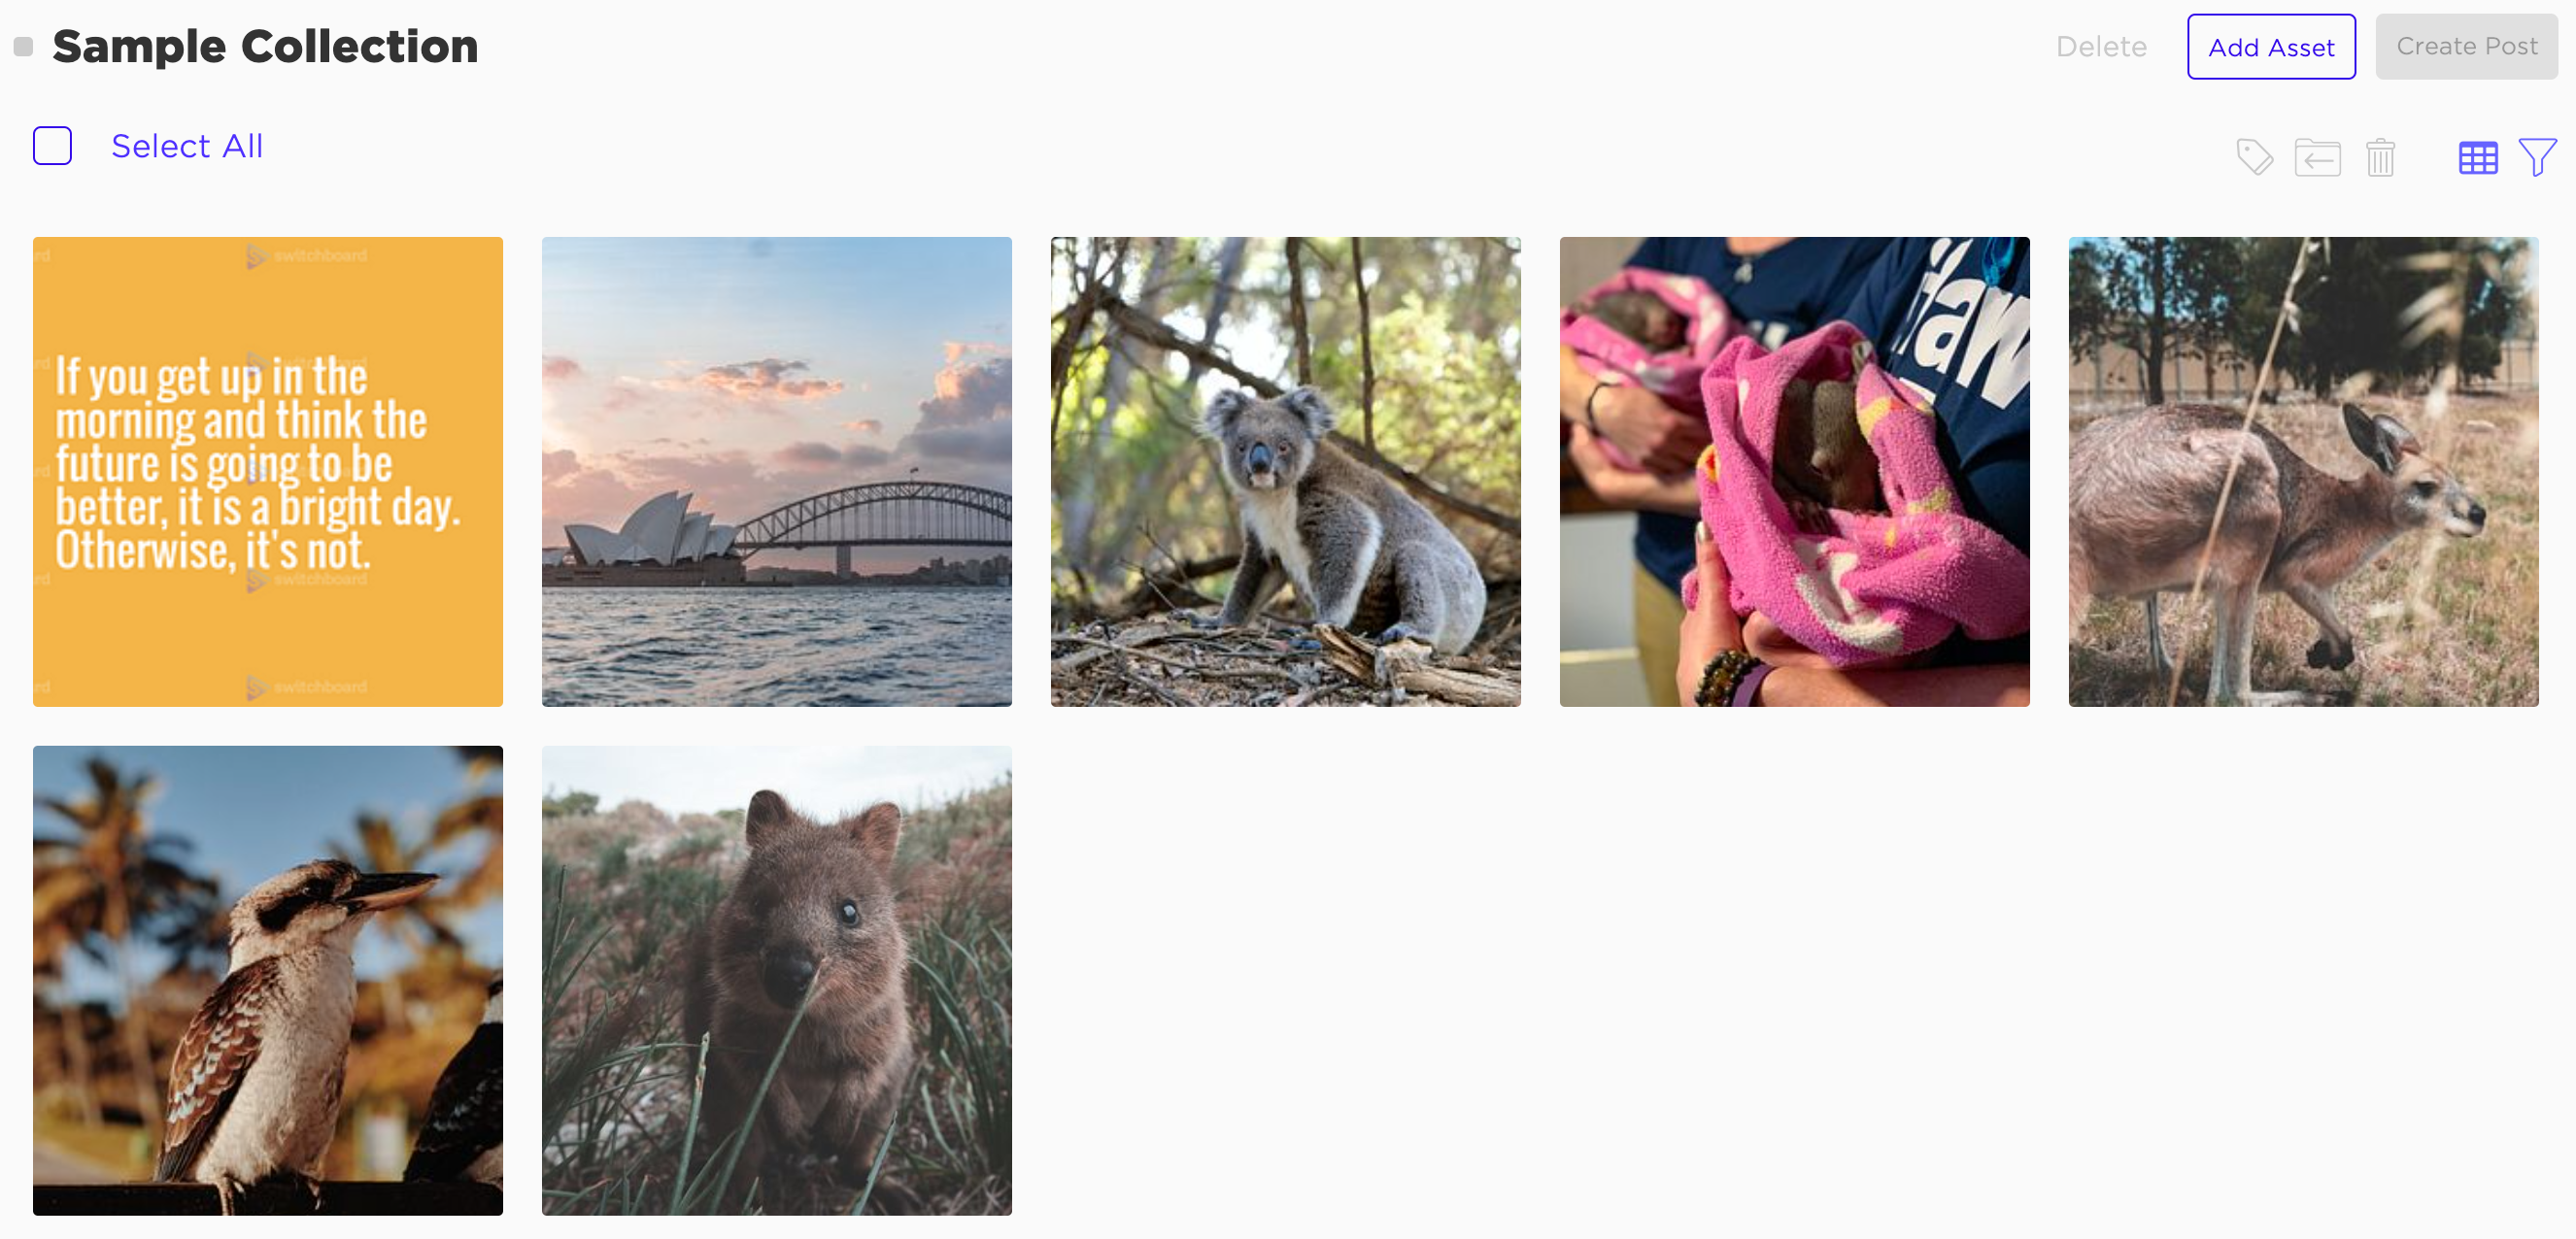
Back in Zapier, click Turn on Zap to make this Zap live. It will listen for new rows and execute this Zap for each quote you add. Go back and add the sample quotes from above or add you own.
After a few quotes have been generated and added to your SkedSocial library, you can post or schedule post them to your Instagram account!


We care about the protection of your data.