
Summary
Create a fully functioning global image CDN connected to Switchboard Canvas.
Jump To
Share
Create a fully functioning global image CDN connected to Switchboard Canvas.
Jump To
In this tutorial, we’ll build our own content delivery network (CDN) for images created from Switchboard Canvas.
By default, images created with Switchboard Canvas exist for 24 hours. For the majority of users this is fine because image generation is part of a wider workflow. But for some users, they simply want to serve these images on social media platforms or blog sites.
Switchboard Canvas can output generated images directly to an AWS S3 bucket which is detailed in this tutorial.
By the end of this tutorial, you’ll have a fully functioning CDN for images generated from Switchboard Canvas, served at lightning speed from anywhere around the world.
Let’s dive in!
Amazon Web Services (AWS) is a comprehensive, cloud-based platform that offers a wide range of services and tools to help businesses and developers create and manage their applications and infrastructure. AWS provides a secure, scalable, and cost-effective infrastructure that allows users to access computing power, storage, and other services on demand.
AWS offers many different services, including compute, storage, database, analytics, and machine learning, to name a few. In addition, AWS provides tools for managing and automating infrastructure, including deployment, monitoring, and security.
AWS also offers a free-tier - the large majority of their services are free for 12 months as long as usage is under a certain threshold. You can almost certainly build an image CDN with little to no cost.
Amazon S3 is an object storage service that allows users to store and retrieve data, including images, videos, and other files, from anywhere on the web. S3 provides a simple web services interface that allows users to store and retrieve data from anywhere on the web, making it easy to scale and manage data storage.
Amazon CloudFront is a content delivery network (CDN) that speeds up the delivery of content to users by caching data at edge locations around the world. CloudFront integrates with other AWS services, including S3, to provide a scalable and cost-effective solution for delivering content to users with low latency and high transfer speeds.
Switchboard Canvas is an API-driven image and video generation tool. Users create templates using the Template Designer, and then create images from these templates using an API, or by connecting Canvas to a no-code tool such as Zapier or Pabbly Connect.
Elements in the template can be dynamically specified when the image is created. For example, you can replace text and images on the fly. Connecting Switchboard Canvas to a data source, for example Google Sheets or Airtable gives you the ability to create hundreds or thousands of dynamically created images in seconds.
Furthermore, elements in templates can be pinned to the edges (or to other elements) making the templates response. This means you can create images at any resolution without creating multiple templates.
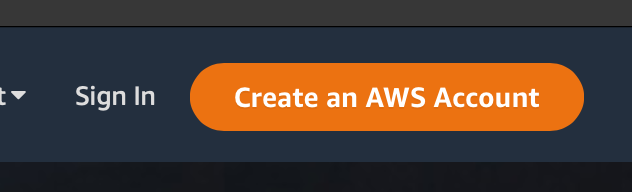
To create an AWS account, start by navigating to the AWS homepage at https://aws.amazon.com. Click on the “Create an AWS Account" button in the top right corner of the page.
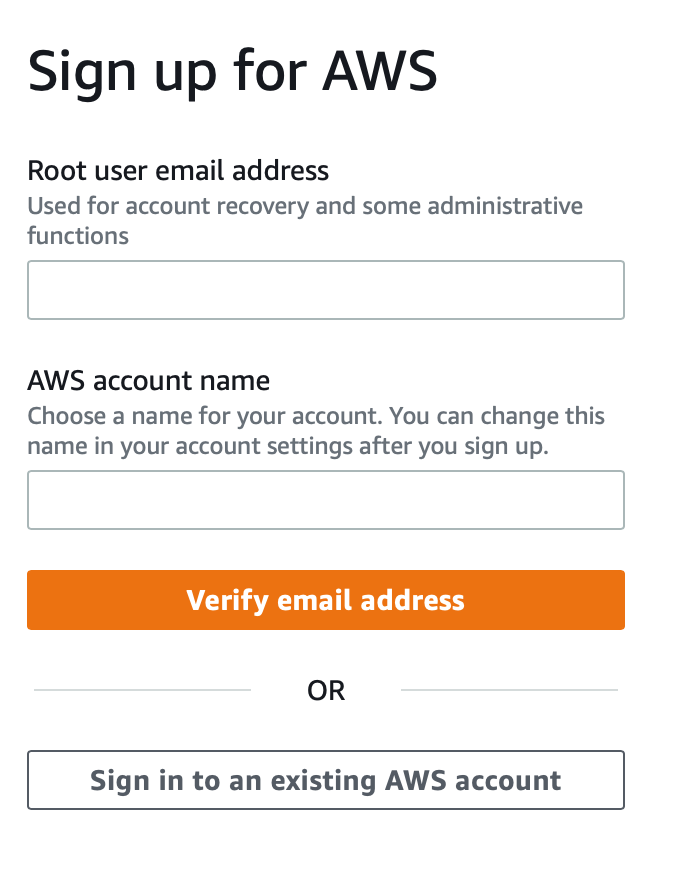
On the next page, you will be prompted to create a new AWS account. Enter your email address and choose a name for your account. Then click on the “Verify email address” button.
You’ll be e-mailed a verification code. Enter the code you received and click the “Verify” button. 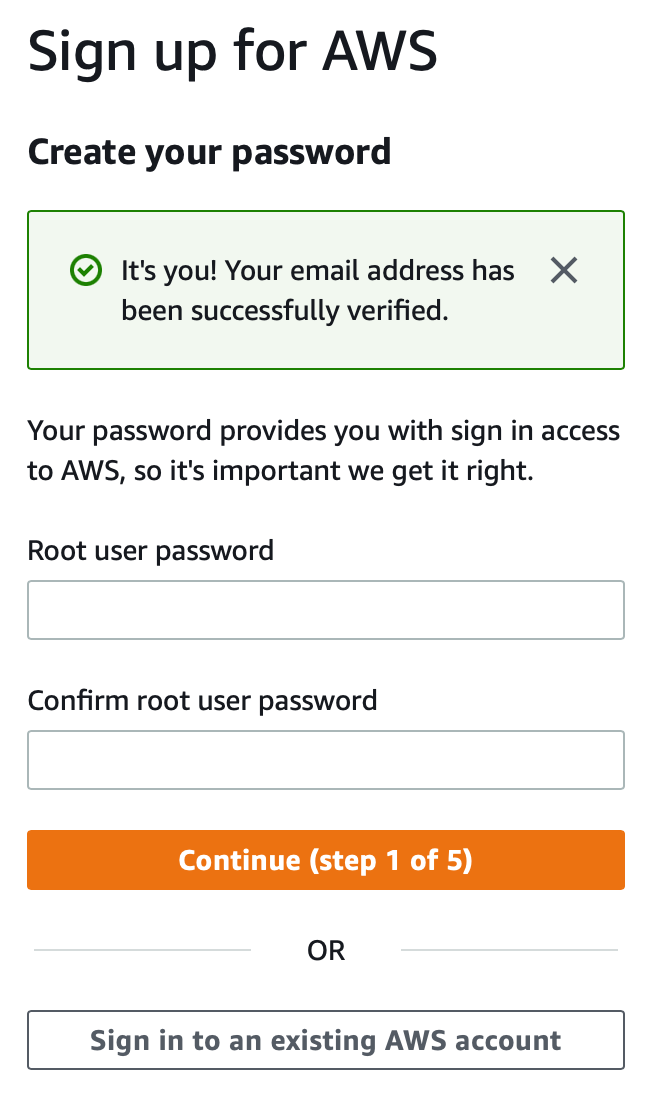
On the next page, create a password for your account and confirm it. Then, click “Continue”.
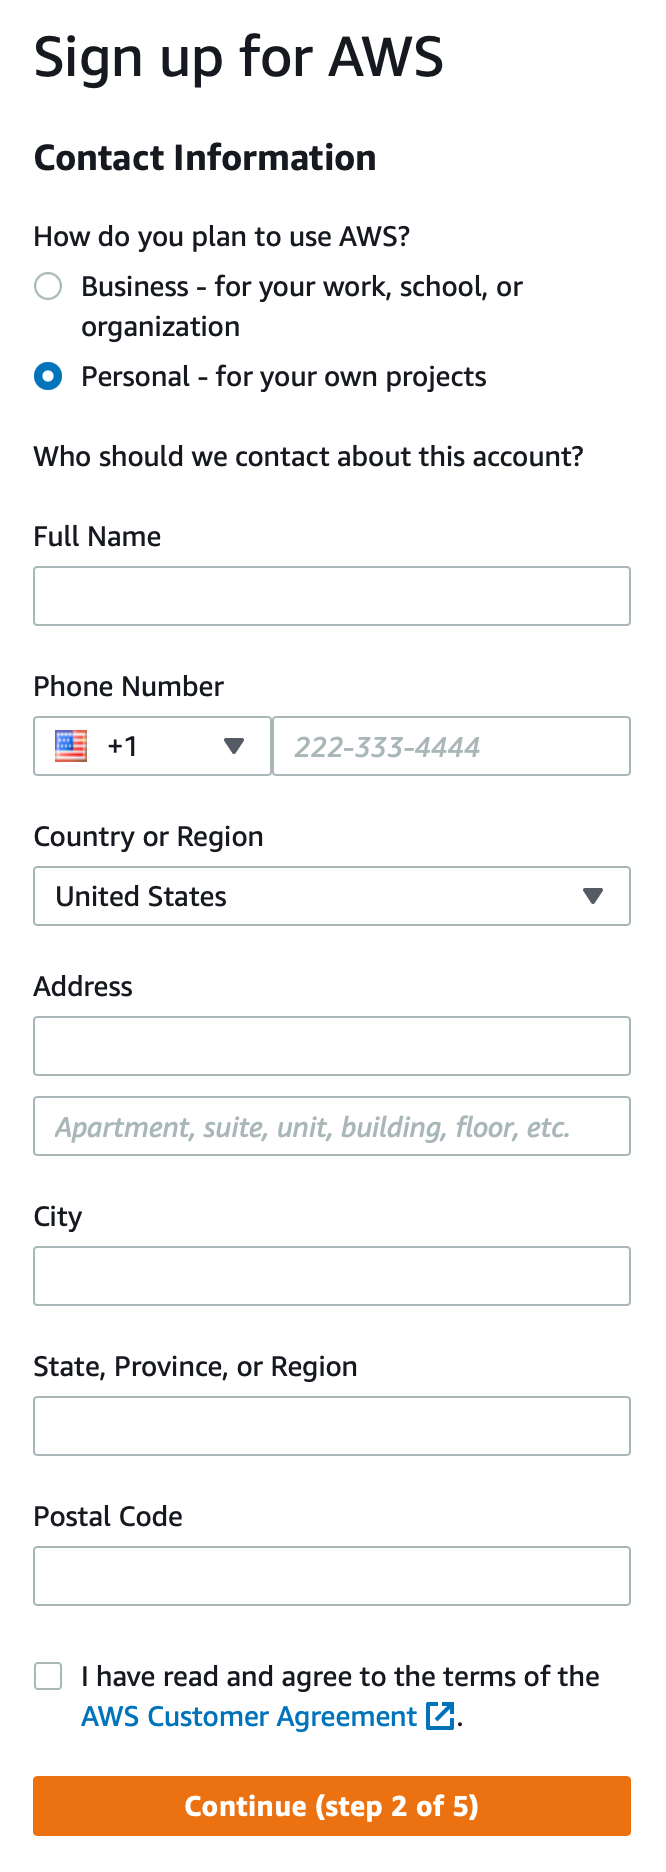
Complete the Contact Information form, and check the both to say you’ve read the AWS Customer Agreement.
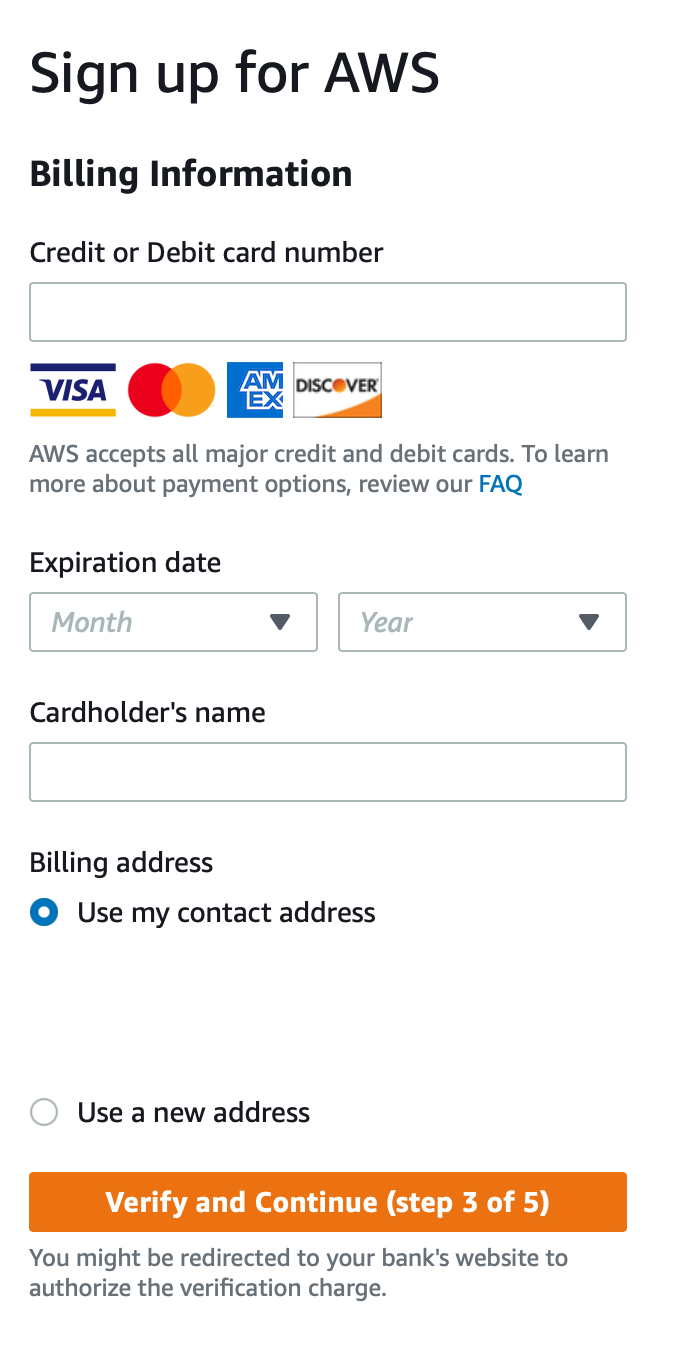
Enter your payment details on the next page.
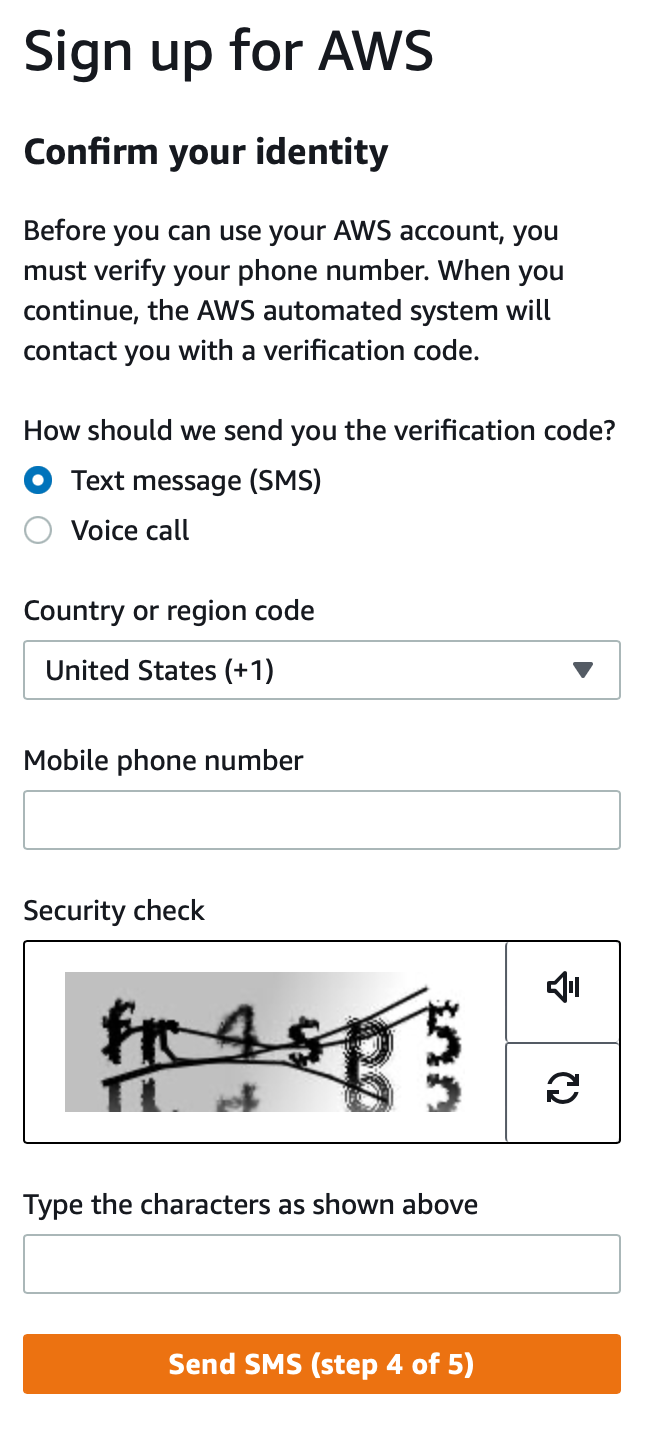
After providing your information, AWS will prompt you to confirm your identity by phone. You will receive a phone call or text message with a verification code that you can enter on the website to complete the verification process.
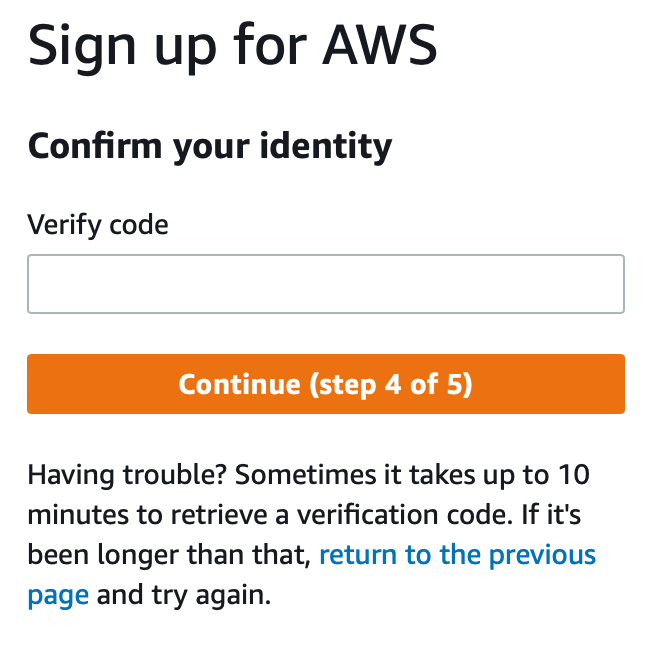
Enter the code to continue.
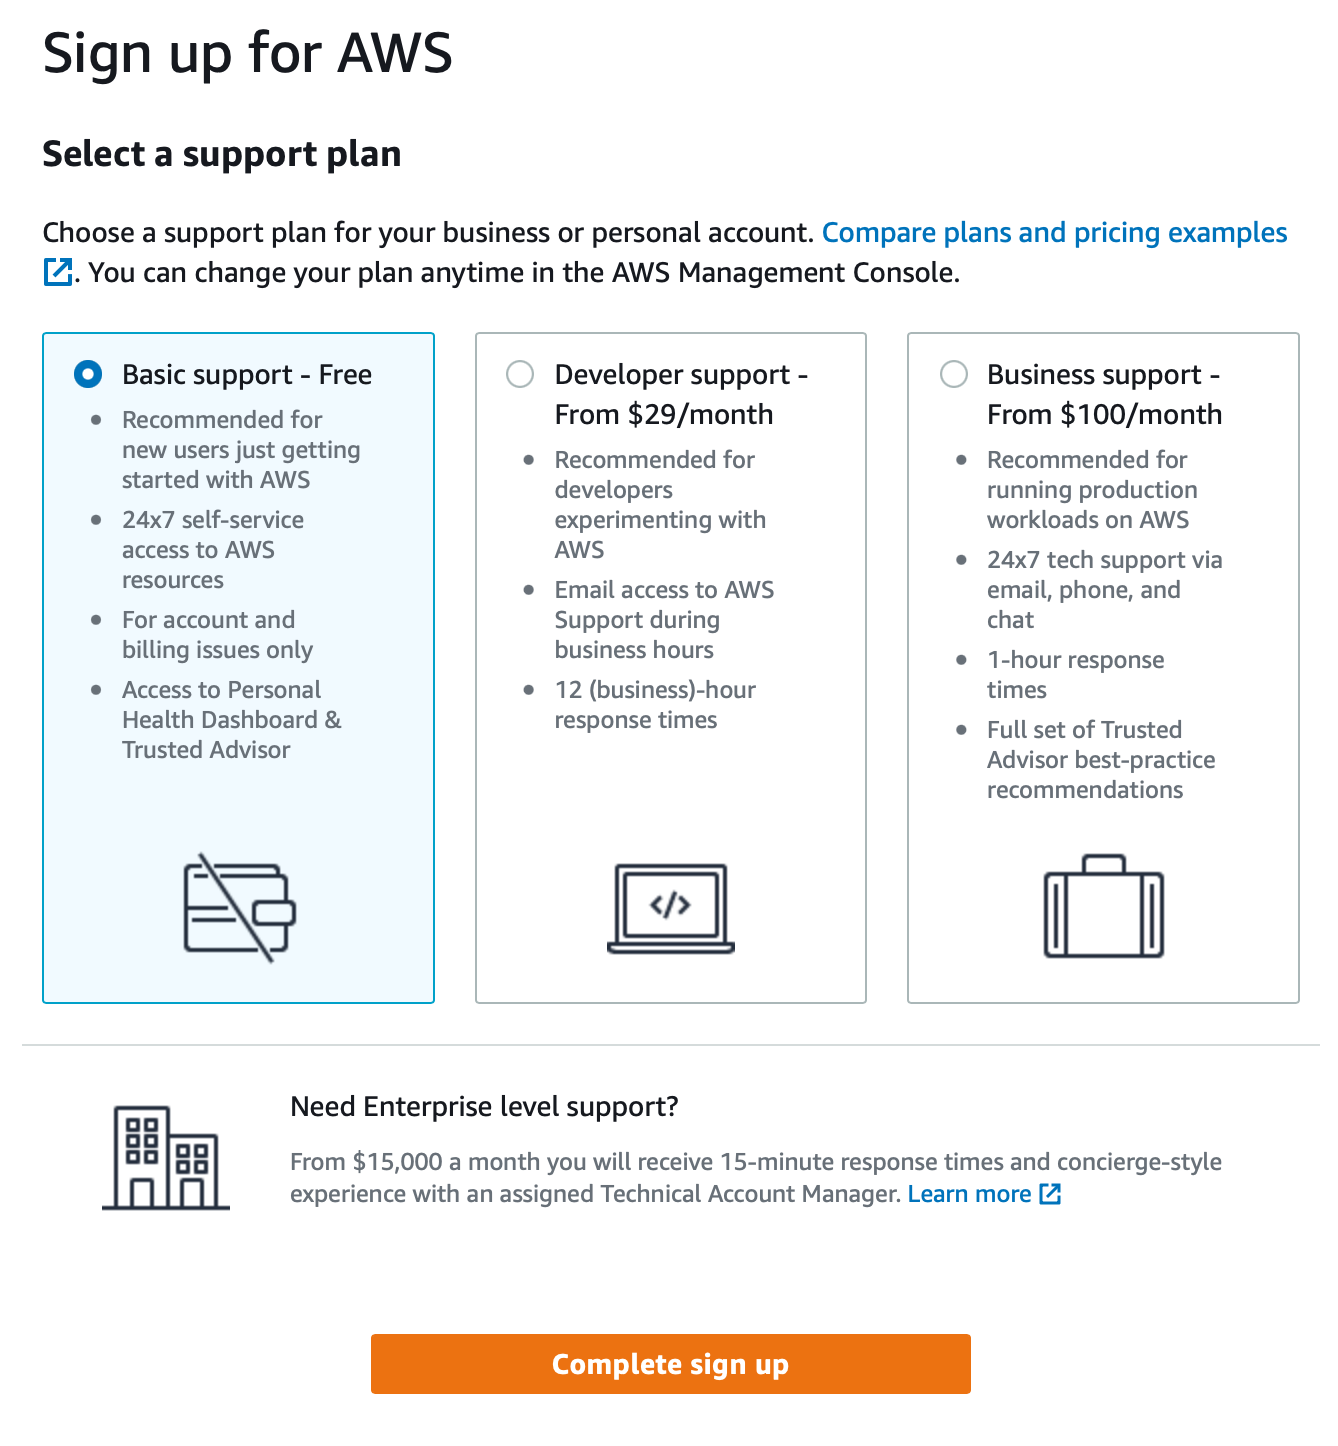
To complete the sign-up, choose a support plan. Choose “Basic support - Free” for now. You can always change this later if you use more AWS services and need a more complete support option.
Your sign-up is complete!
Once your account is created and verified, you can sign in to the AWS console. Click on the “Go to the AWS Management Console" button, enter your email and password, and click on the "Sign In" button. You will then be taken to the AWS console, where you can start using AWS services.
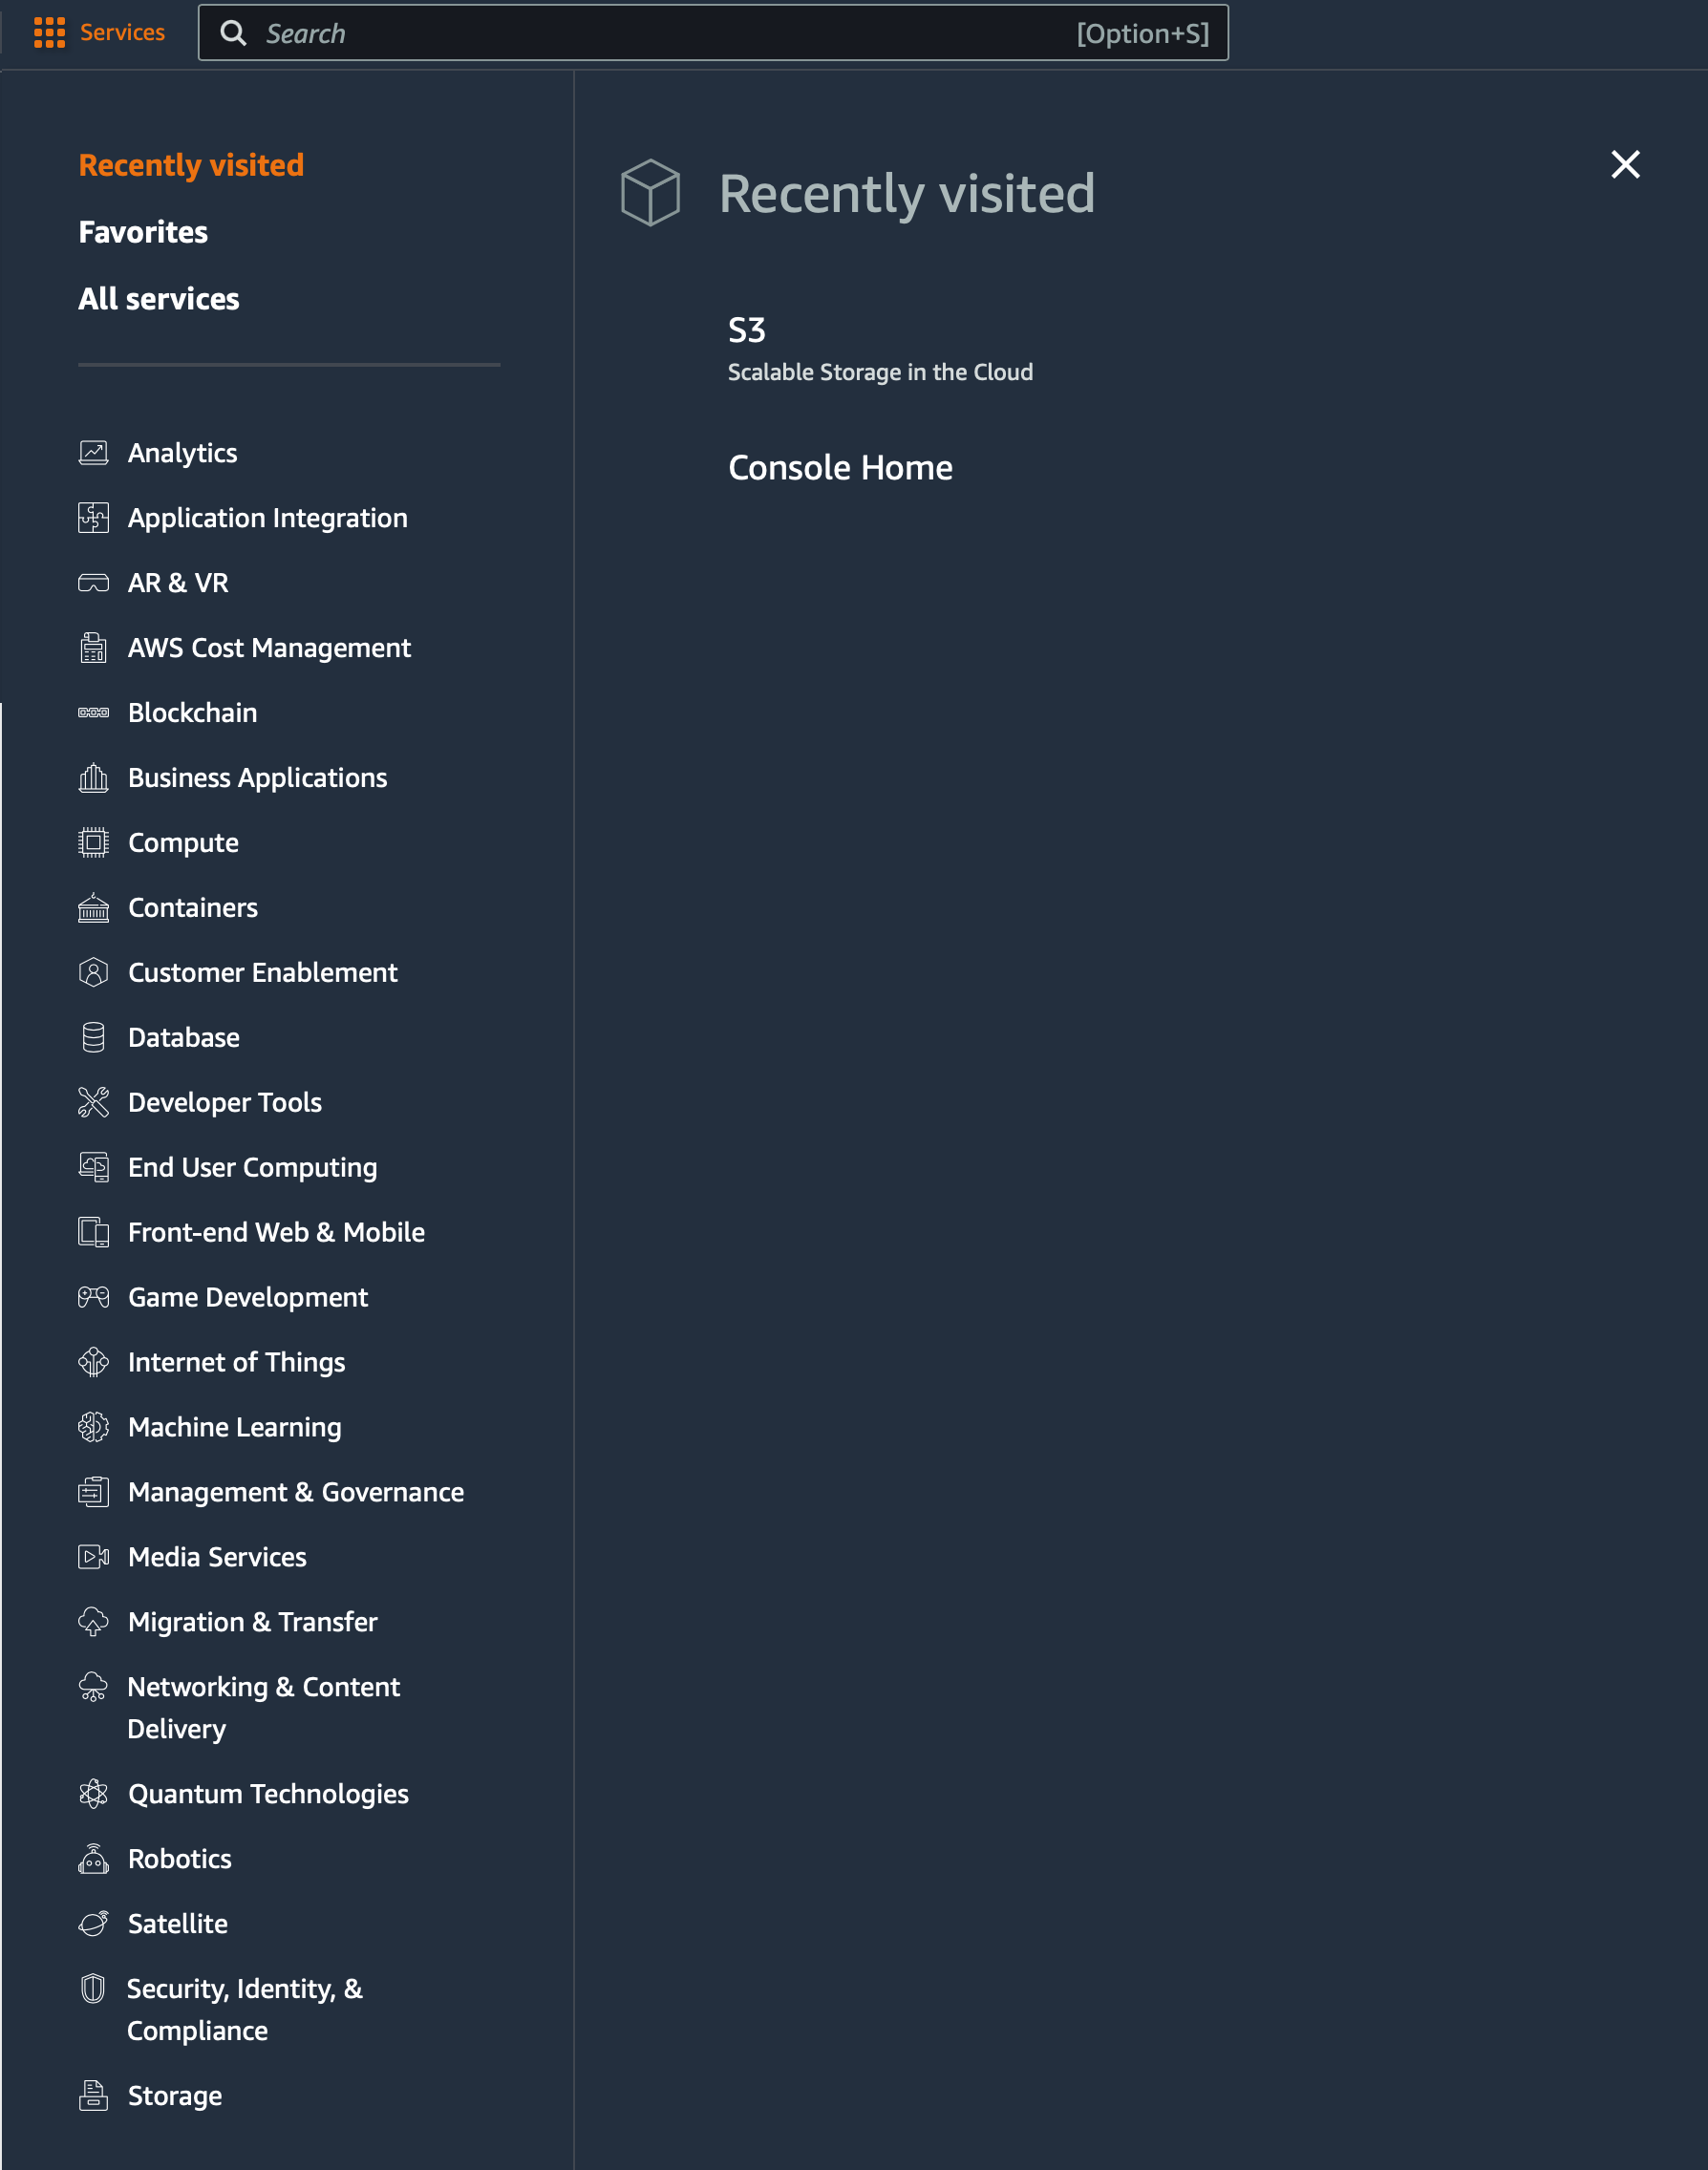
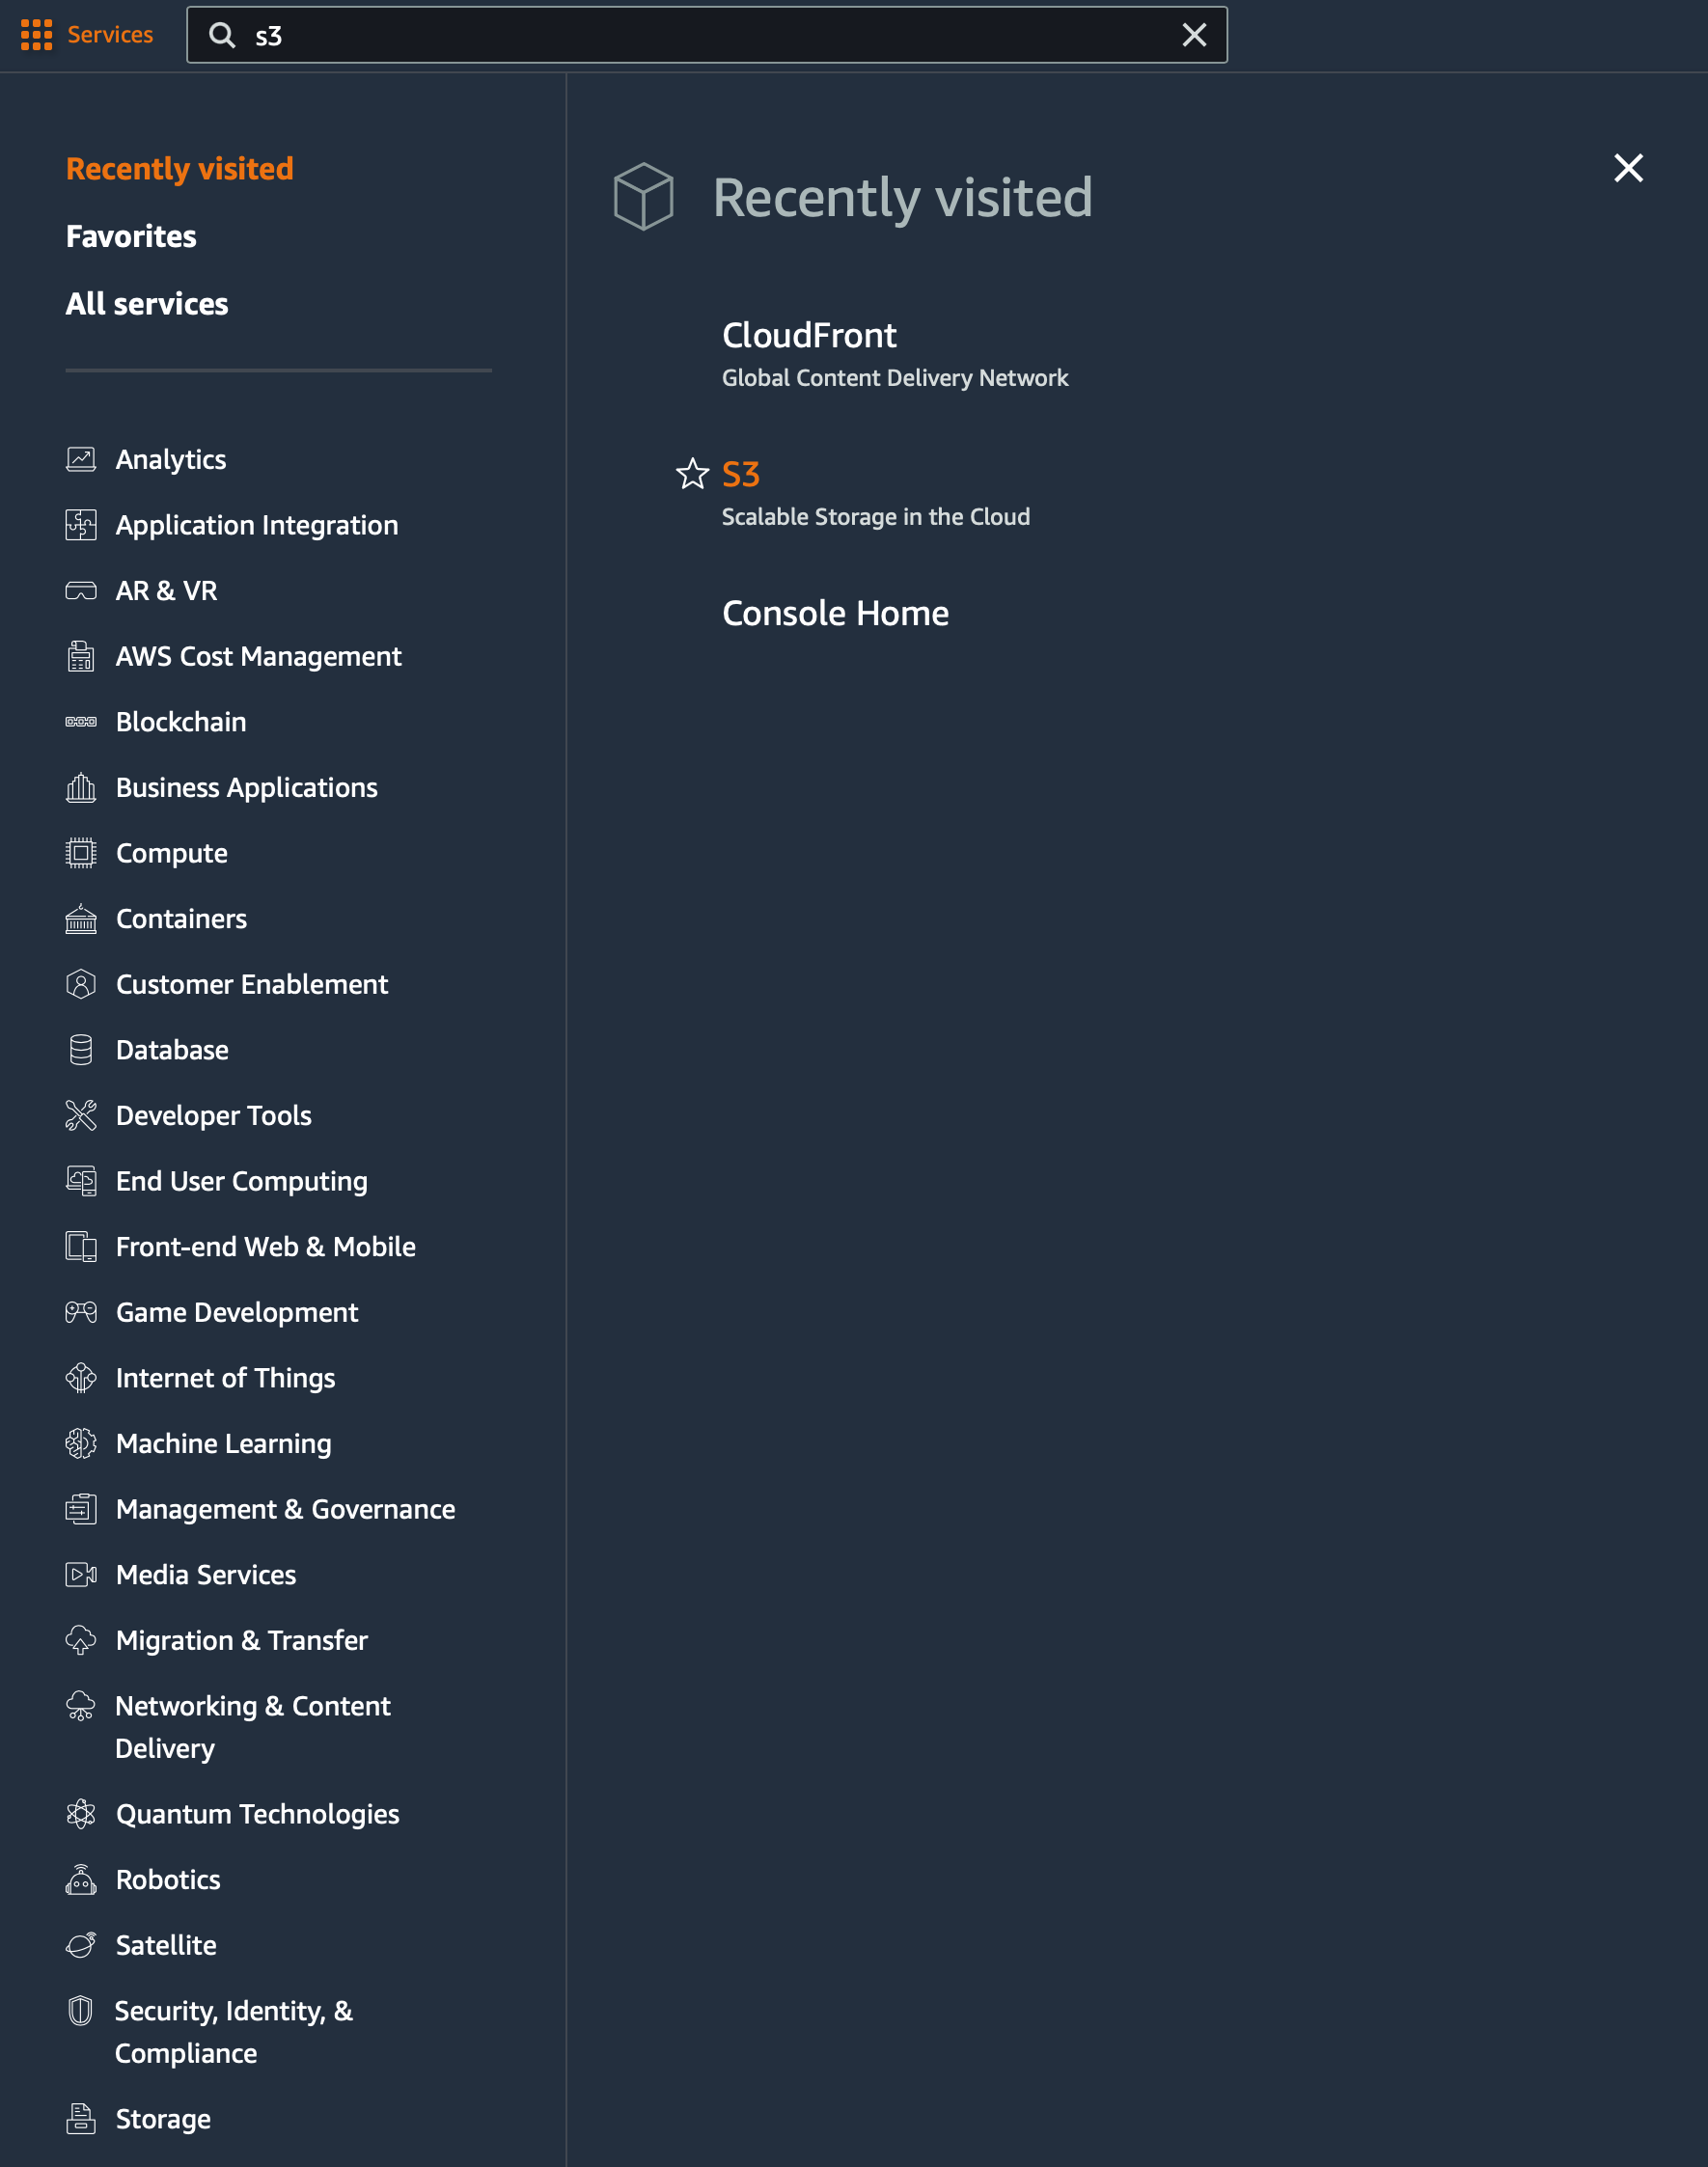
To create an S3 bucket, you will first need to access the S3 dashboard in the AWS console. You can do this by clicking on the "Services" dropdown menu in the top left corner of the console, then selecting "S3" under the "Storage" category.
Once you are in the S3 dashboard, click on the "Create Bucket" button to create a new bucket.
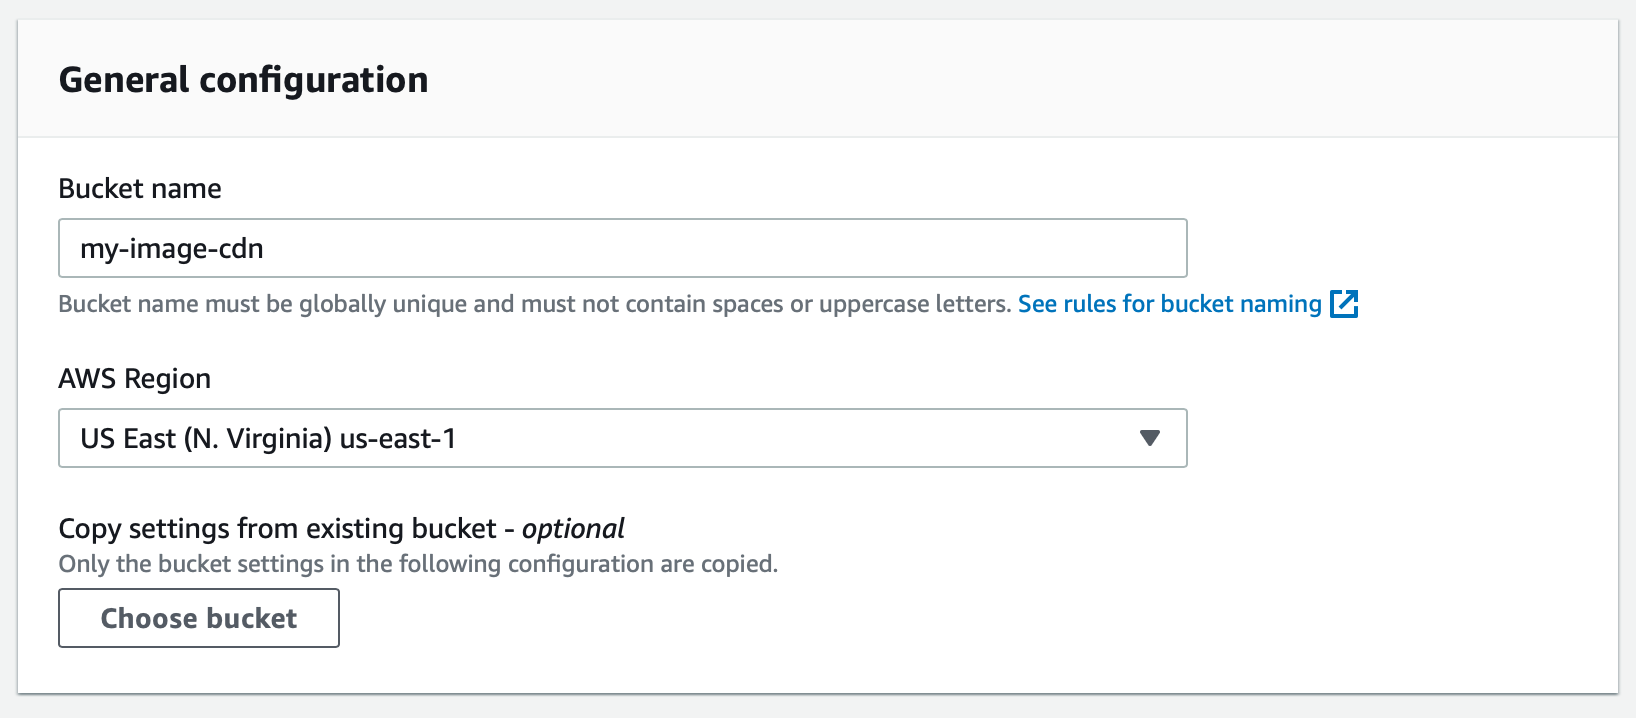
Next, you will need to provide a name for your bucket. The name must be unique across all S3 buckets in AWS, so you may need to experiment with different names until you find one that is available. It's also a good practice to name your bucket something descriptive that will help you remember what it's used for.
You will be prompted to select a region for your bucket - choose the region that is closest to your users or to the resources that will be accessing the bucket.
Once your S3 bucket is created, you will need to configure permissions for your bucket to control who can access it and how they can interact with it. To do this, navigate to your bucket in the S3 dashboard and click on the "Permissions" tab.
There are two permissions settings we need to change and the first is disabling the block on public access.
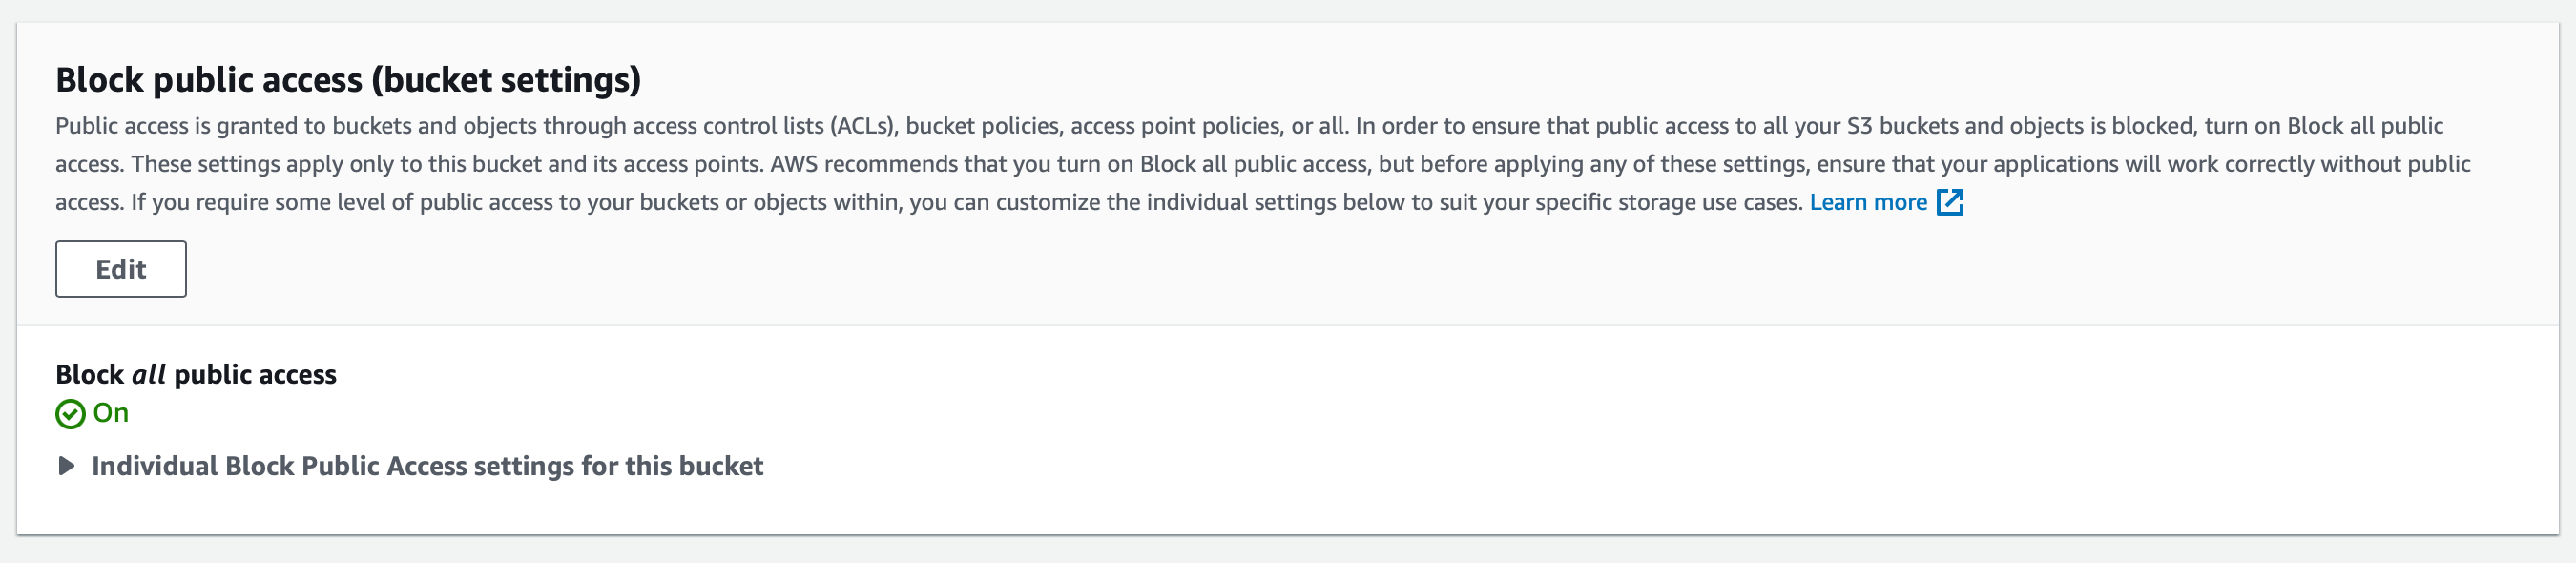
Click “Edit” to change this setting.
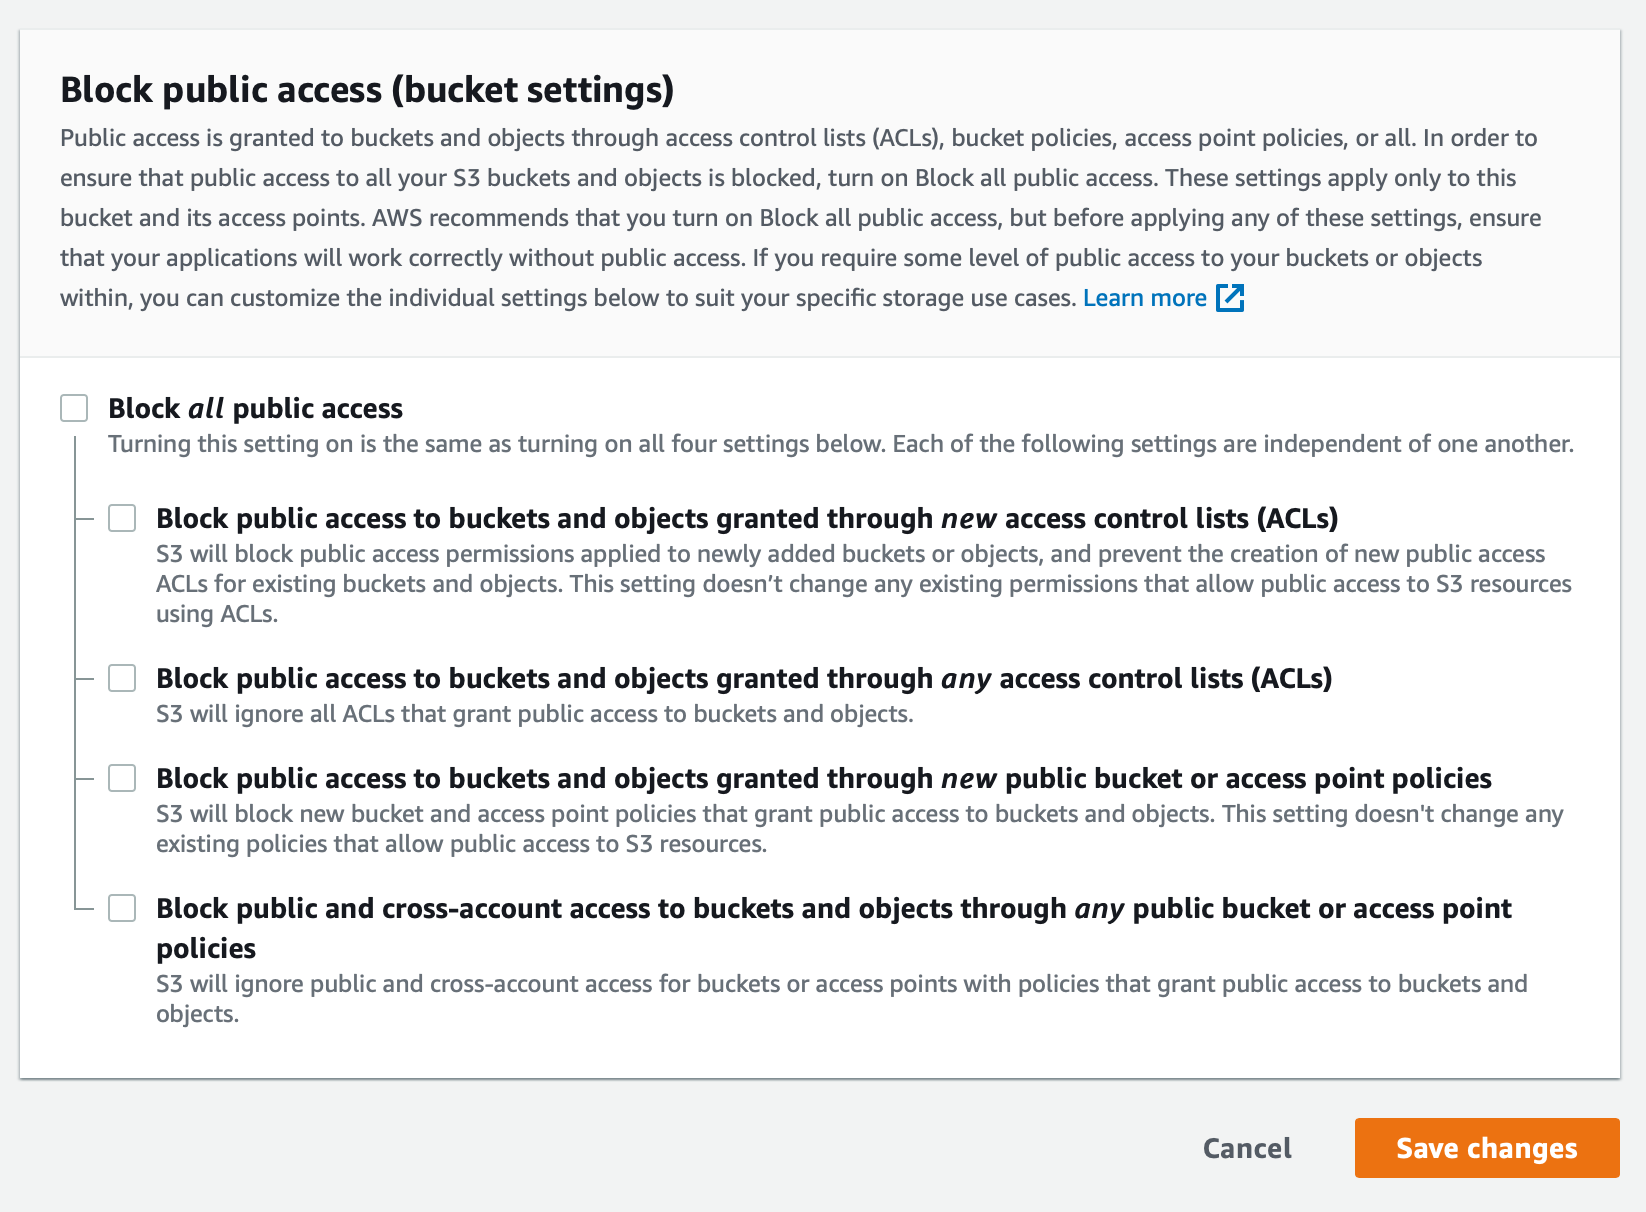
Uncheck “Block all public access” and then “Save Changes”. You will have to enter the word “confirm” to confirm these changes.
Unblocking public access means anyone with the correct URL can access objects in this bucket. This is fine if you’re wanting to share images that need public access anyway.
Do not upload private or sensitive objects into this bucket or any bucket that has unblocked public access.
The second permissions setting is to add a bucket policy.
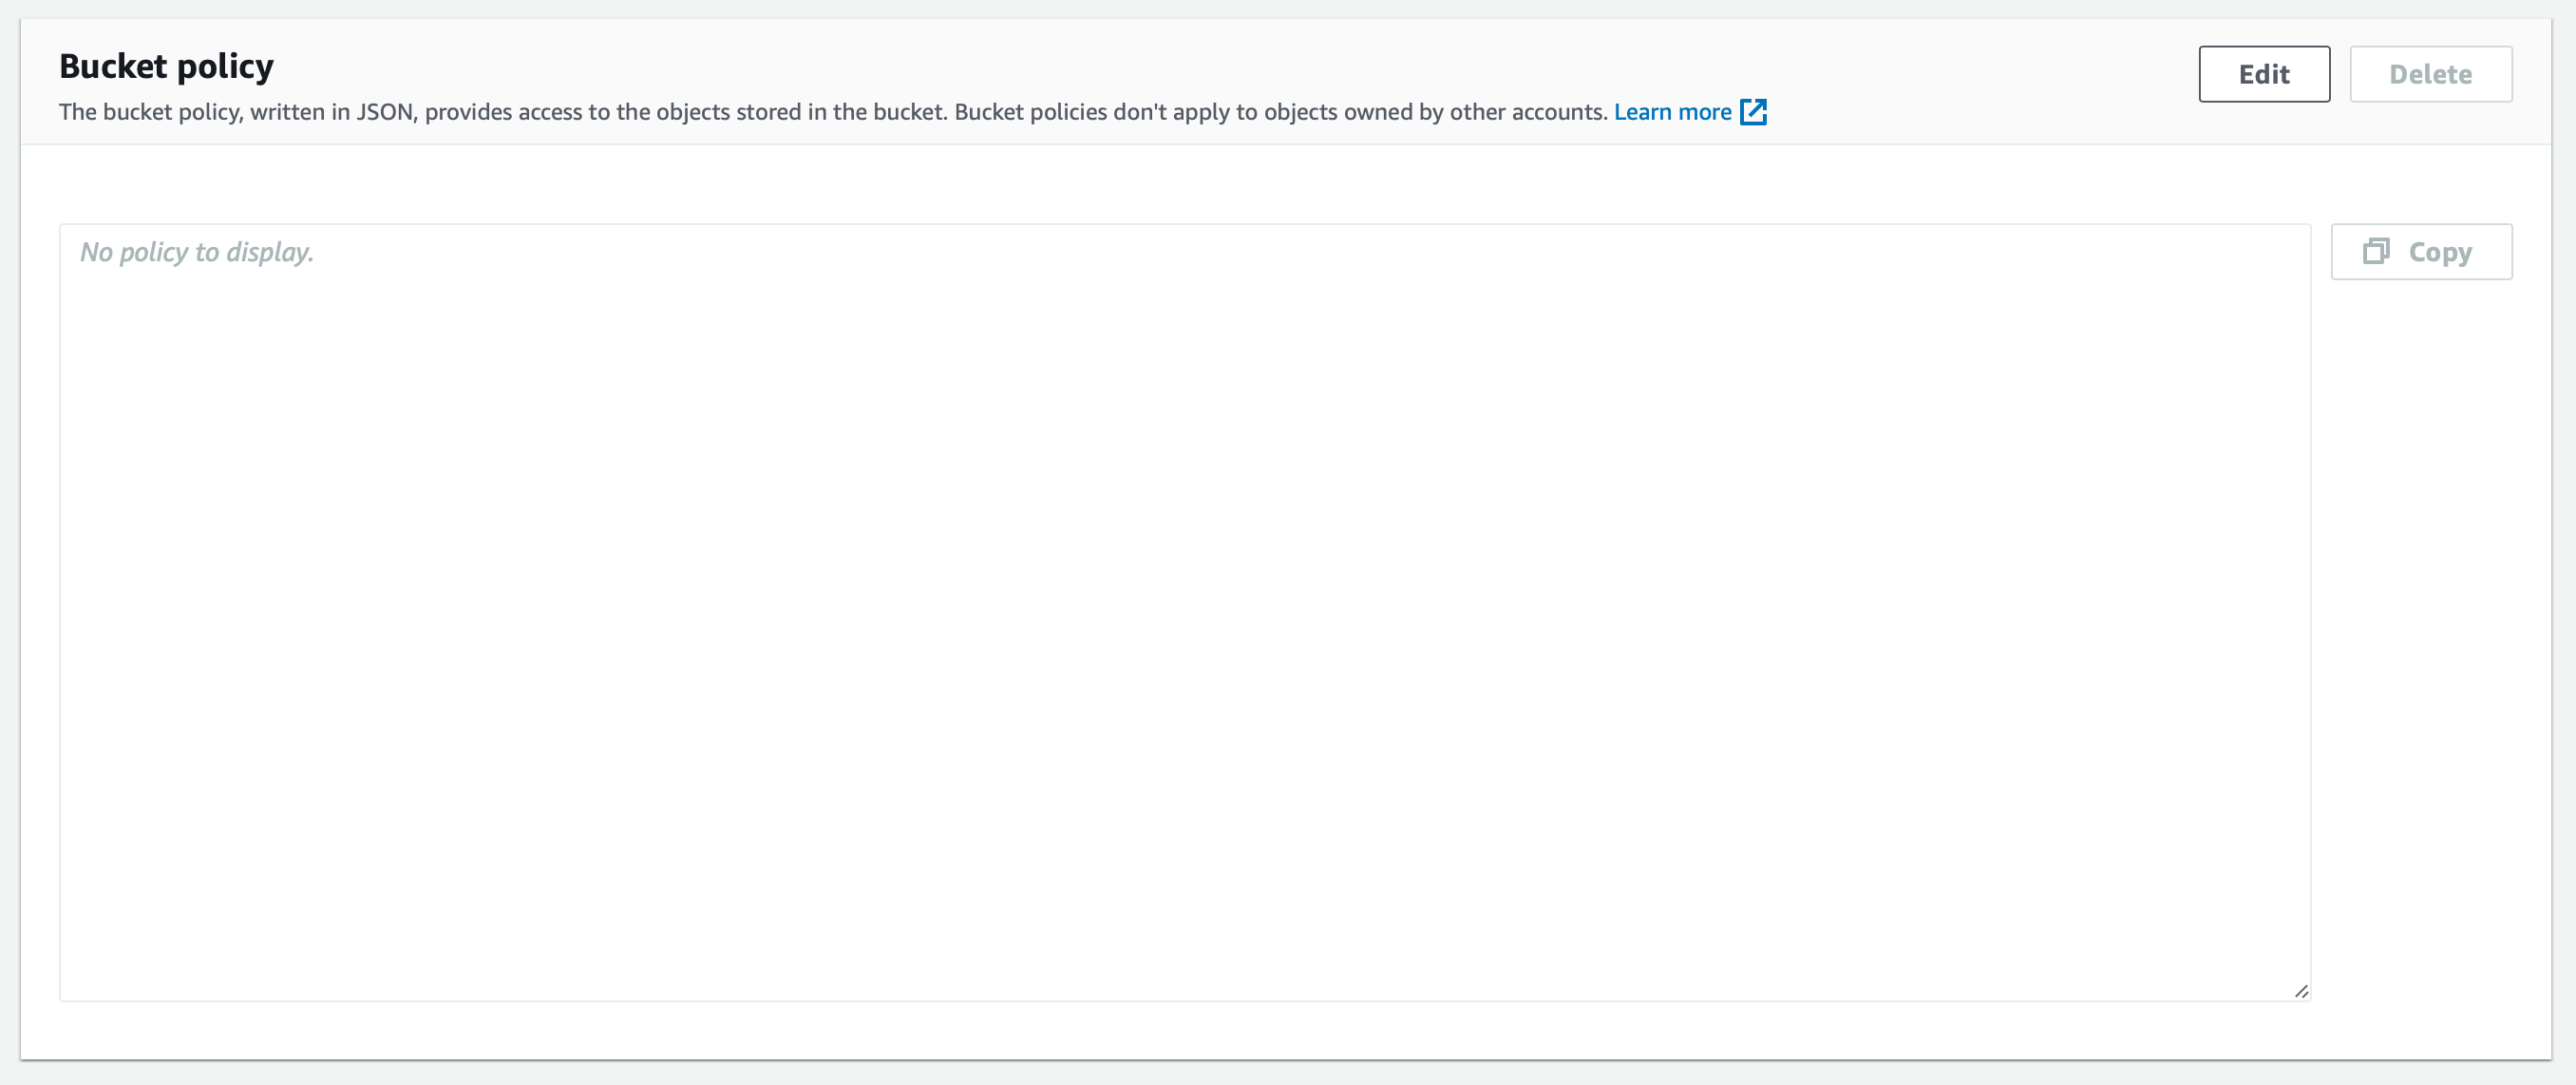
Click “Edit” in the “Bucket Policy” section.
In the Policy edit box, copy and paste the policy below. Make sure that in the last line, you replace my-image-cdn with whatever you named your S3 bucket above.
{
    "Version": "2012-10-17",
    "Statement": [
        {
            "Sid": "PublicReadGetObject",
            "Effect": "Allow",
            "Principal": "*",
            "Action": "s3:GetObject",
            "Resource": "arn:aws:s3:::my-image-cdn/*"
        }
    ]
}
Click “Save Changes”.
The S3 bucket’s permissions are now set.
S3 buckets can serve their files over HTTP by enabling static website hosting.
Click the “Properties” tab and scroll to the bottom. Next to “Static website hosting”, click “Edit”.
Click “Enable” which will bring up the static website hosting properties.
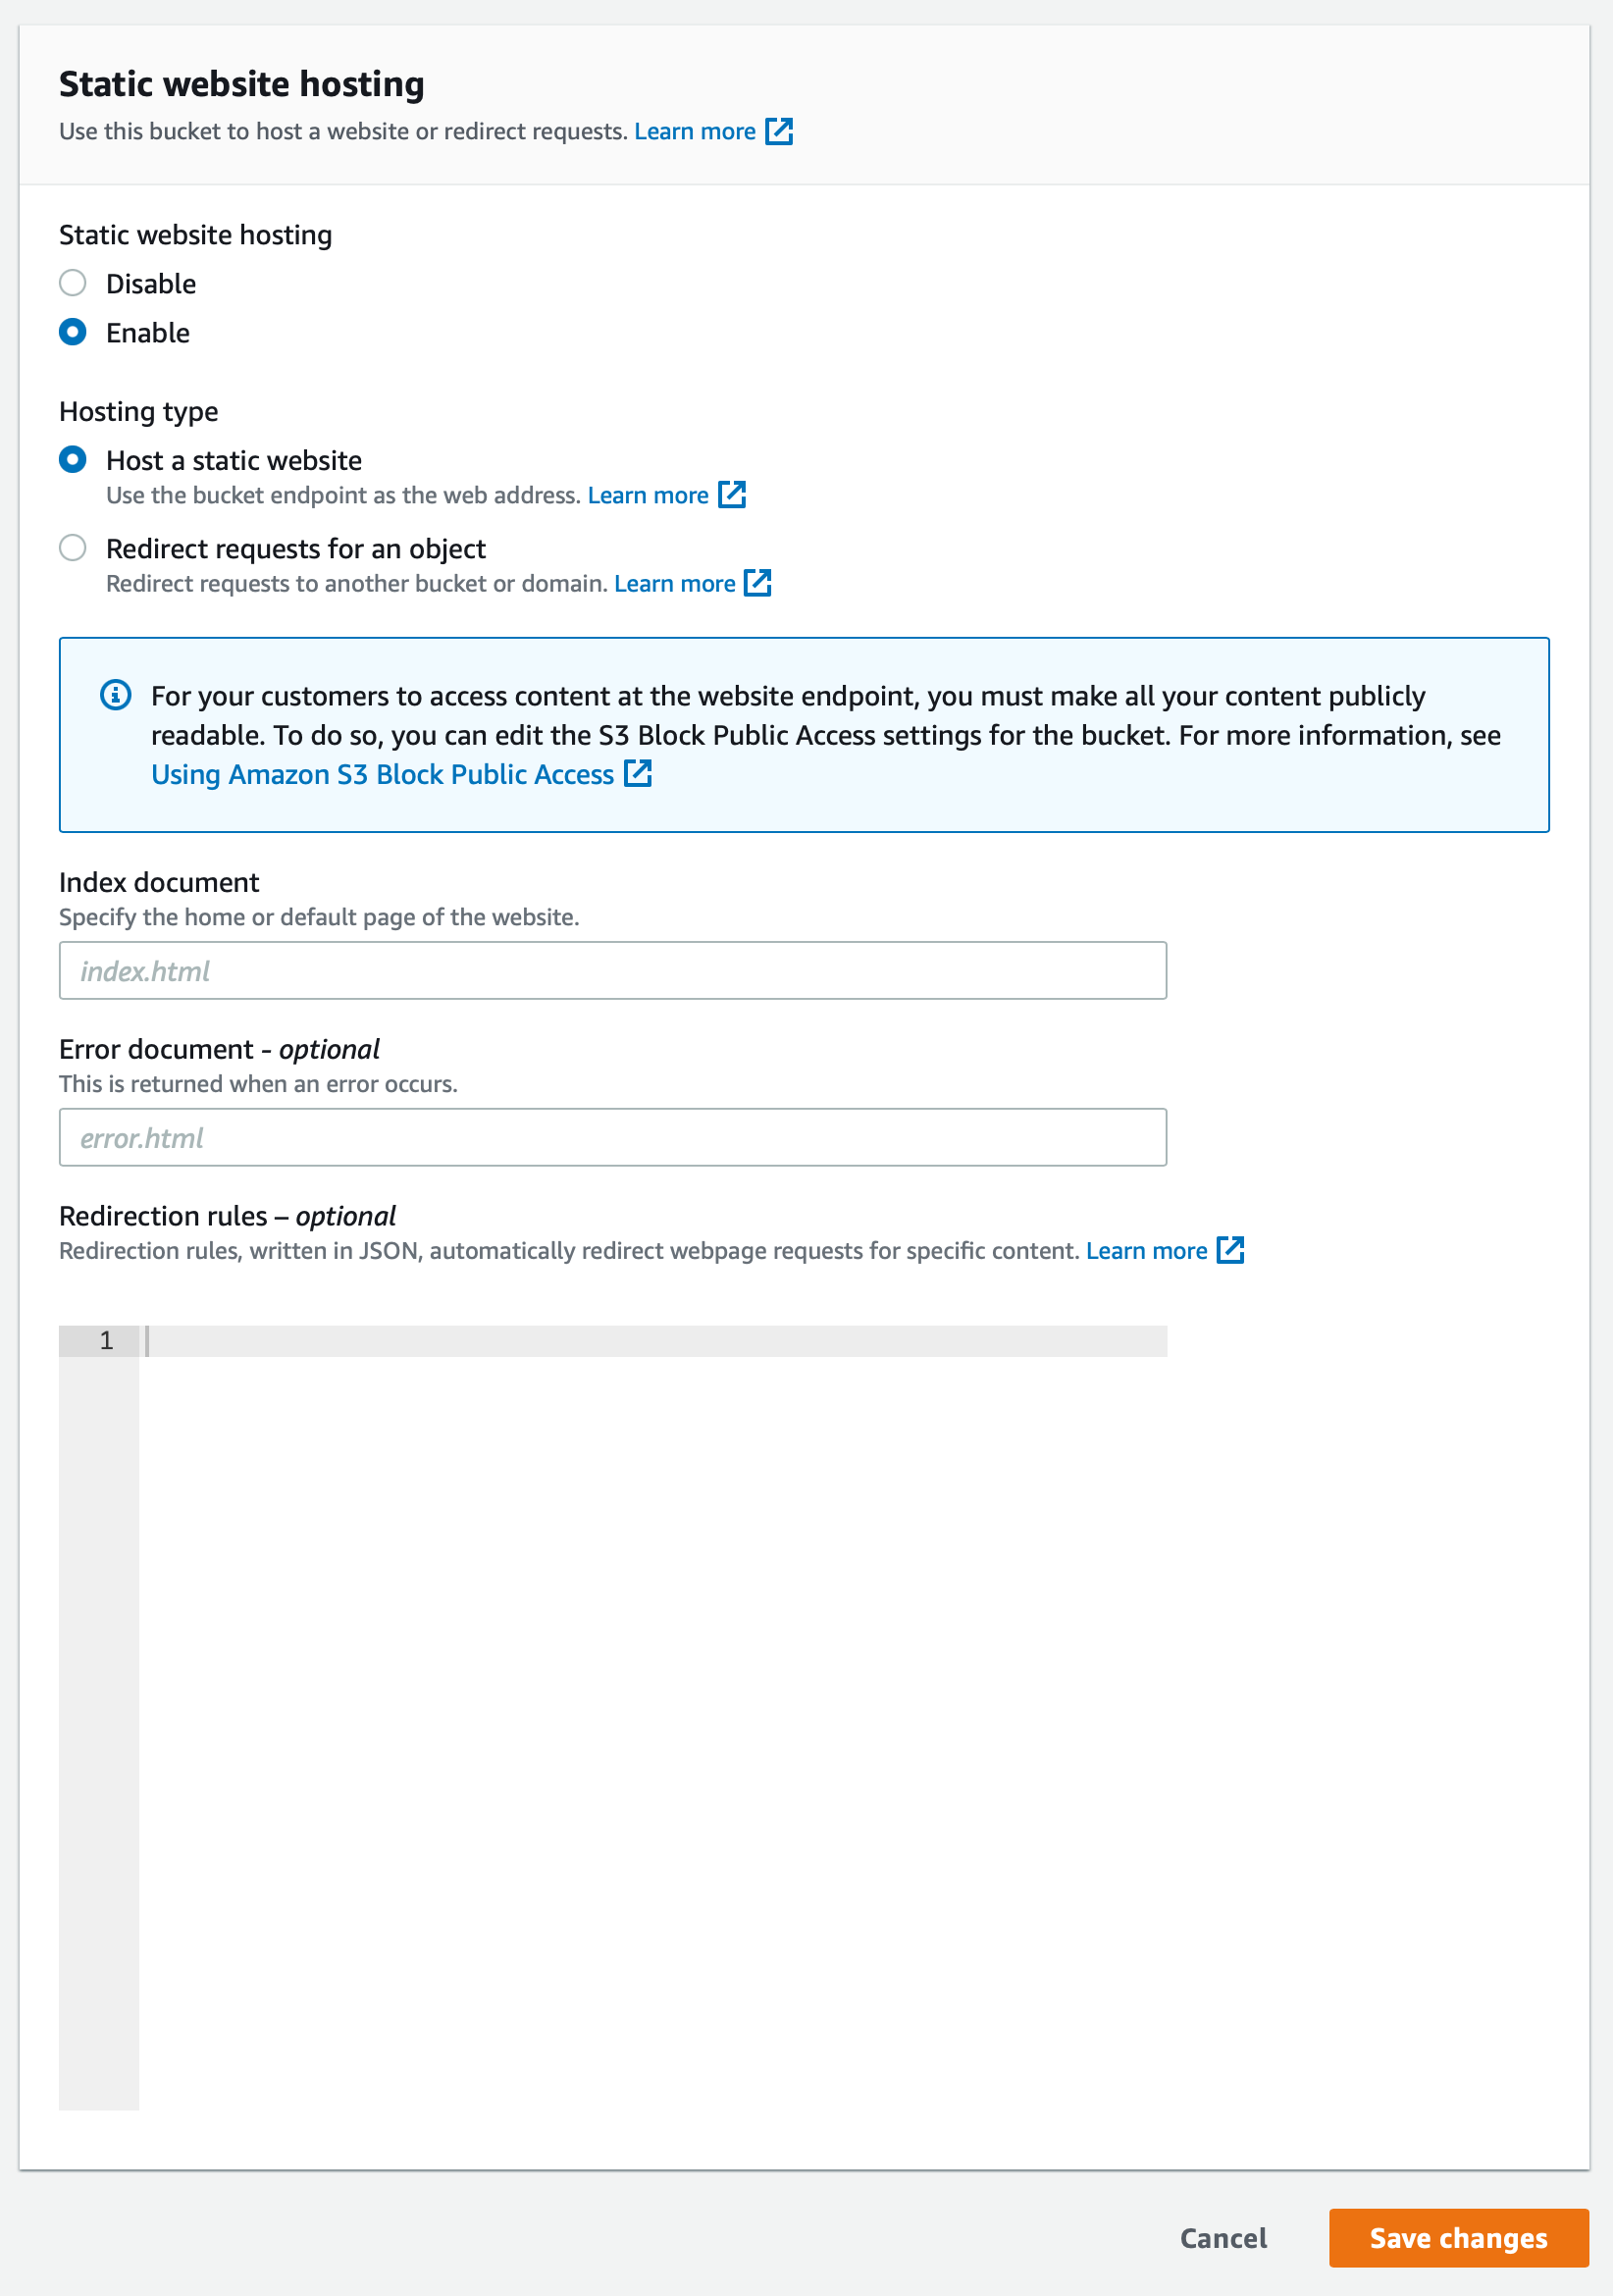
Under “Index document”, enter “index.html”
Then click “Save Changes”.
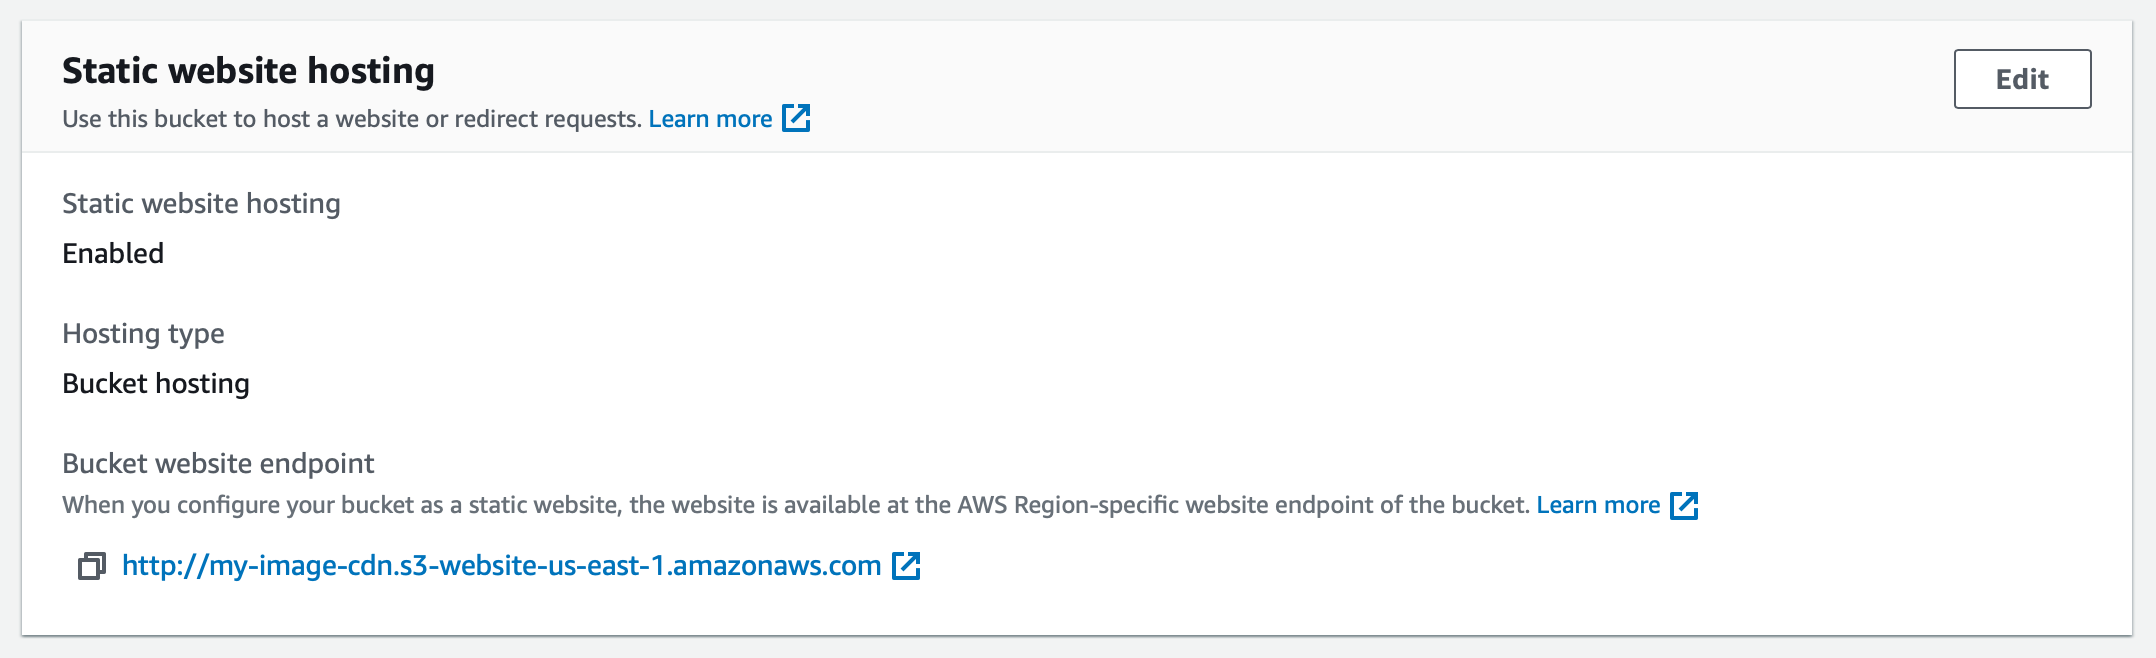
Back under the bucket’s properties, you should see the URL of the static website. We’ll need this value later in the tutorial.
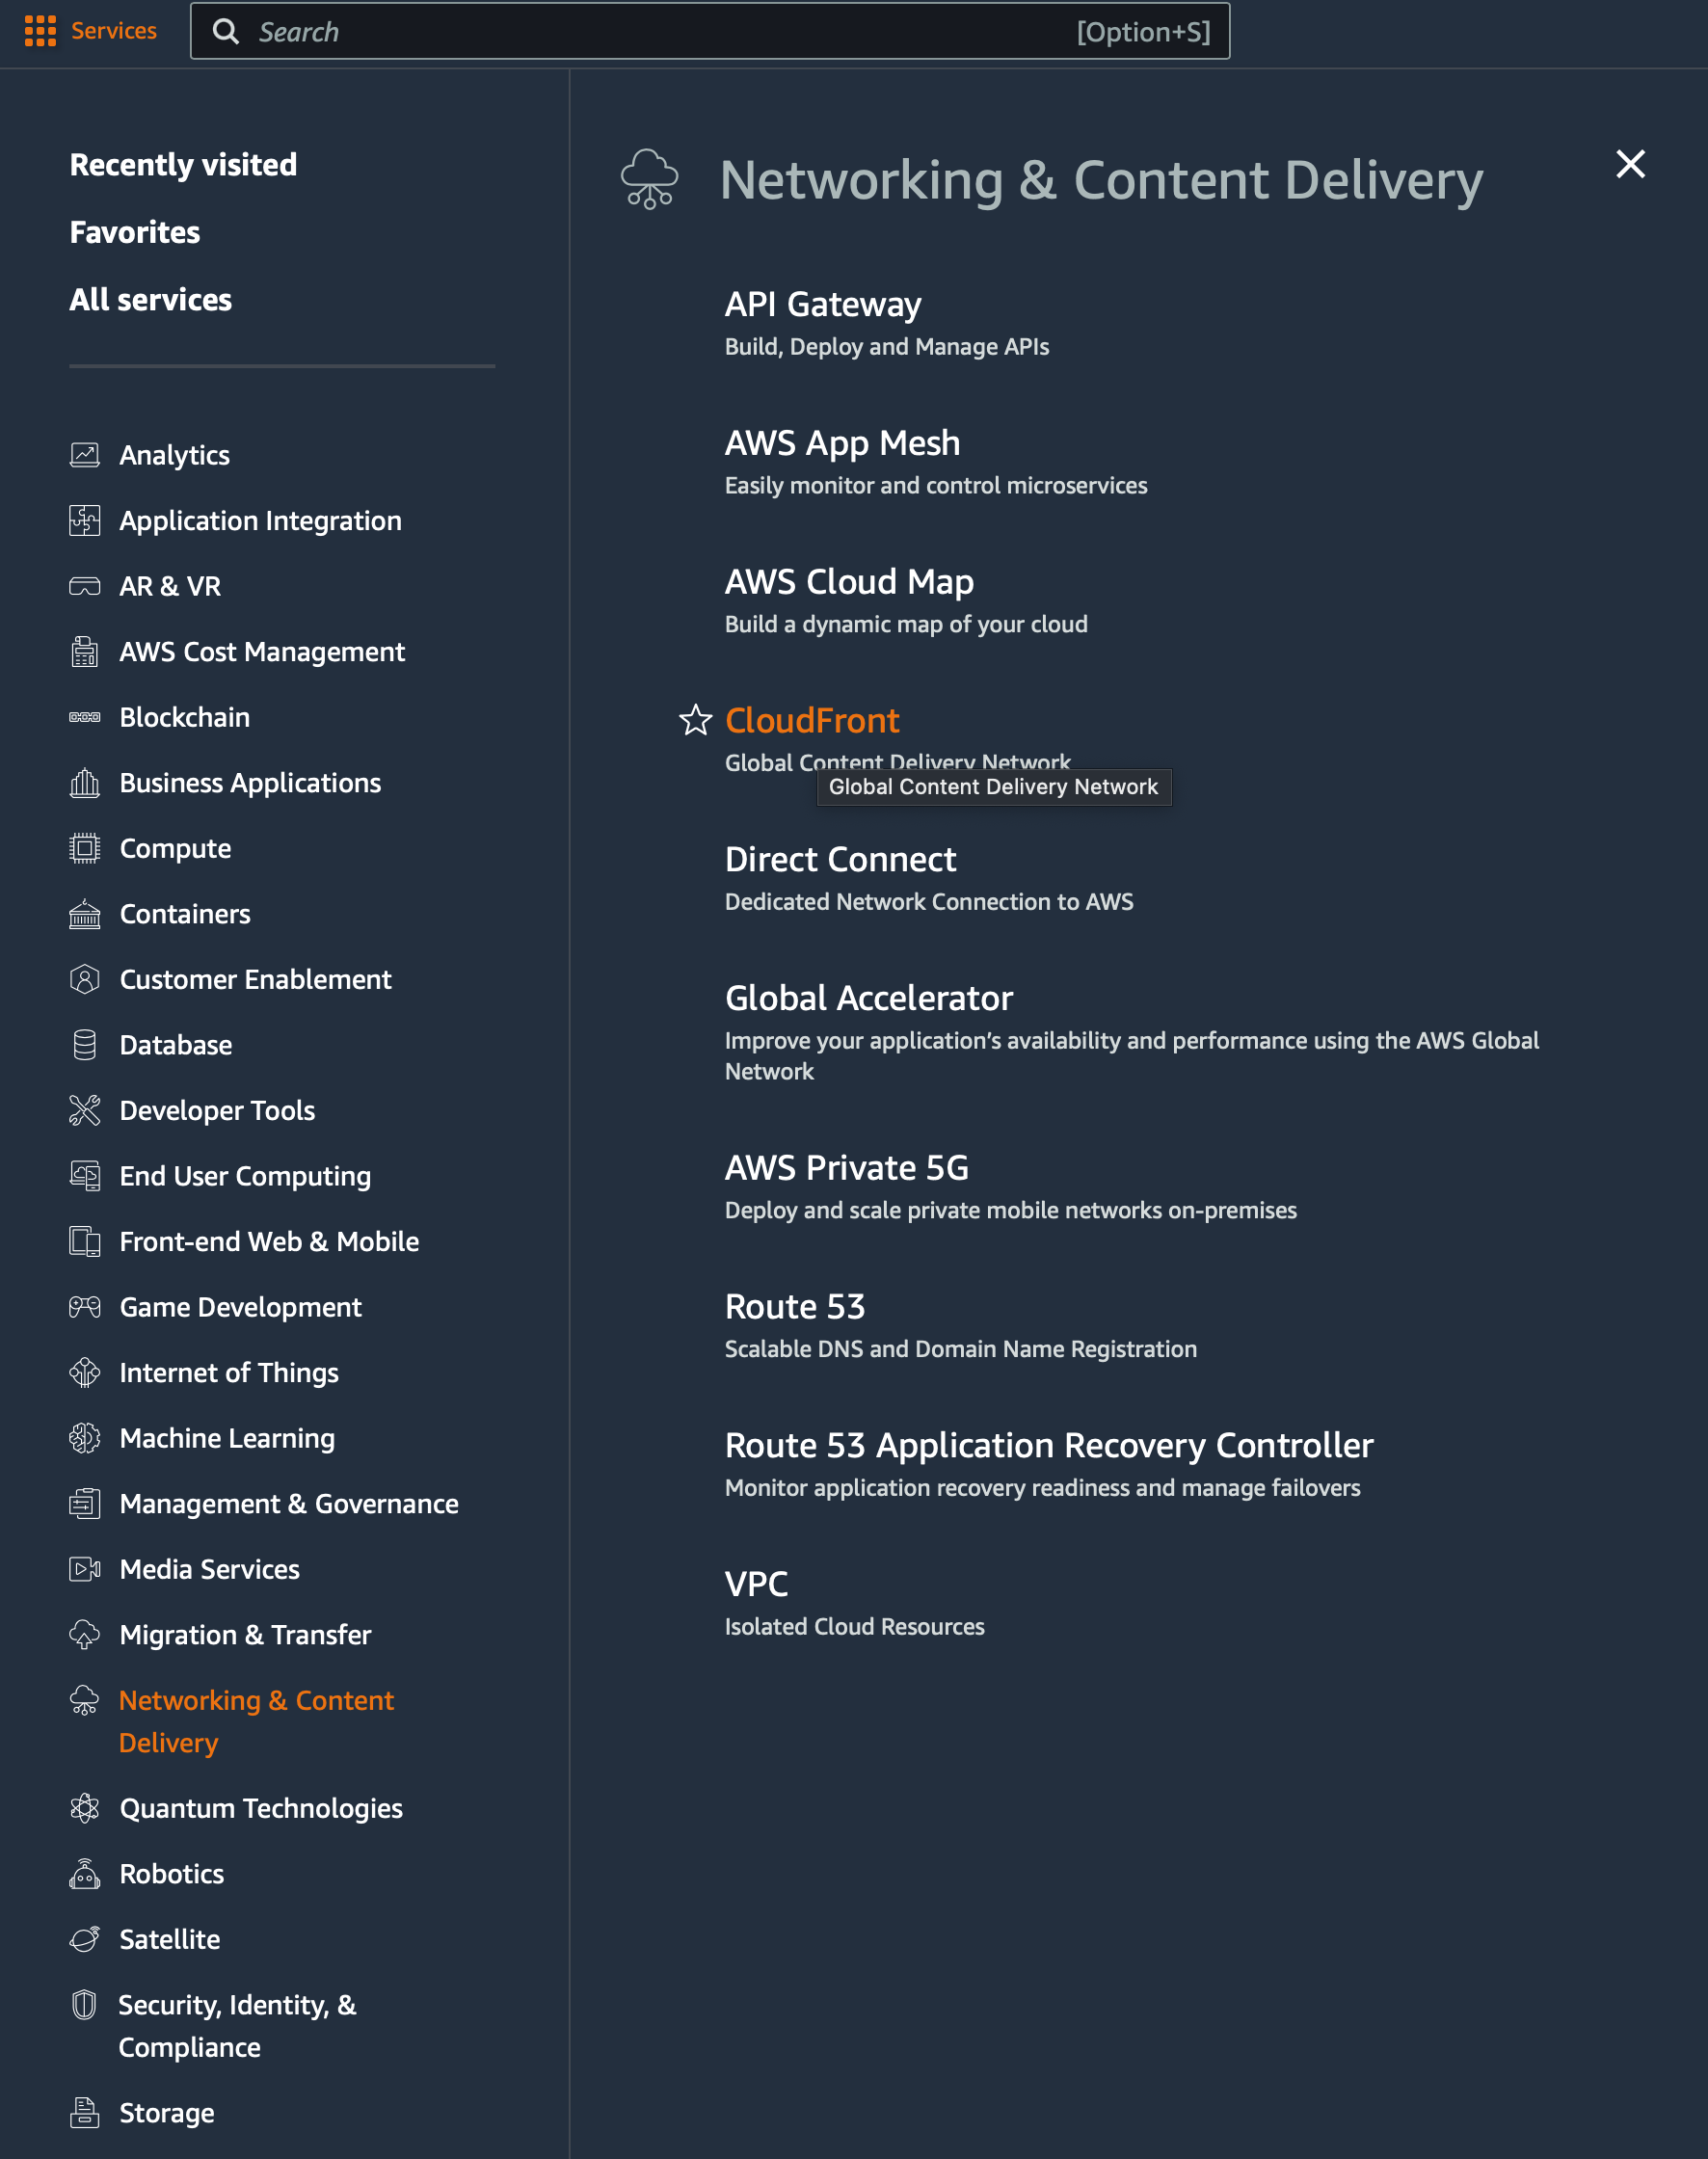
To create a CloudFront distribution, you will need to access the CloudFront dashboard in the AWS console. You can do this by clicking on the "Services" dropdown menu in the top left corner of the console, then selecting "CloudFront" under the "Networking & Content Delivery" category.
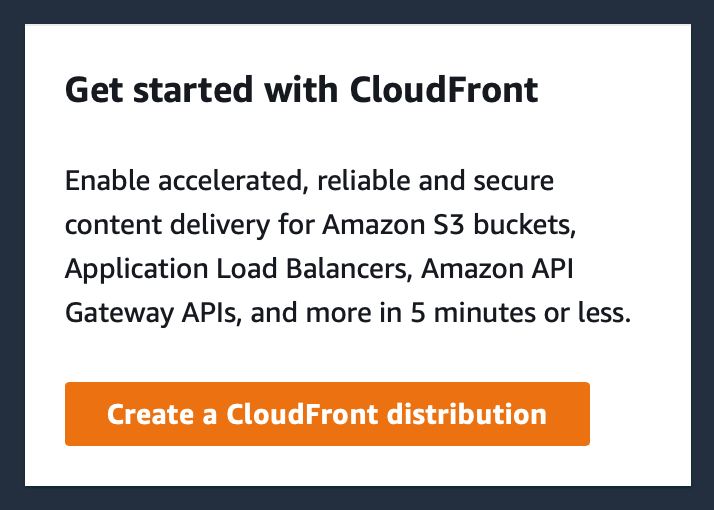
Once you are in the CloudFront dashboard, click on the "Create Distribution" button to create a new distribution.

Under the “Create distribution” settings, under “Origin domain”, copy and paste the URL of the static website hosting you created in the previous section.
Don’t worry if the URL is not in the “Origin domain” dropdown.
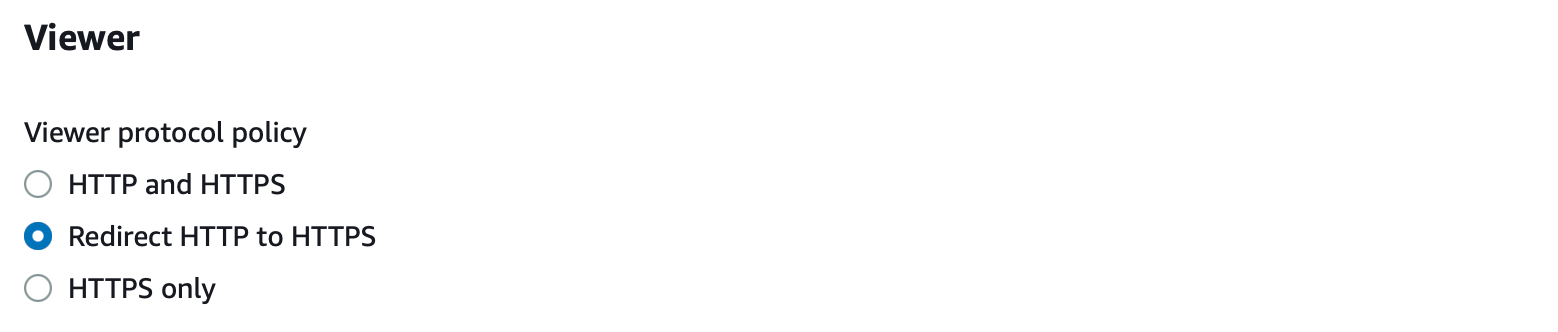
Under “Default cache behaviour”, under “Viewer”, select “Redirect HTTP to HTTPS”
Click “Create distribution” at the bottom of the page.
So we have our S3 bucket and our CloudFront distribution created.
When you create or make changes to your CloudFront distribution, it will take a minute or so to reflect the changes.
What we want to do now is test everything is working - but we’ve not uploaded any images to our bucket.
Let’s upload a test image to our bucket to test that everything is working before we connect Switchboard Canvas.
Right click this link and download the image file to your computer:
https://ss-open-assets.s3.amazonaws.com/flowers.jpgNow, we’re going to navigate back to our S3 bucket.
Choose the bucket you created and make sure you’re on the “Objects” tab.
Drag the flowers.jpg file from your computer to the browser tab. You should now see the Upload properties details:
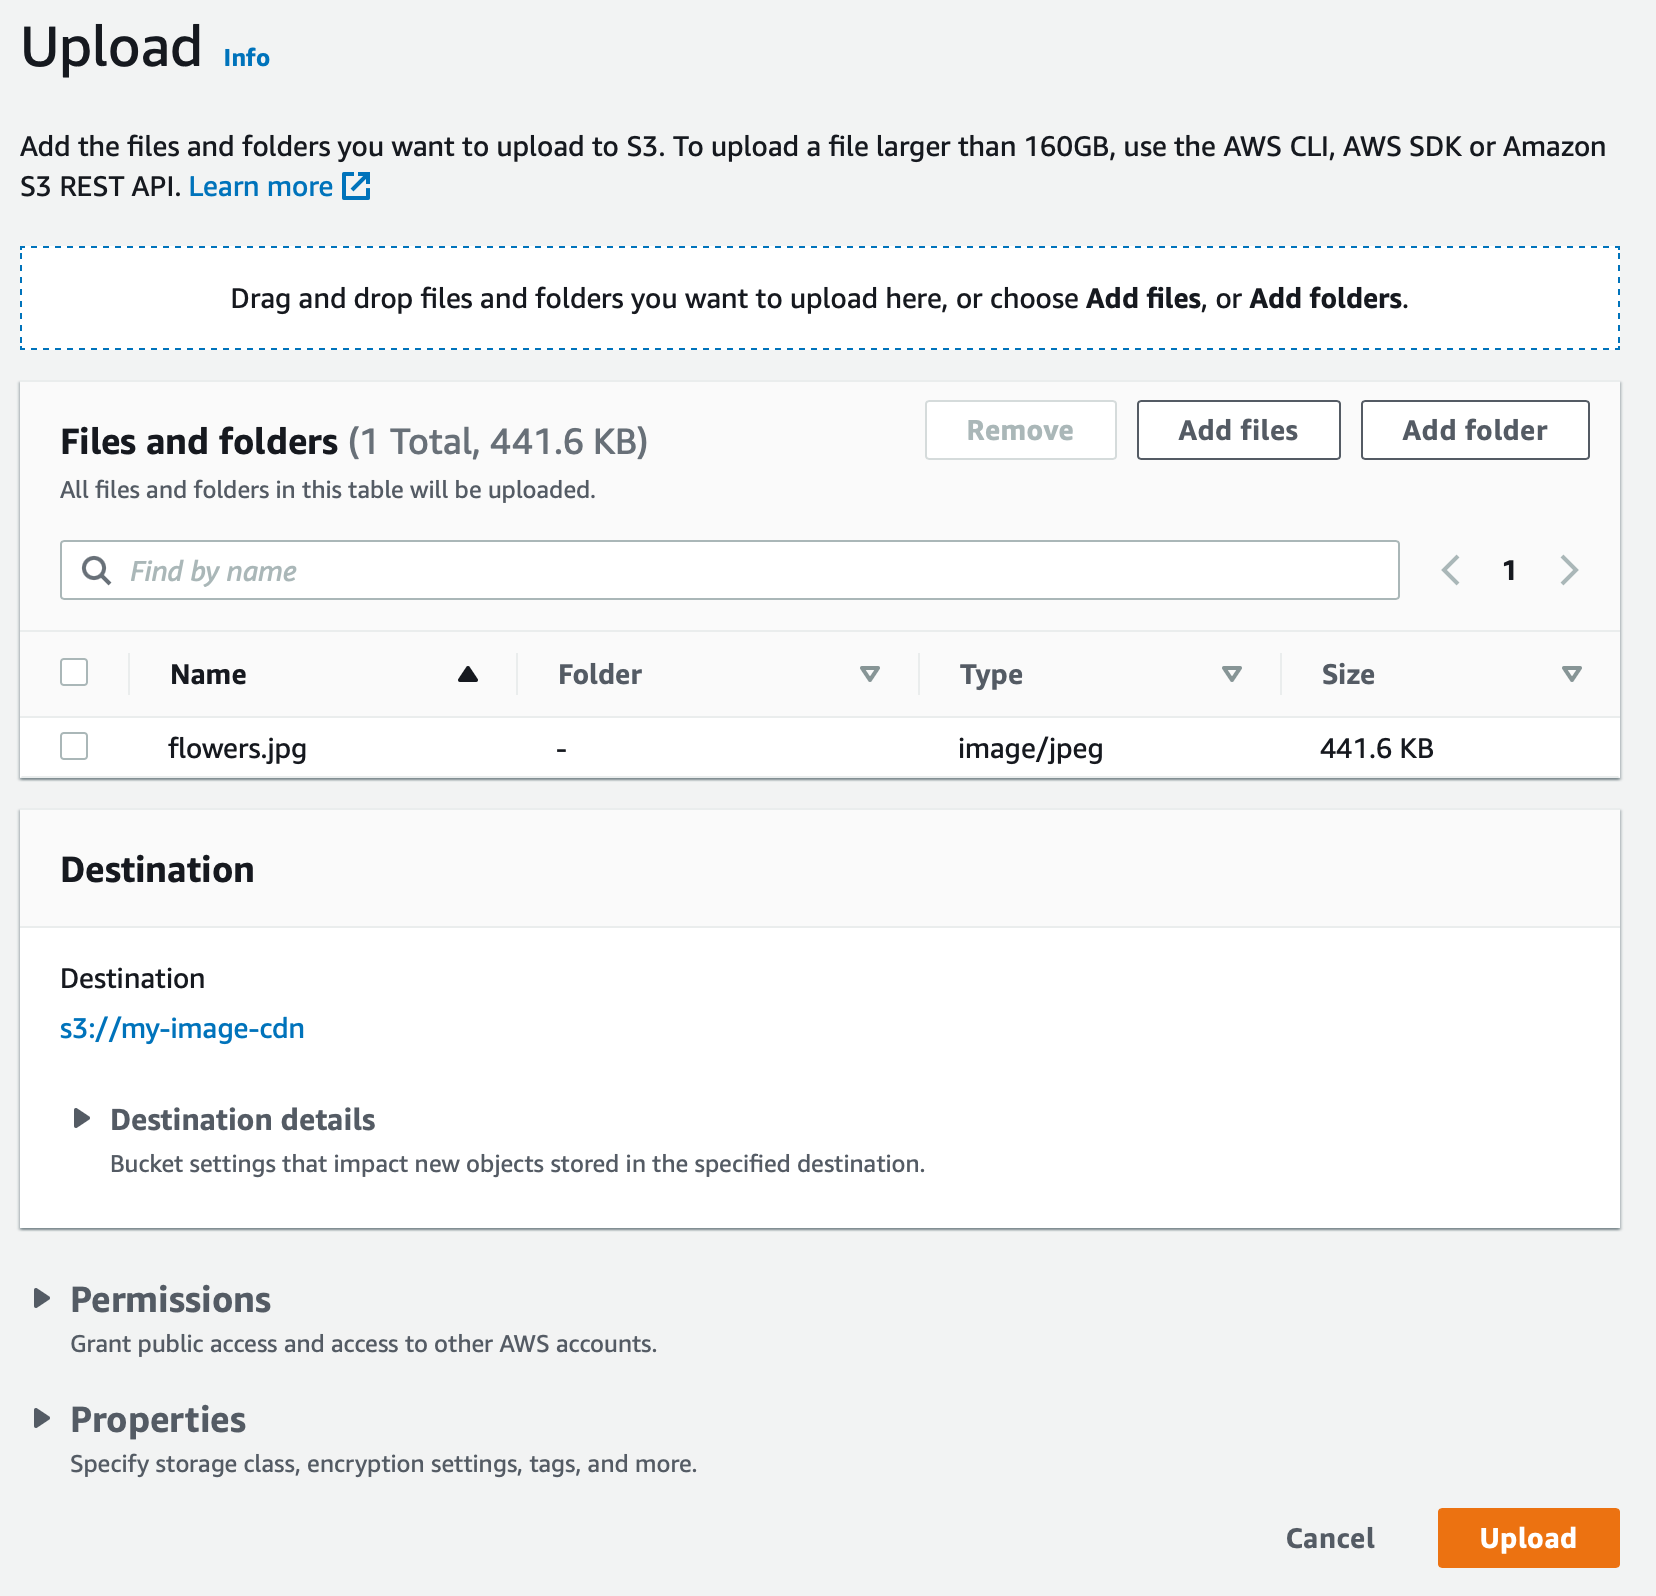
Click “Upload” to upload the image file to S3.
Once the file is uploaded, click “Close” in the top right corner of the “Upload: status” page.
Even though enabling static website hosting for our S3 bucket gave us a URL, CloudFront also gave us a URL.
The URL to the CloudFront distribution is special in that it points to a number of global locations where files in your bucket have been copied to. This makes retrieval of objects in your bucket super fast regardless of where they’re requested.
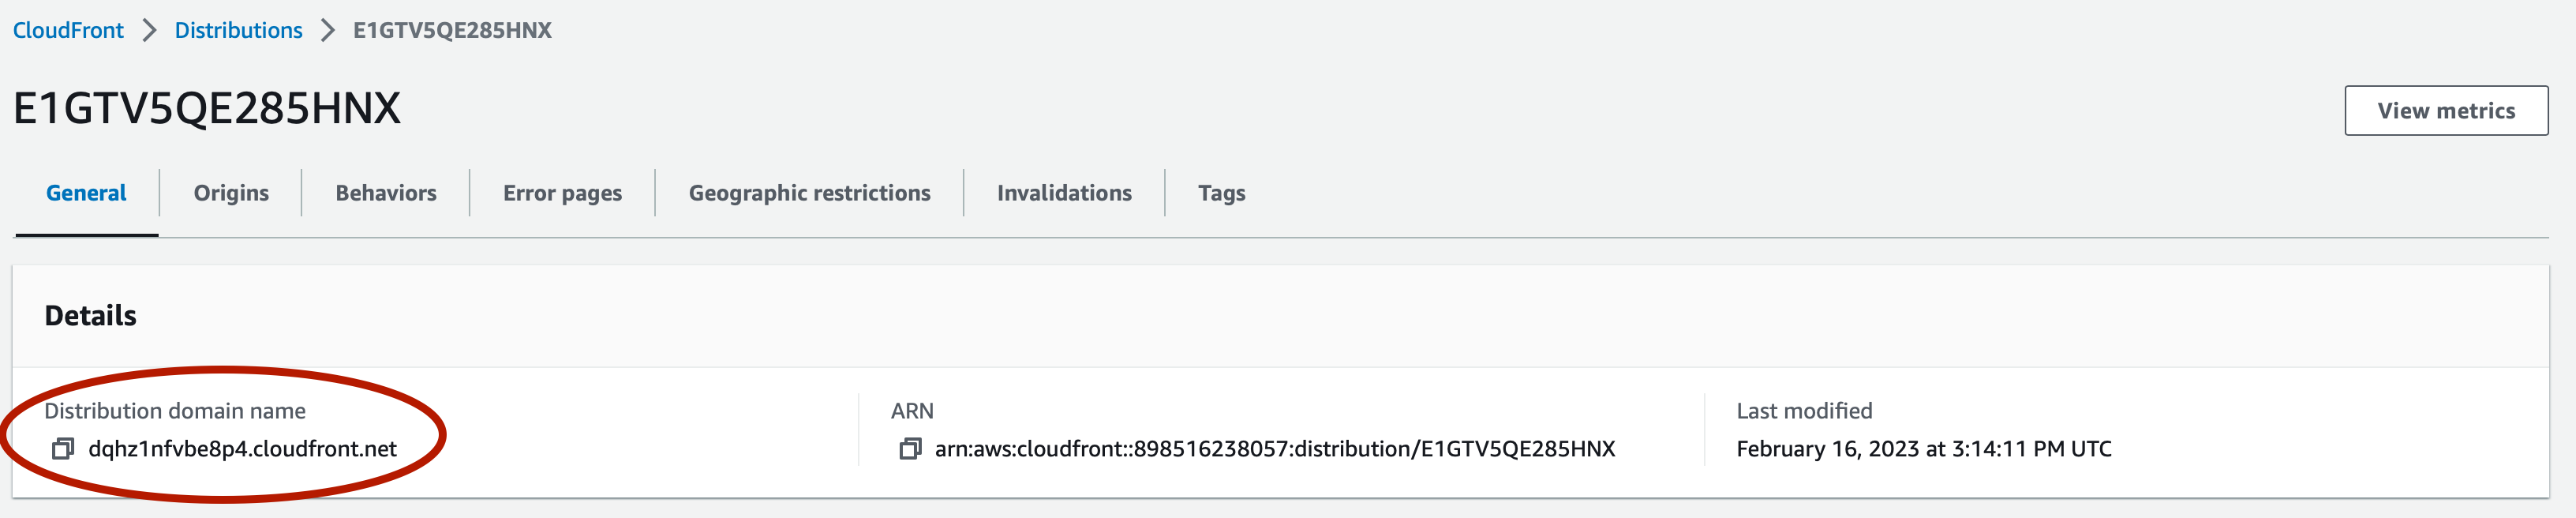
To find your CloudFront URL, navigate to your distribution in the CloudFront dashboard and click on the "General" tab. You will see the URL for your distribution listed under the “Distribution domain name" section.
Once you have your CloudFront URL, you can use it to access the image file that you uploaded to your S3 bucket.
To test this, copy the CloudFront URL and paste it into a web browser, adding the name of the image afterwards.
In this example, this would be:
[https://dqhz1nfvbe8p4.cloudfront.net/flowers.jpg]
If everything is configured correctly, you should be able to see the flowers image file that you uploaded to your S3 bucket.
Soon we will log into Switchboard Canvas and connect our profile to AWS.
Before we do that though, we need to create a user whose credentials we will use in Switchboard Canvas.
We don’t want to use the AWS account we created in the beginning, because that is an administrative root account which has permissions to do anything and everything.
Instead, we’ll create a new user that only has permissions to create objects in our S3 bucket.
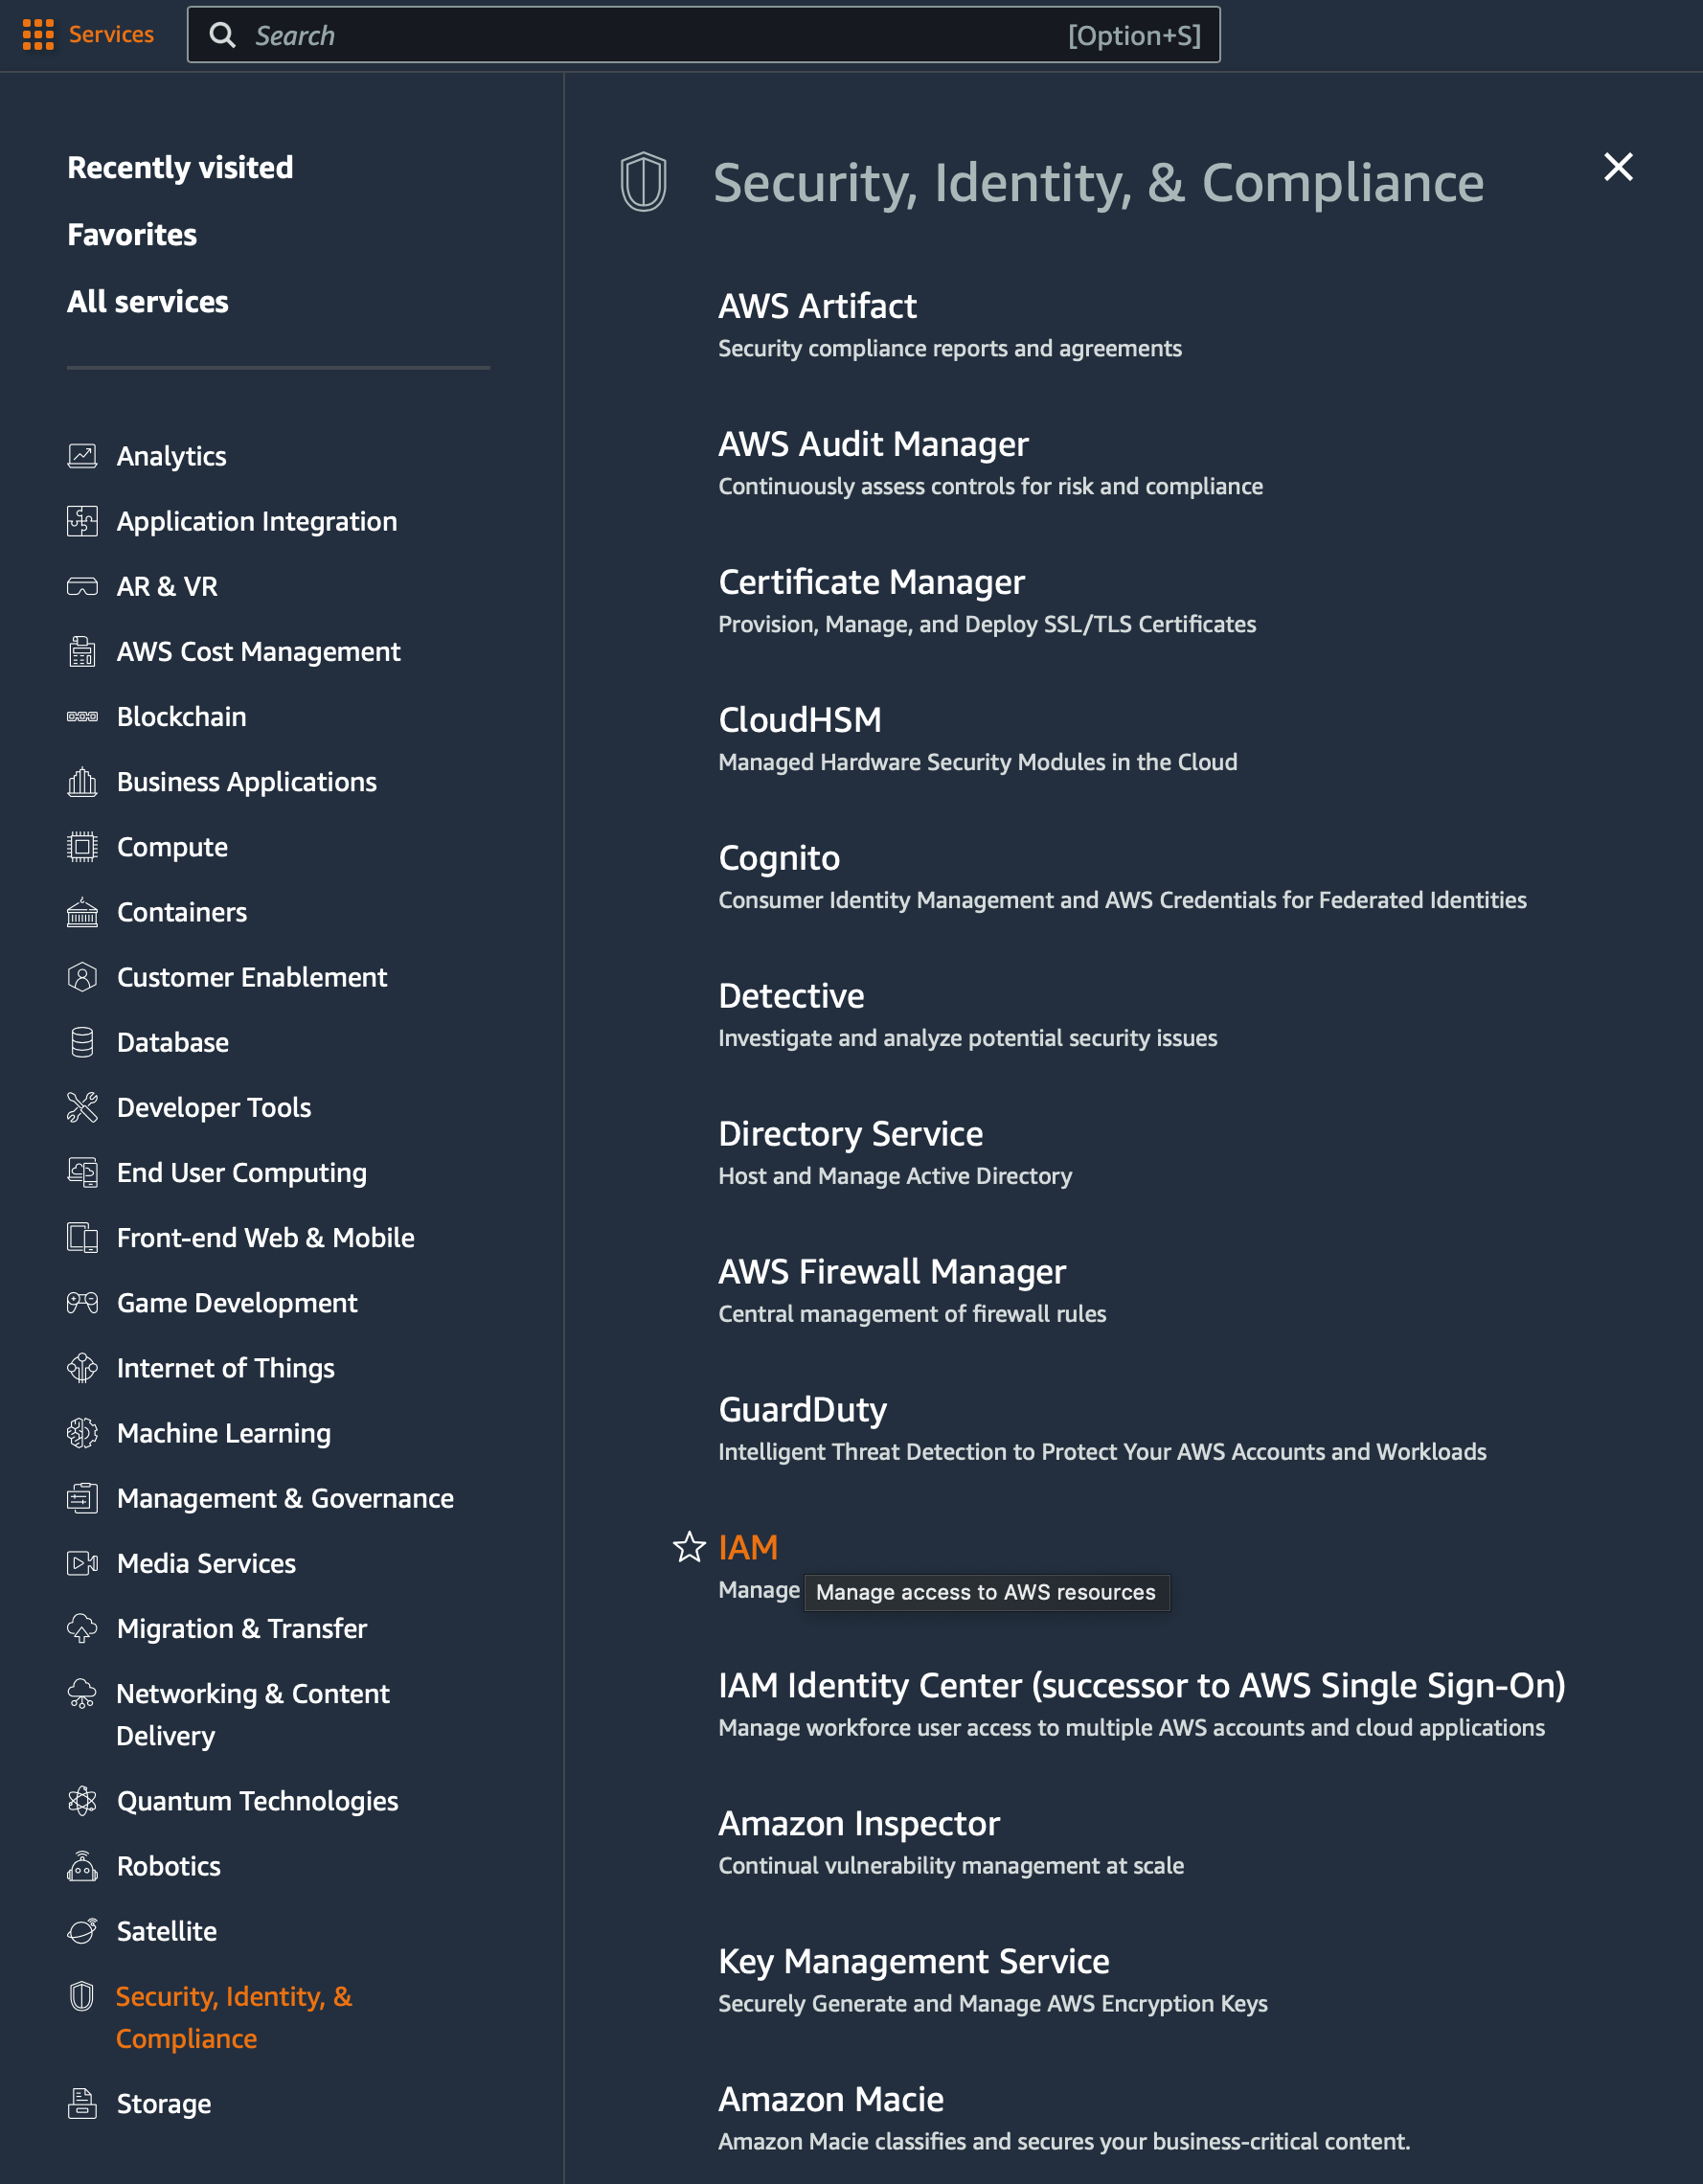
Under the “Services” menu, choose “IAM” under the Security section.
Click “Users” in the left hand navigation and click the “Add users” button in the top-right.

Give your user a name such as switchboard-canvas-user and click “Next”.
Don’t check “Provide user access to the AWS Management Console” because this user will never log in to the management website.
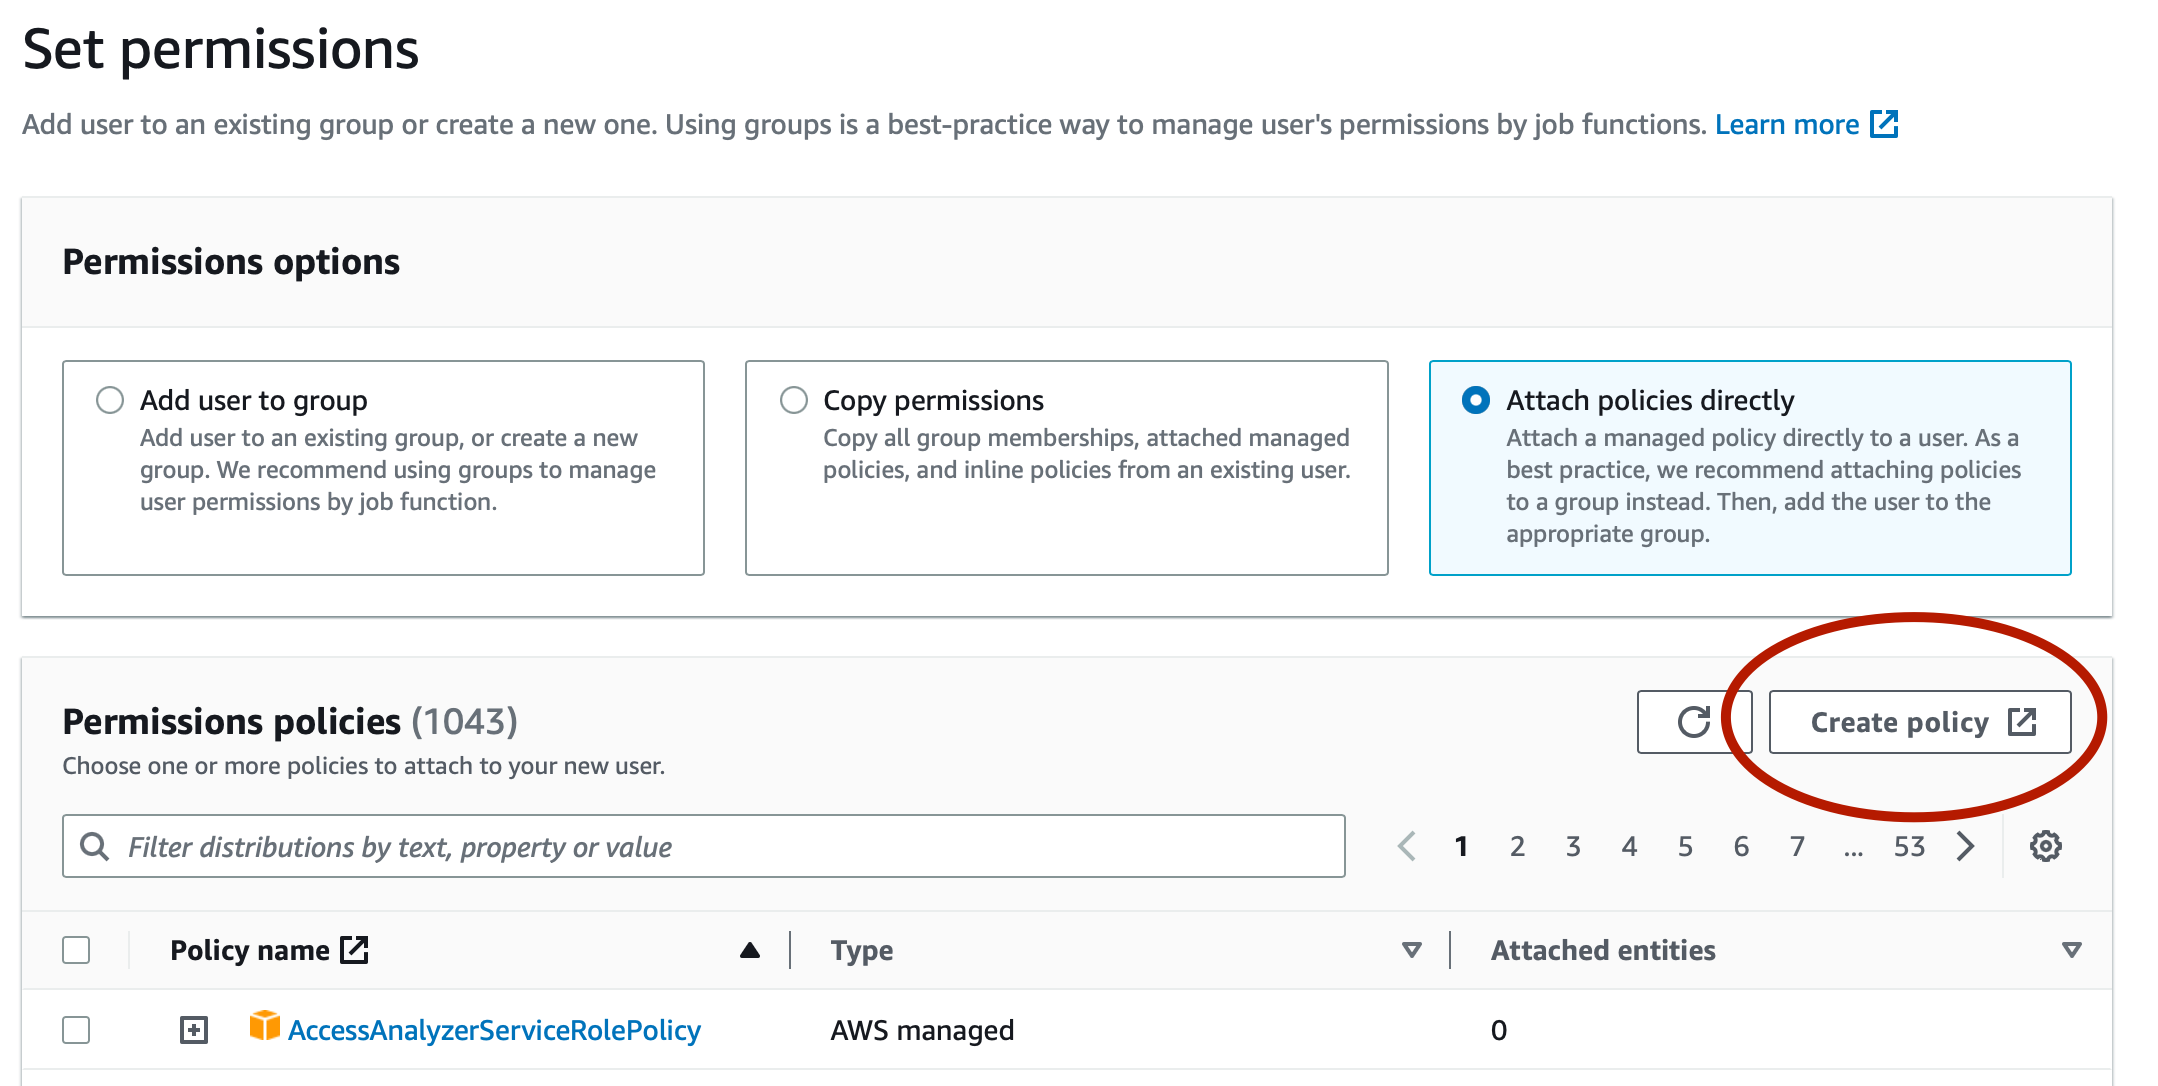
In the “Set Permissions” page, first click “Attach policies directly” and then click the “Create policy” button.
We are going to create a permissions policy that locks the abilities this user has to one specific thing - adding objects to our bucket.
The Create Policy opens in a new tab.
Click on the “JSON” tab and paste in the policy below. Again, make sure in the last line you replace my-image-cdn with your bucket name.
This policy defines one permission - the s3:PutObject permission, which manes writing an object to an S3 bucket.
{
    "Version": "2012-10-17",
    "Statement": [
        {
            "Sid": "VisualEditor0",
            "Effect": "Allow",
            "Action": [
                "s3:PutObject"
            ],
            "Resource": "arn:aws:s3:::my-image-cdn/*"
        }
    ]
}
Click the “Next: Tags” button at the bottom of the page.
We don’t need to add any tags, so click “Next:Review”.

Under the Review policy, give your policy a name, such as write-to-cdn-bucket, and click “Create policy” at the bottom of the page.
Your new policy will be listed in the Policies list once saved, but we’ve not added it to our IAM user yet. So close the current tab and you should see the “Set permissions” screen on the tab that was open previously.
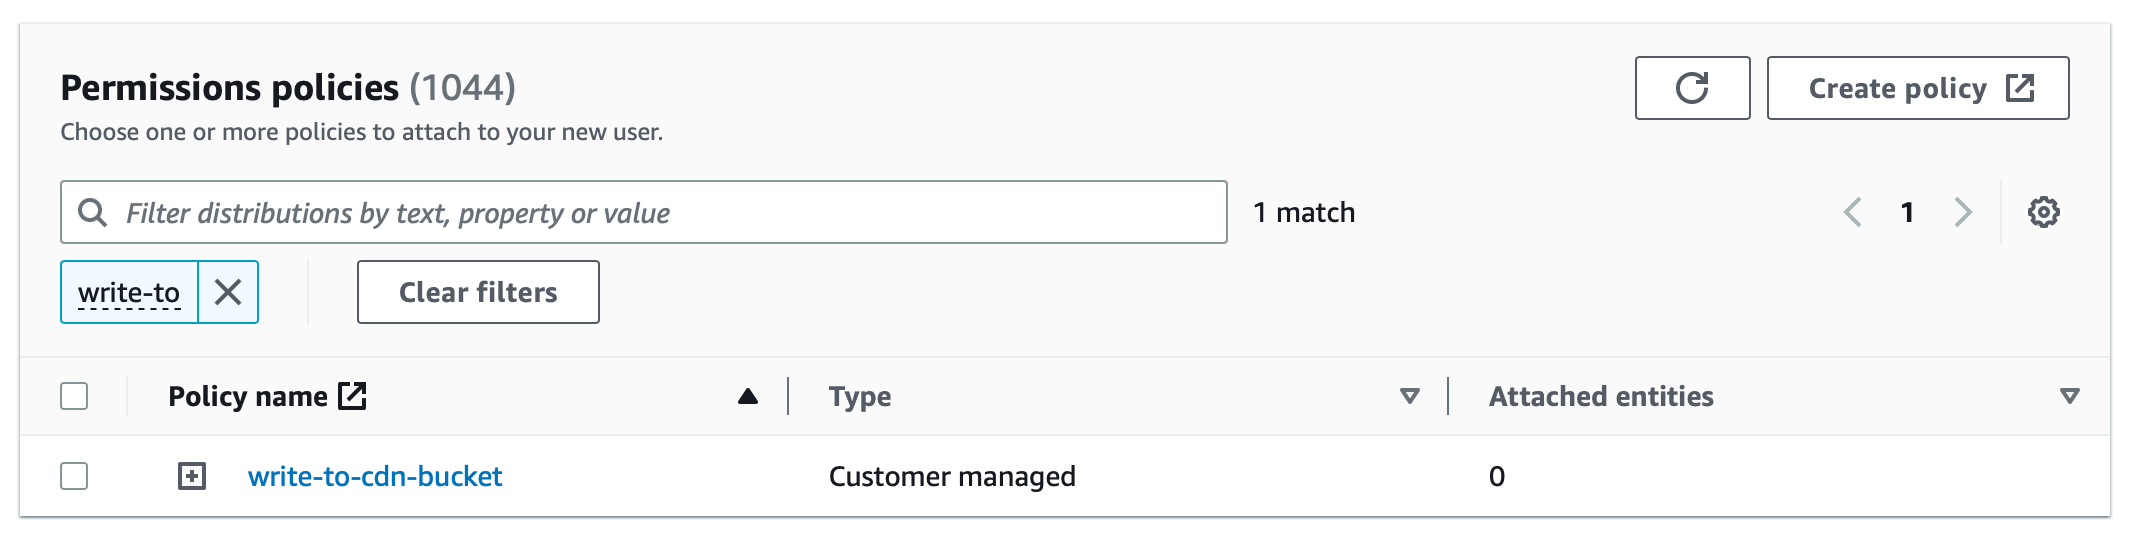
Click the circular refresh icon to refresh the list of policies, then filter the list to whatever you called your policy in the previous step.
Check the box next to the policy and click the “Next” button.
Finally, click the “Next” button to finish creating the IAM user.
The last step in the AWS IAM Console is to grab the programmatic keys for our newly created user.
Select the user in the list, and click the “Security credentials” tab.
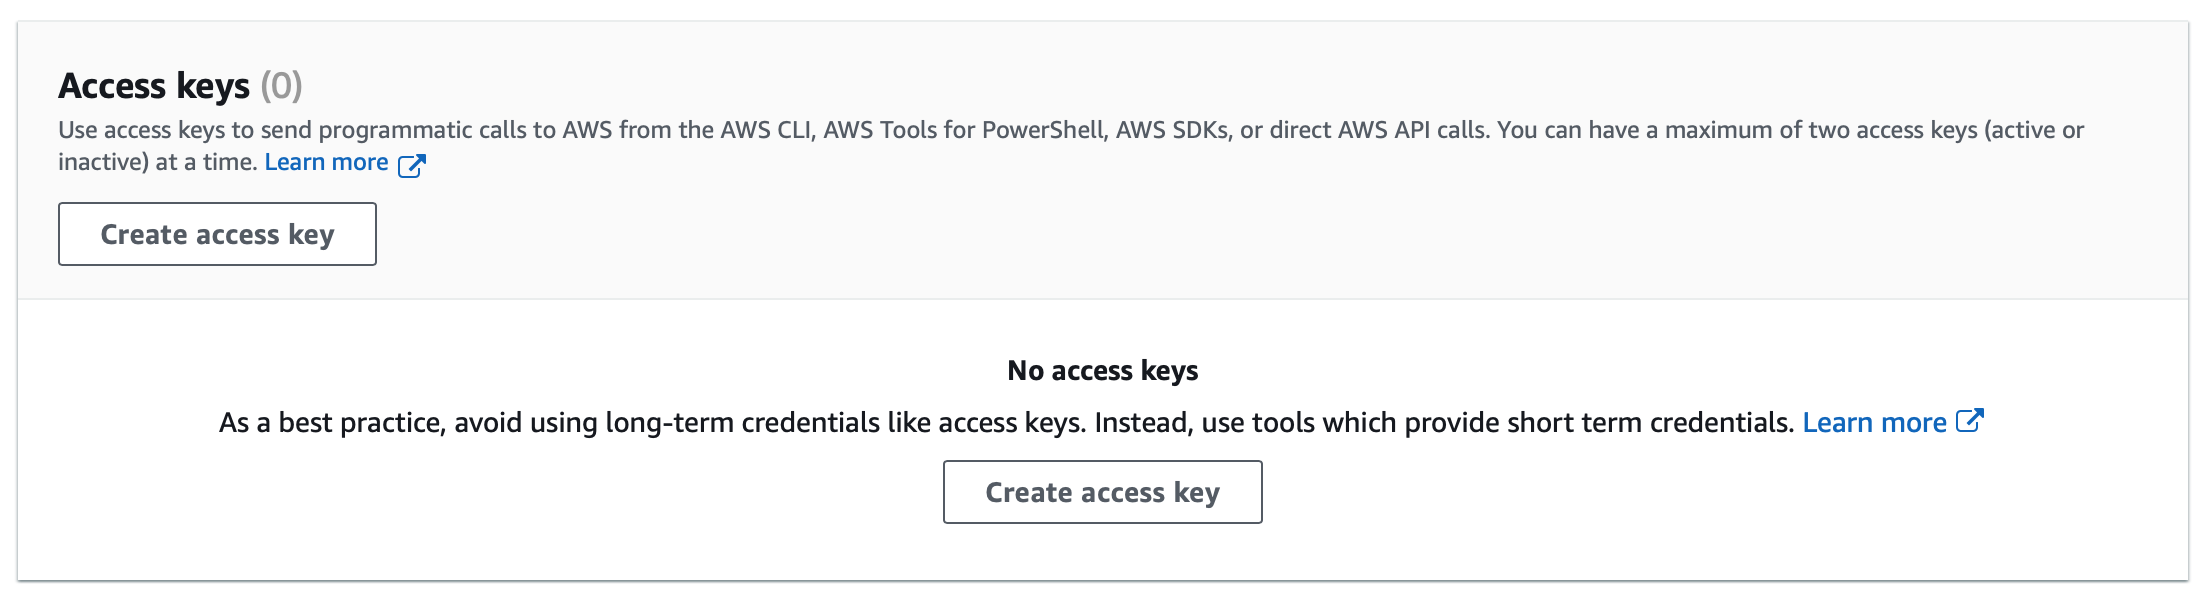
Scroll down to the “Access keys” section and click “Create access key”.
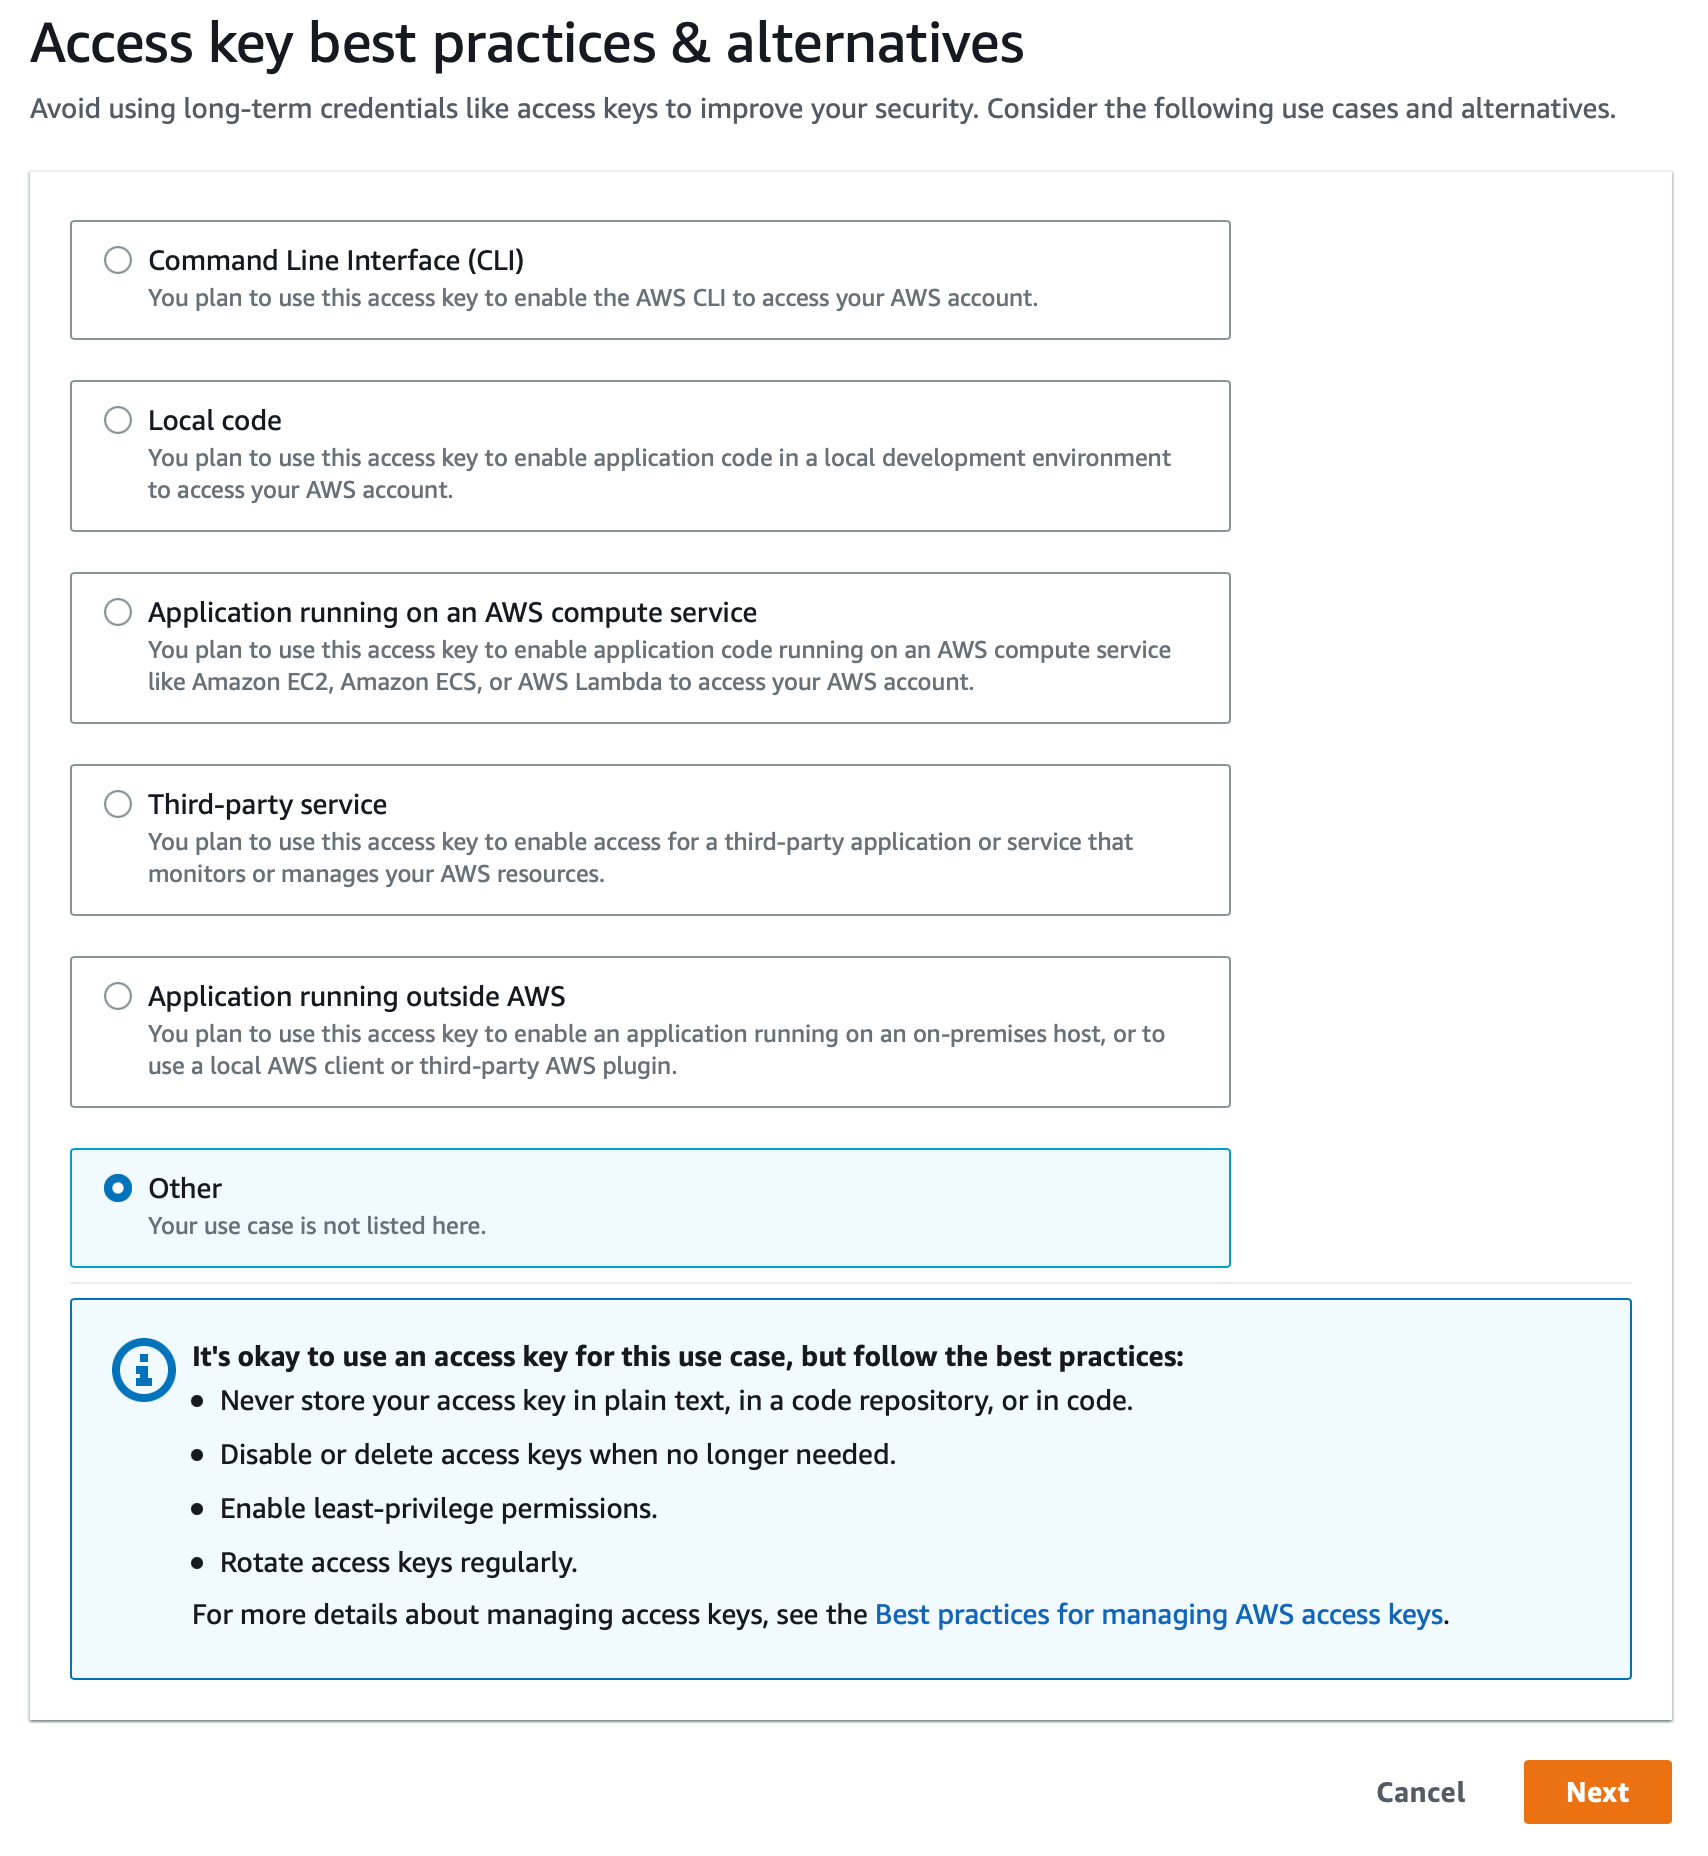
Under “Access key best practices”, choose “Other” and click “Next”.
We don’t need to set a description so click “Create access key”.
Under “Retrieve access keys”, copy and paste both the Access key and the Secret access key.
Once you’ve made a note of the keys, click “Done”.
Log in to Switchboard Canvas and click the “Integrations” option in the left-hand navigation.
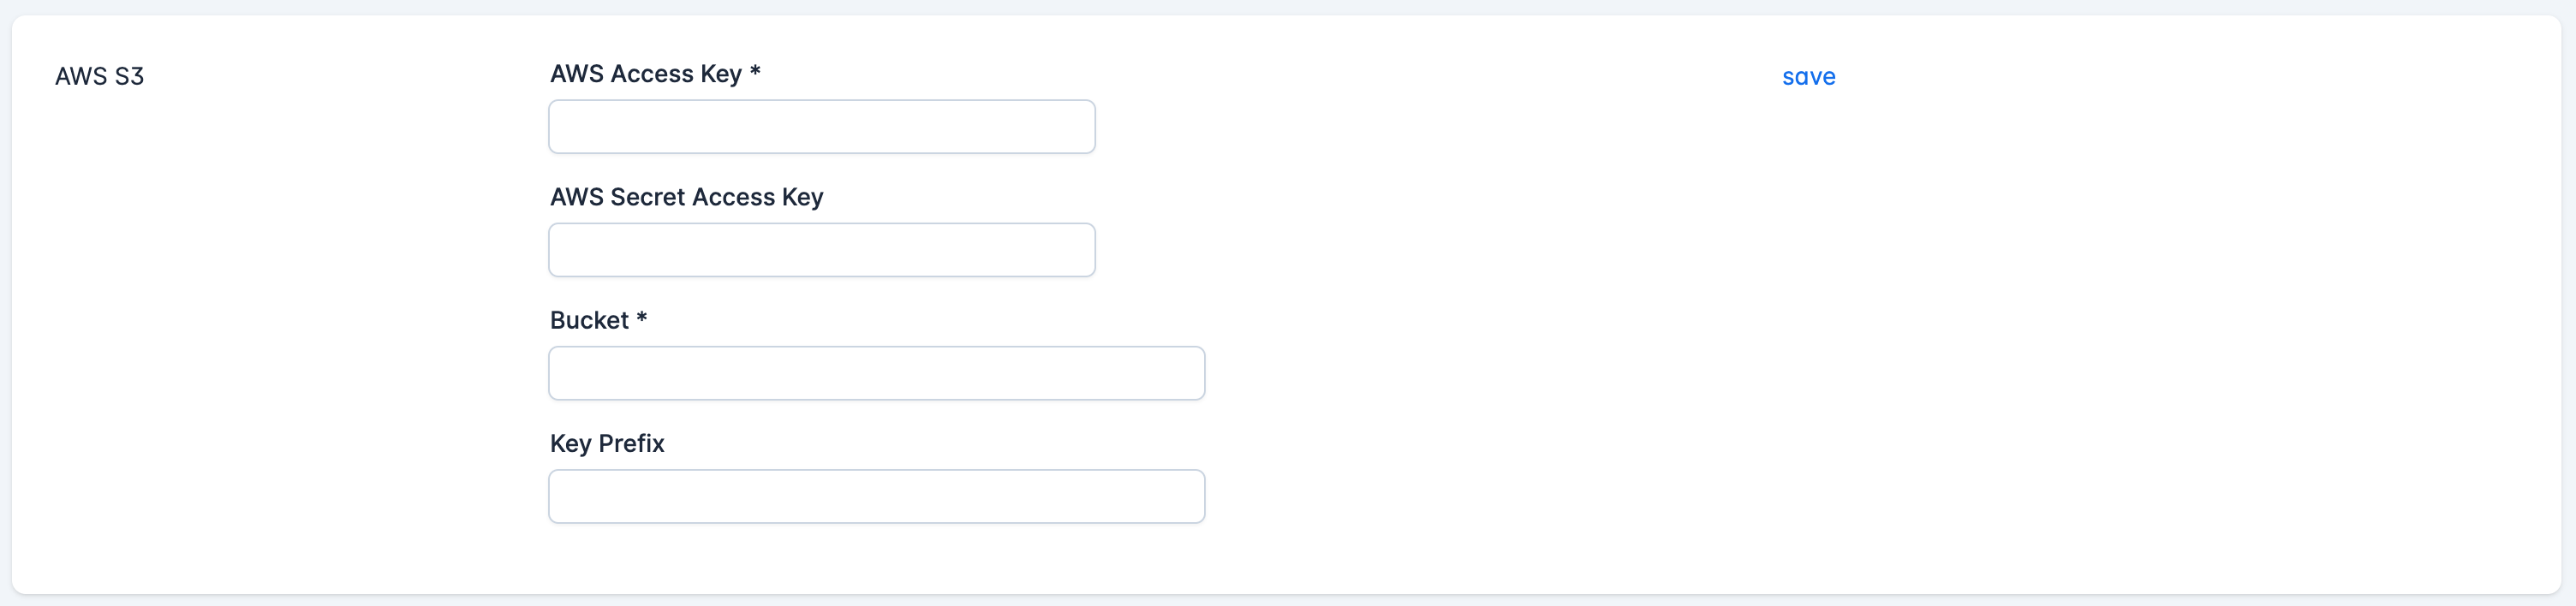
We’re going to add the AWS Access Key and the AWS Secret Access Key we saved from the previous section.
Under “Bucket”, enter the name of the S3 bucket you created near the beginning of the tutorial.
We can leave “Key Prefix” blank for now.
Click “save” to save the credentials.
If you don’t have a template you can use to test, create one quickly with something obvious on it.
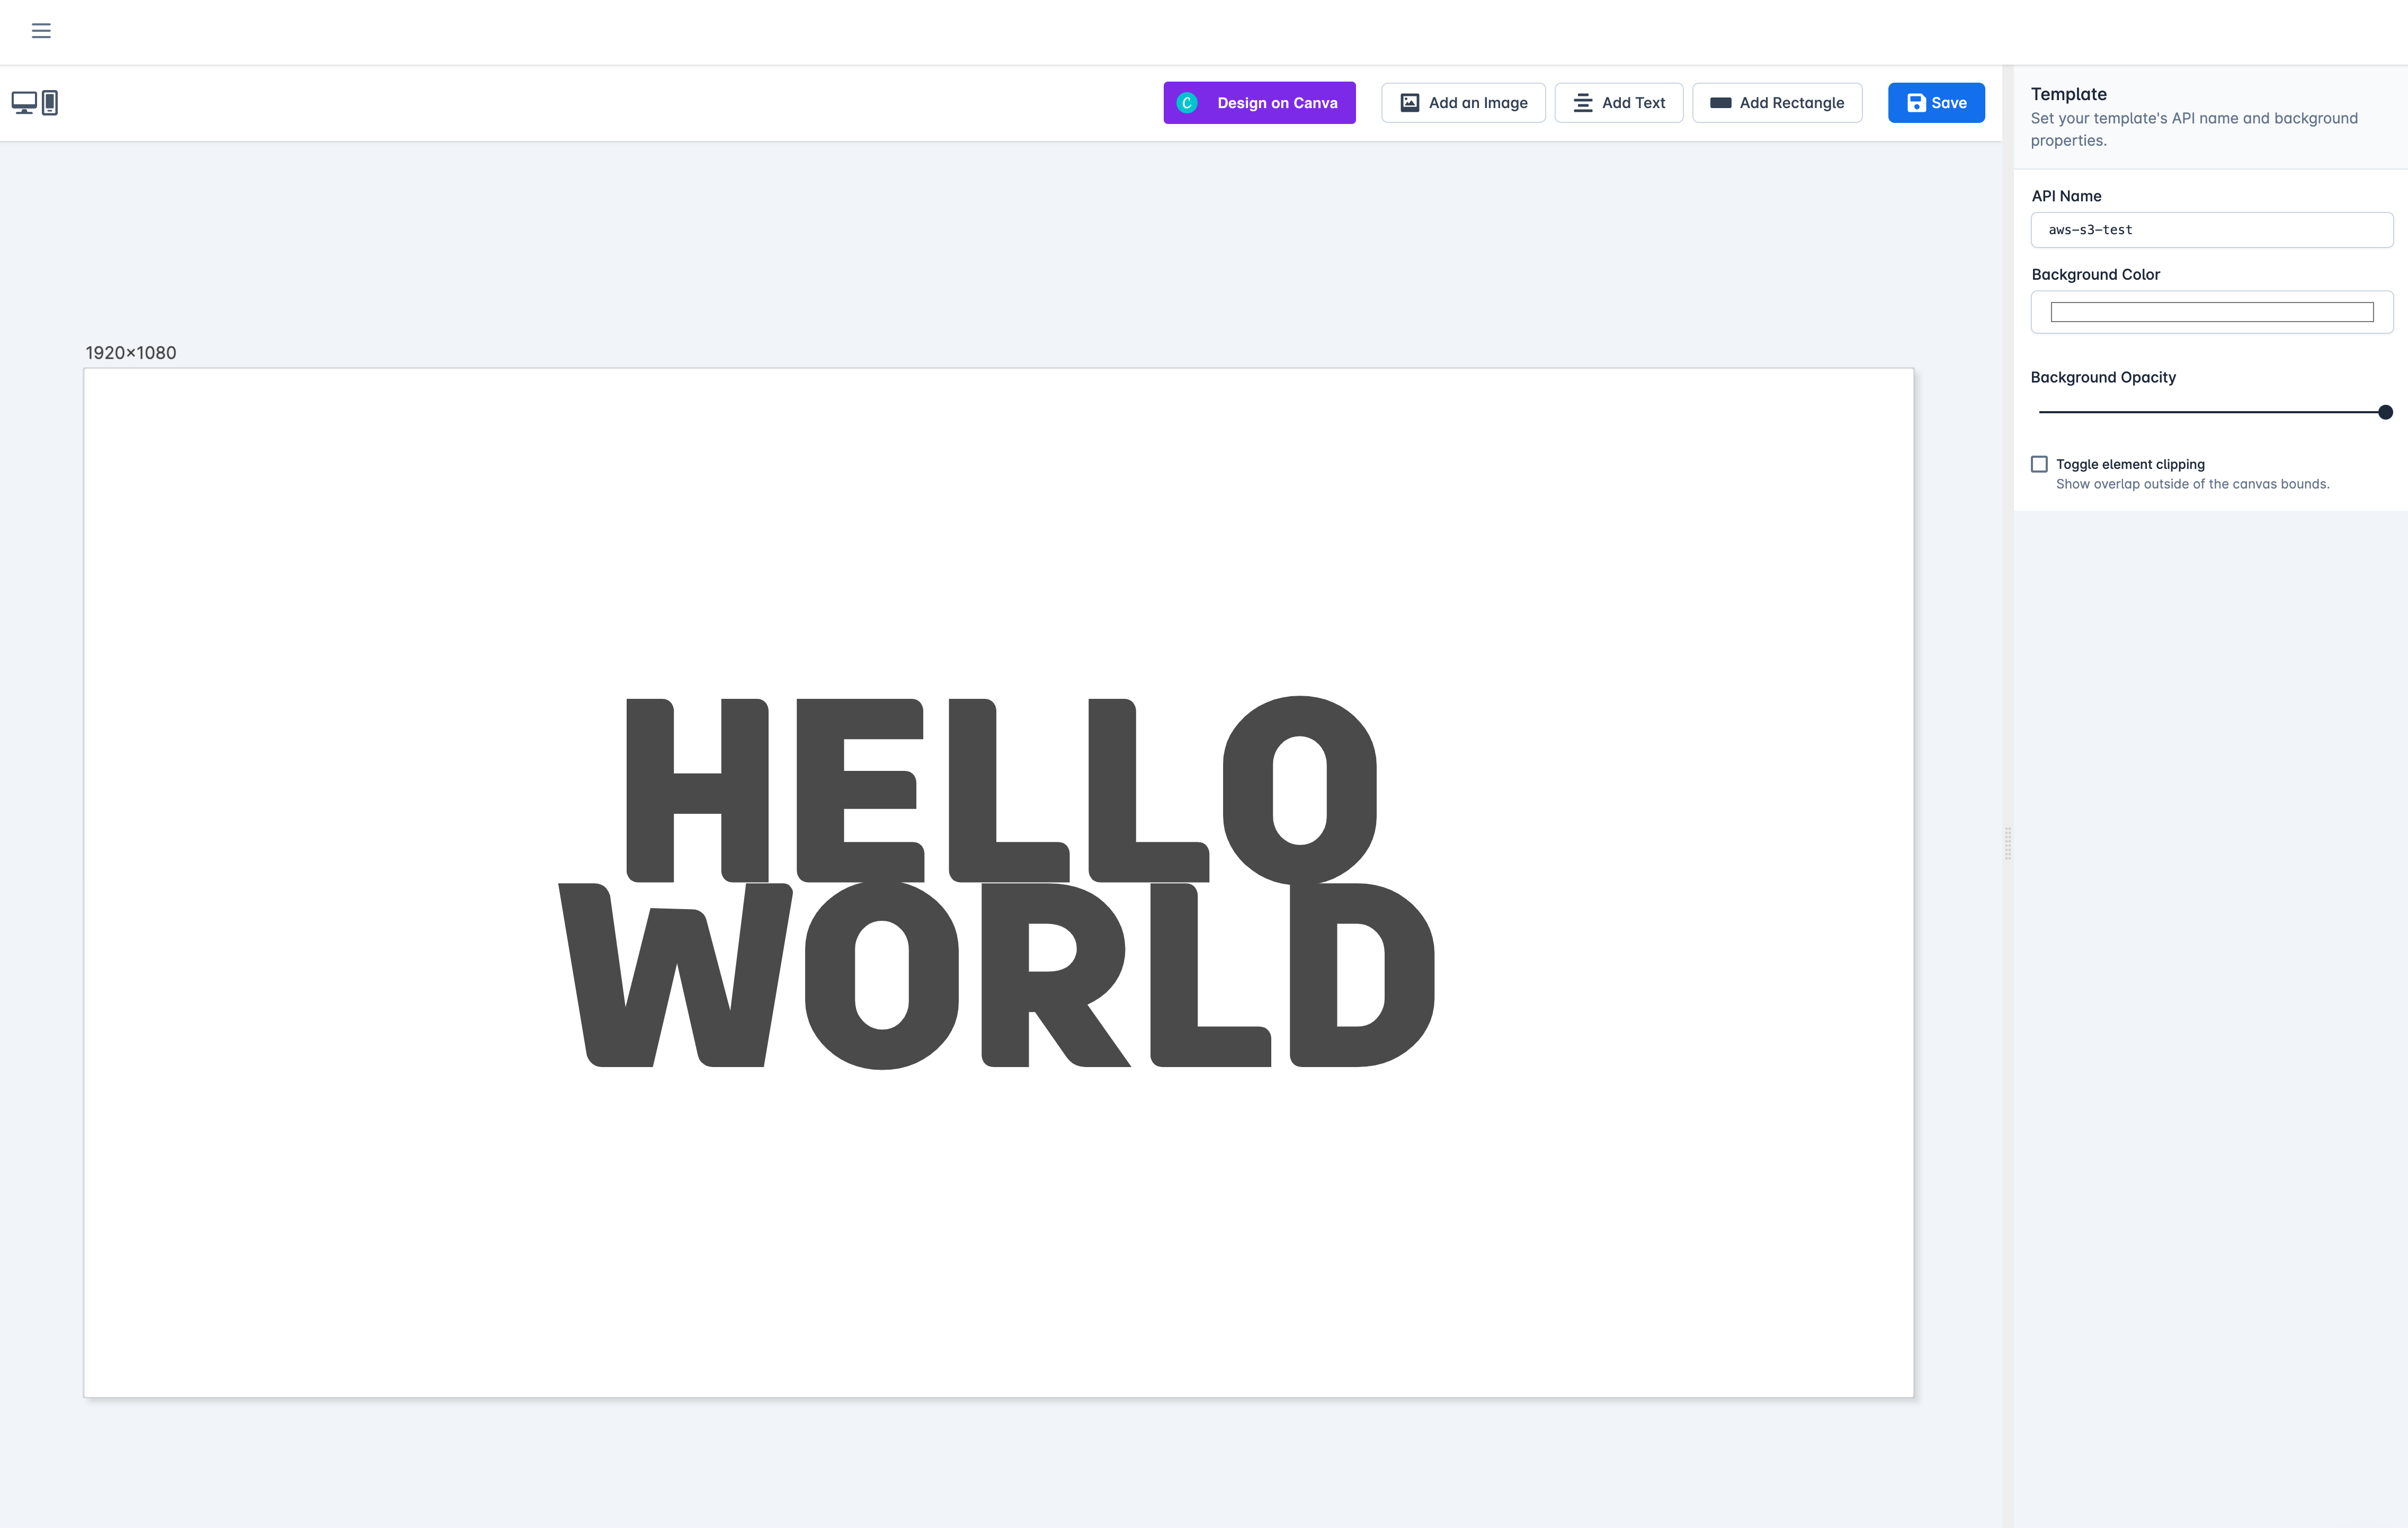
Make a note of the API name.
Now we can make an API request. We’ll include the option that tells Switchboard Canvas to save the image in our S3 bucket.
You can use any REST client to make a request. I like to use Insomnia, so here is my sample request:
{
	"template": "aws-s3-test",
	"sizes": [
		{
			"width": 1920,
			"height": 1080,
			"filename": "helloworld.png"
		}
	],
	"useAws": true
}
Make sure you API key is included in the Headers for the request.
Note we’ve added the useAws property and set it to true. We’ve also specified the output filename using the filename property in the sizes array.
Switchboard Canvas will now check for the details of our integration and send the image to our S3 bucket with our chosen filename.
The response I receive from Switchboard Canvas is:
{
	"duration": 738,
	"usage": false,
	"success": true,
	"warnings": [],
	"sizes": [
		{
			"warnings": [],
			"url": "https://my-image-cdn.s3.amazonaws.com/helloworld.png",
			"success": true,
			"size": {
				"width": 1920,
				"height": 1080
			}
		}
	]
}
Switchboard Canvas has created the image in our static website hosting location, and returned that URL in the response.
The final step is to request this image through our CloudFront URL:
https://dqhz1nfvbe8p4.cloudfront.net/helloworld.pngIn this article, we have outlined the process of creating an AWS account, setting up an S3 bucket to host images, and configuring CloudFront to create a distribution that delivers those images to users.
We covered the basic steps required to get up and running, including creating an S3 bucket, configuring bucket permissions, creating a CloudFront distribution, and testing the setup to ensure everything is working correctly.
We also configured our Switchboard Canvas integration with the AWS credentials of a limited IAM user.
By hosting images in an S3 bucket and delivering them through CloudFront, you can take advantage of the benefits of cloud-based storage and content delivery. This setup is highly scalable, cost-effective, and reliable, making it an ideal solution for hosting and delivering images on the web.
Additionally, by using CloudFront, you can reduce latency and improve transfer speeds for your users, which can enhance the user experience and reduce load times.

We care about the protection of your data.