Summary
Easily make an image from any web page, news article or blog post.
Jump To
Share
Easily make an image from any web page, news article or blog post.
Jump To
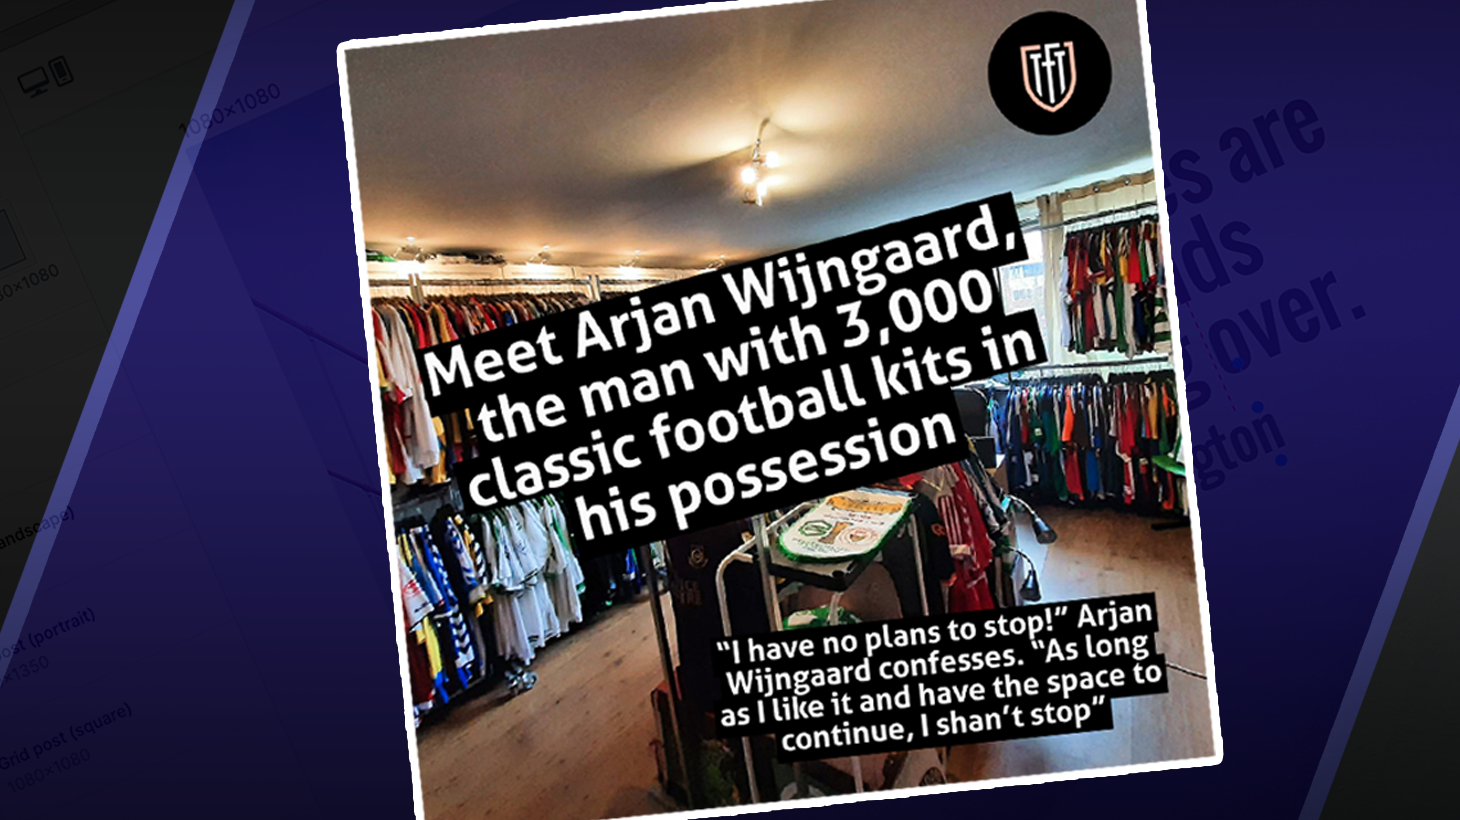
Learn how to create an image from any web page or blog post… and all you need is the URL.
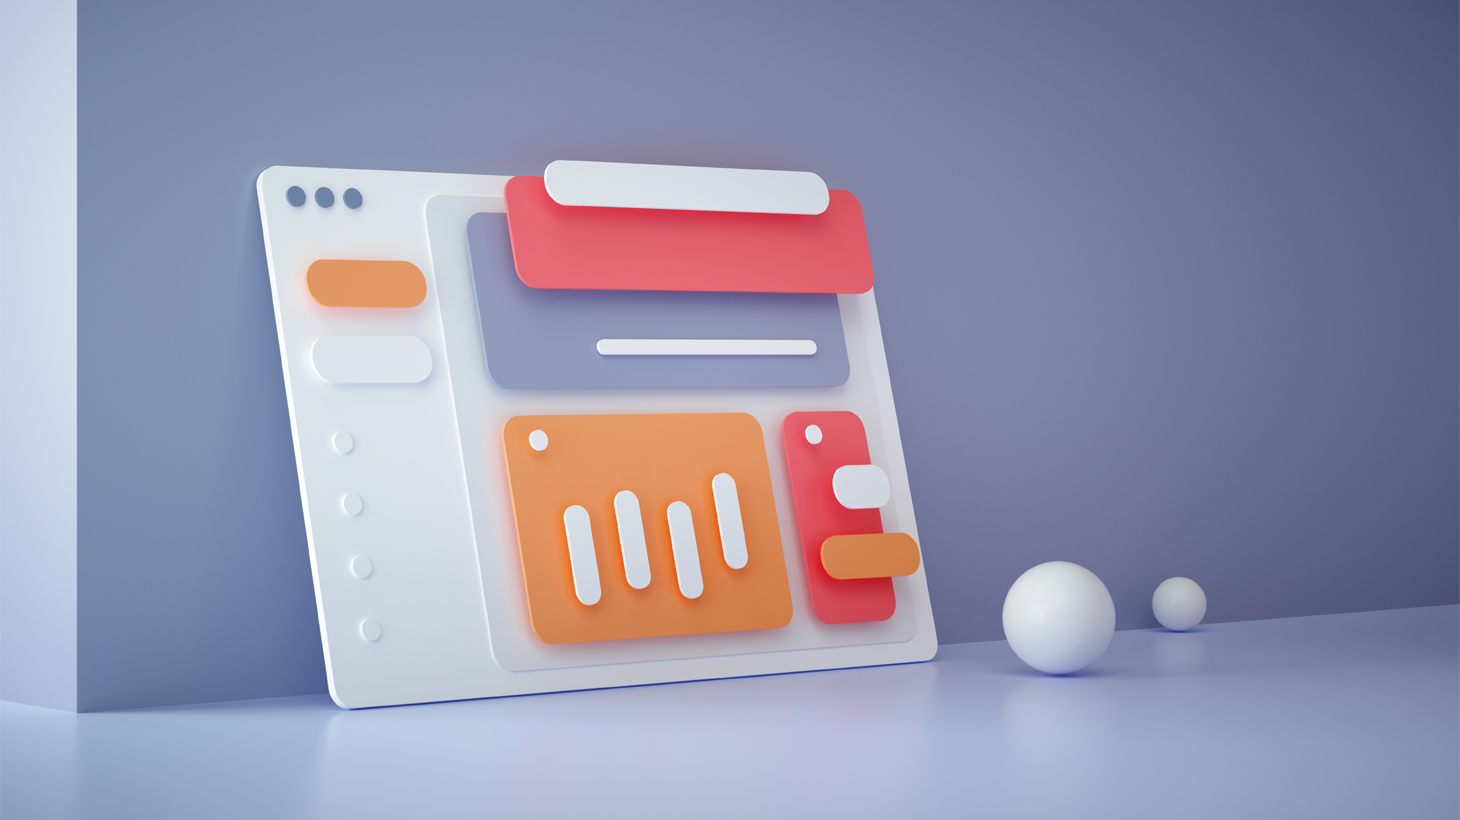
--- Firstly, create a new template in Switchboard Canvas. Select your desired template dimensions from the panel on the left-hand side.This is, of course, just a placeholder image, as your newly created image of a webpage or blog post will already have a featured image. Therefore, you can select any image from the ‘Image’ button situated on the toolbar at the top of your template.

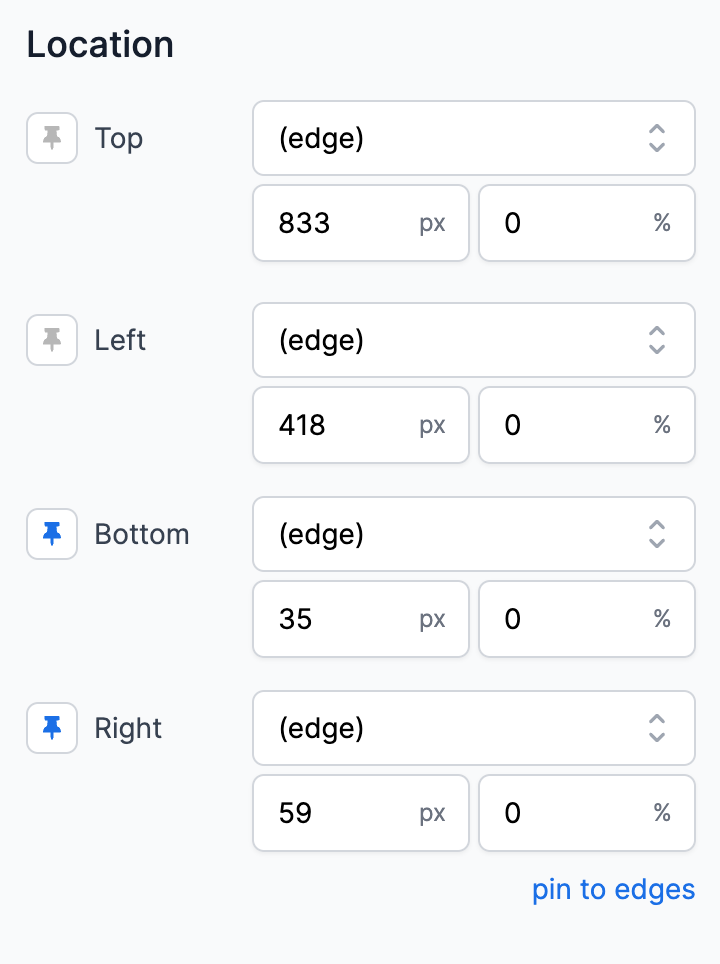
Once you have selected an image, using the side panel on the right-hand side of your template, at the bottom of the location section, select ‘pin to edges’ - this will pin all sides and ensures your image covers the entire width and height of the template at all times, regardless of template dimensions.

Crucially, make sure the API Name for your image is ‘background.’

This element is where your web page or blog post title will go. On the toolbar at the top of your canvas template, select ‘text’.
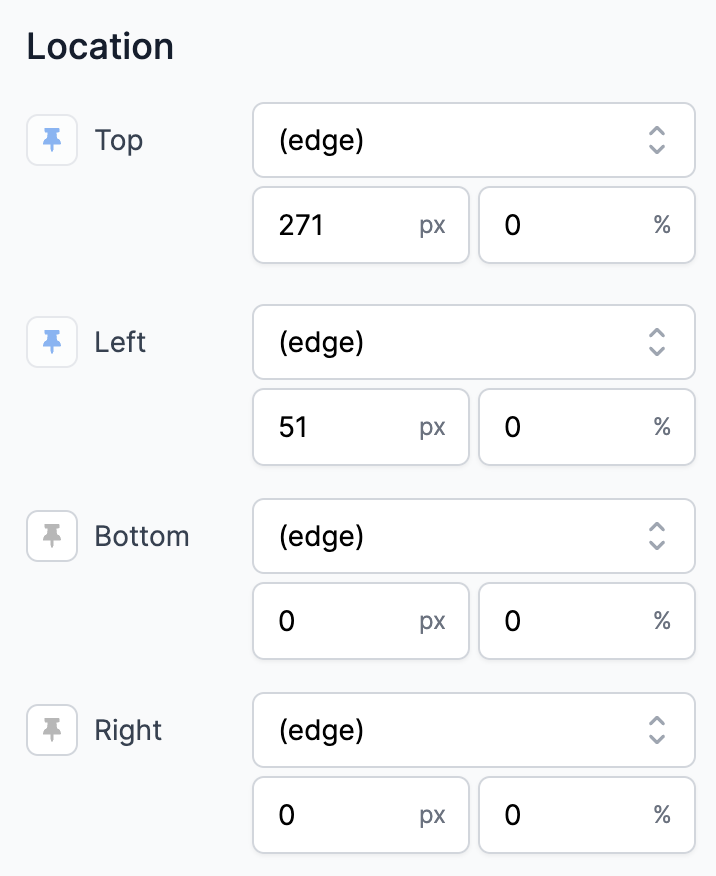
The element will automatically pin to your template’s top and left side; you can manually drag and move where you would like the element to go. Alternatively, you can use the side panel on the right-hand side to adjust how far from each edge you want your element to sit and then pin accordingly.
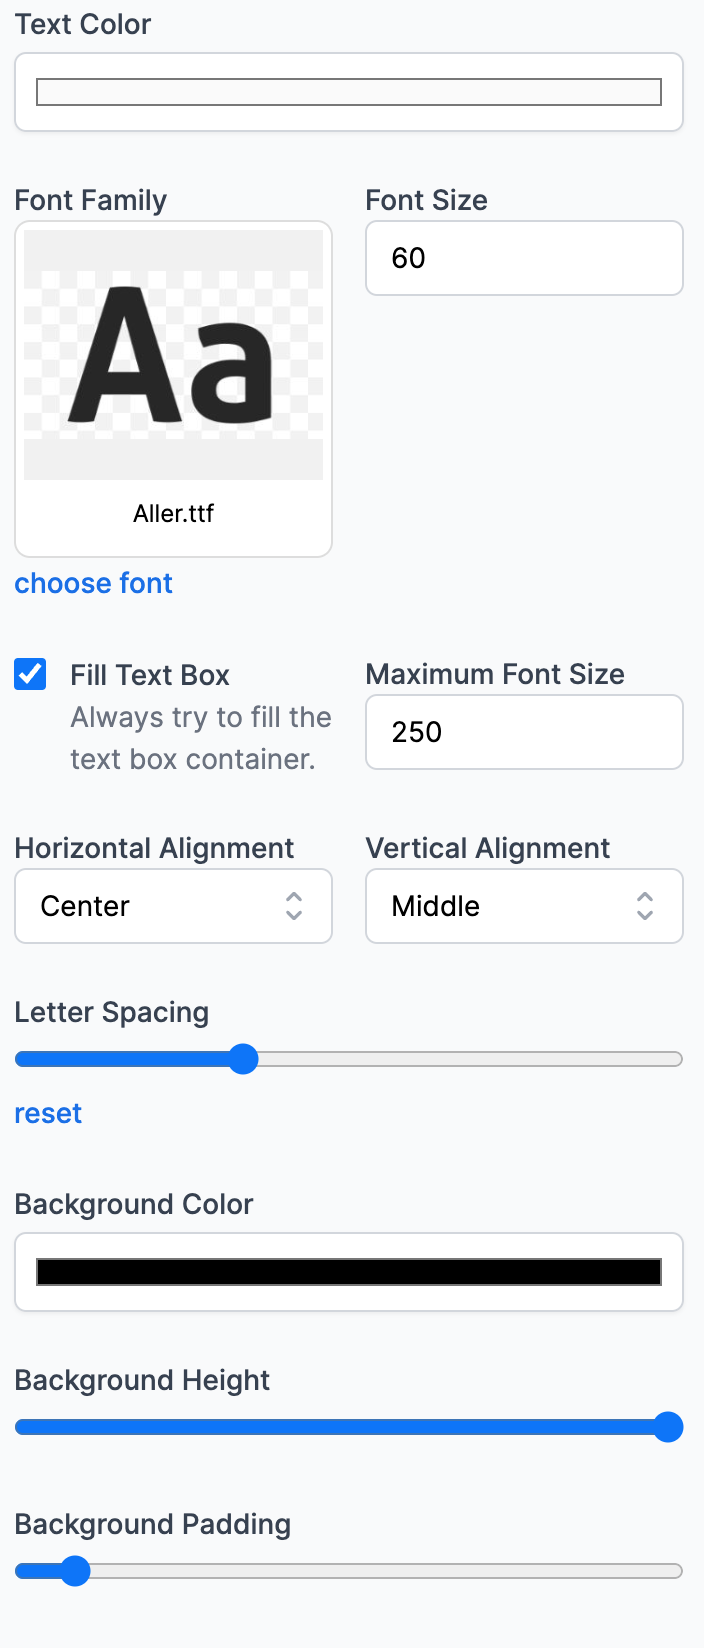
Using the side panel on the right-hand side, you can select your desired font, text color, and size, as well as give the text background; this can be useful to help ensure the title stands out.
Crucially, make sure the API Name for your text is ‘title’.
The description text is where your web page or blog post description will go.
Once again, select the ‘text’ button in the toolbar at the top of your template.
Position this new element where you think it is appropriate for your design, and pin it to the appropriate edges using the location section in the side panel.
Use the side panel on the right-hand side of your template to select your desired font, text color, and size, as well as give the text background; this can be useful to help ensure the description stands out.
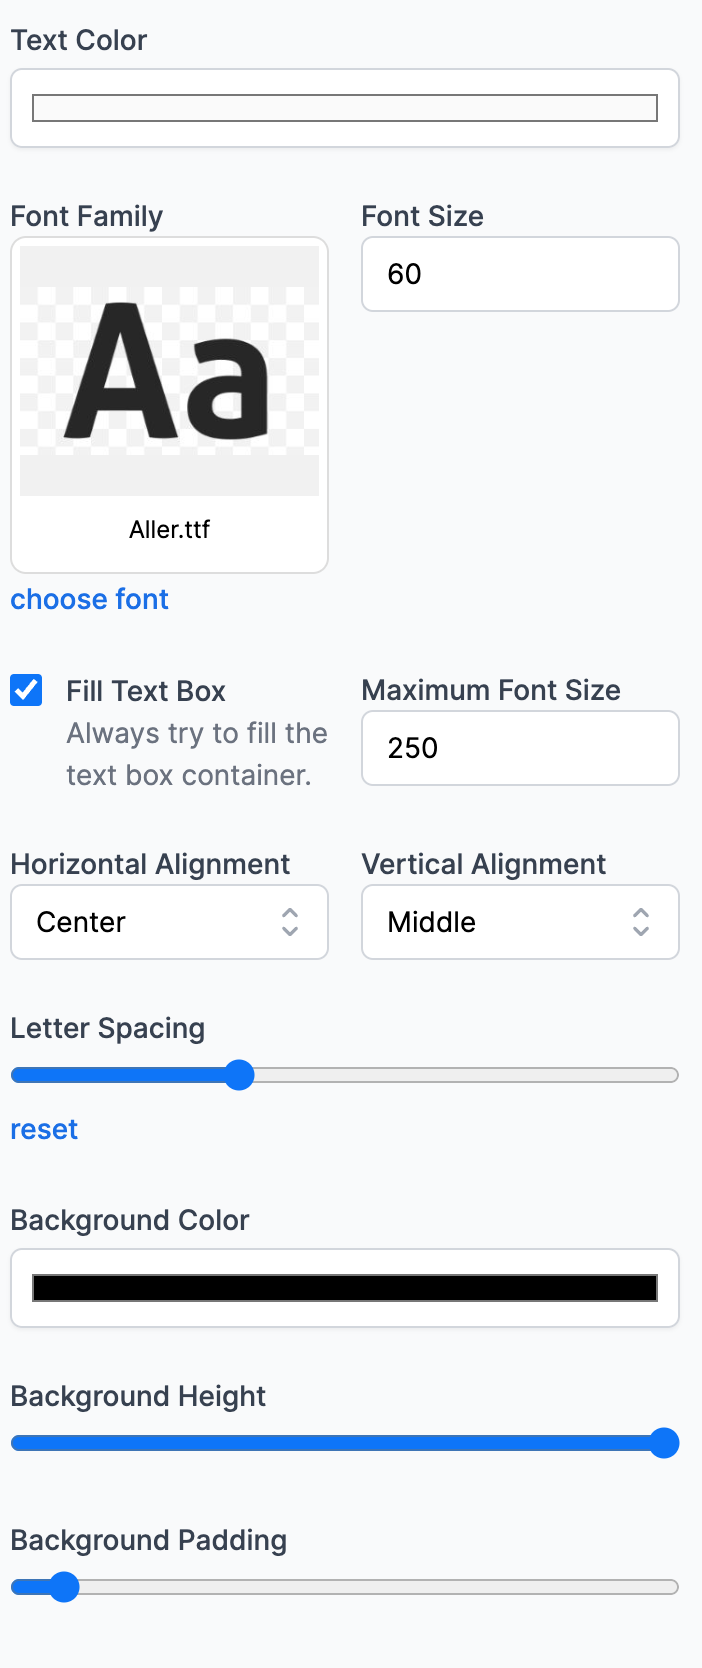
Be mindful that the description may usually be longer than the title once your image has been created. Therefore, you will want to have this element smaller than the title.
Crucially, make sure the API Name for your text is ‘description’.
Select an image from the toolbar at the top of your template. This, again, is just a placeholder.
Using the location section in the panel on the right-hand side, pin your image to where you want the web page or blog post favicon to appear.
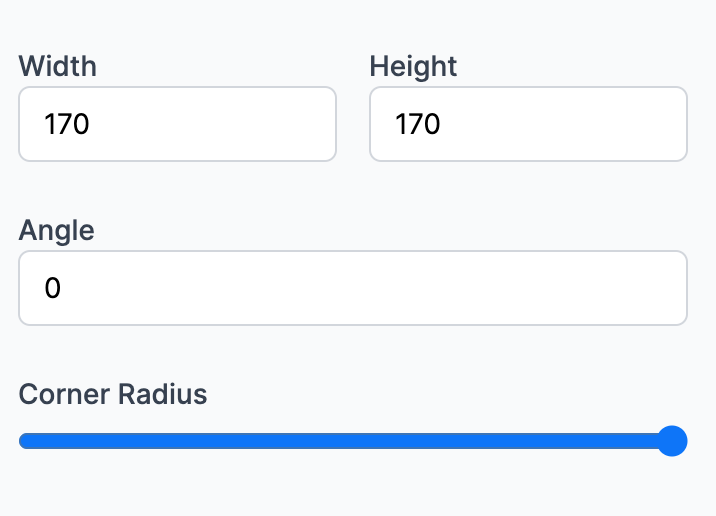
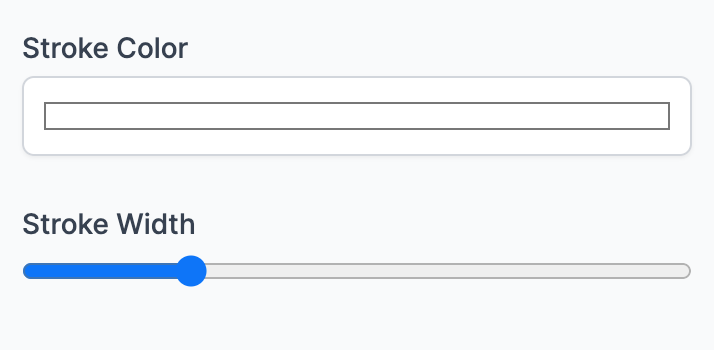
A trick to help with the design is to use the side panel on the right-hand side to make this image circular. To do this, make the image’s sides the same width and height as each other and then increase the corner radius fully.
Also, another trick to help make the favicon stand out is to place a border around it. Using the side panel on the right-hand side, select stroke color and then increase stroke width to your desired size.
Crucially, make sure the API Name for your image is ‘favicon’.
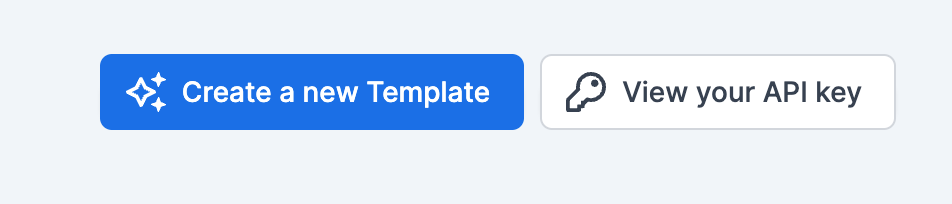
Now your template is created, make sure you SAVE, and then you can head over to your REST client, such as Insomnia or Postman.
Ensure your API Key is added as the X-API-Key header and matches with your Switchboard Canvas account.
You can view your API key in your templates folder in Switchboard Canvas.
Add the following -
{
	"template": "<your template>",
	"sizes": [
		{
			"width": 1080,
			"height": 1080
		}
	],
    "url": "<url to the blog post>"
}
Replace template with the API Name of the template you have just created on Switchboard.
Specify the width and height you want your image to be created.
Specify the URL of the web page or blog post from which you want to create the image.
Send the request, and this will return a response with a link to your image.


We care about the protection of your data.