Summary
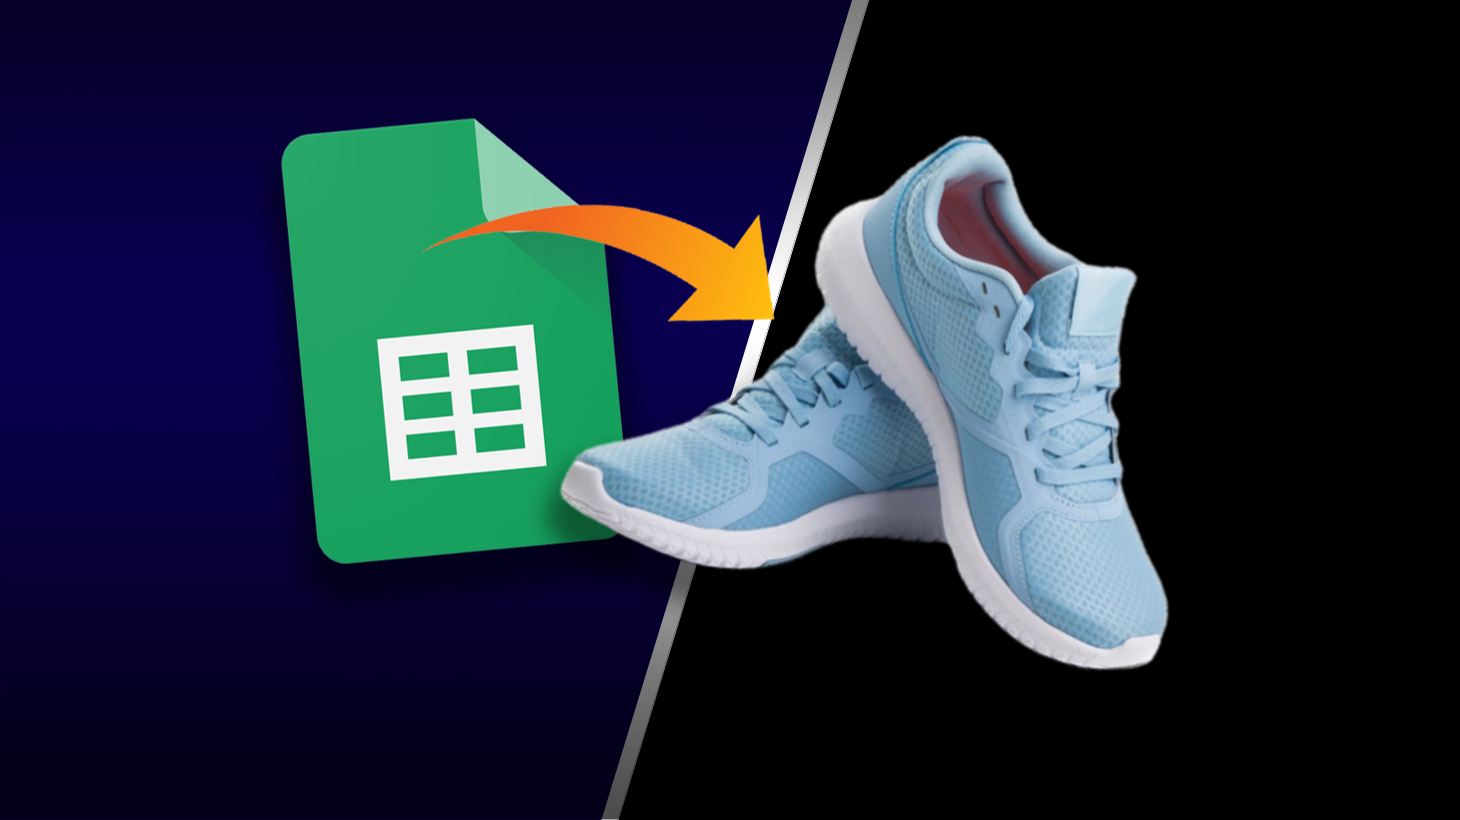
How to generate images from data in a Google Sheets document.
Jump To
Share
How to generate images from data in a Google Sheets document.
Jump To
It’s now possible to access data in a Google Sheets document directly from Switchboard Canvas.
Once you’re authenticated with your Google account, you can use the API to batch generate images from data in your Google Sheets document.
Here’s a walkthrough on how the Google Sheets integration works:
You can also watch a video tutorial on the integration here:
Head over to the Profile page and click the Connect to Google button:
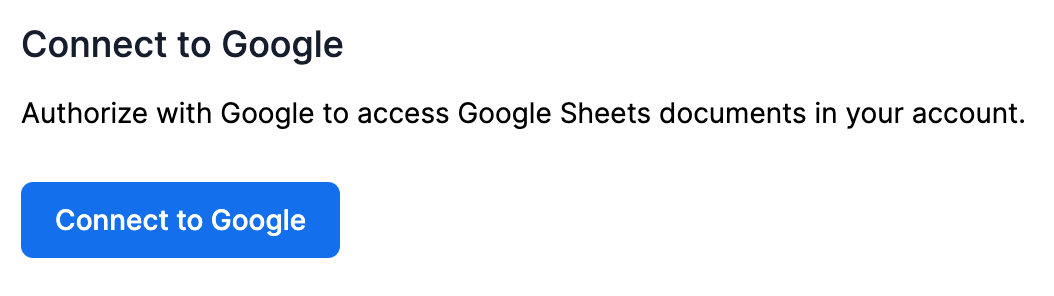
Choose the account you want to use and click Allow to accept the permissions. Switchboard Canvas only requires read-only access to your Google Sheets documents, and it only ever reads the data of the document you specify in a later step.

In this tutorial, we’re making an ecommerce product image based around sneakers, and the data for our products will be stored in the Google Sheets document.
I started with a story-sized template, 1080x1920 pixels:
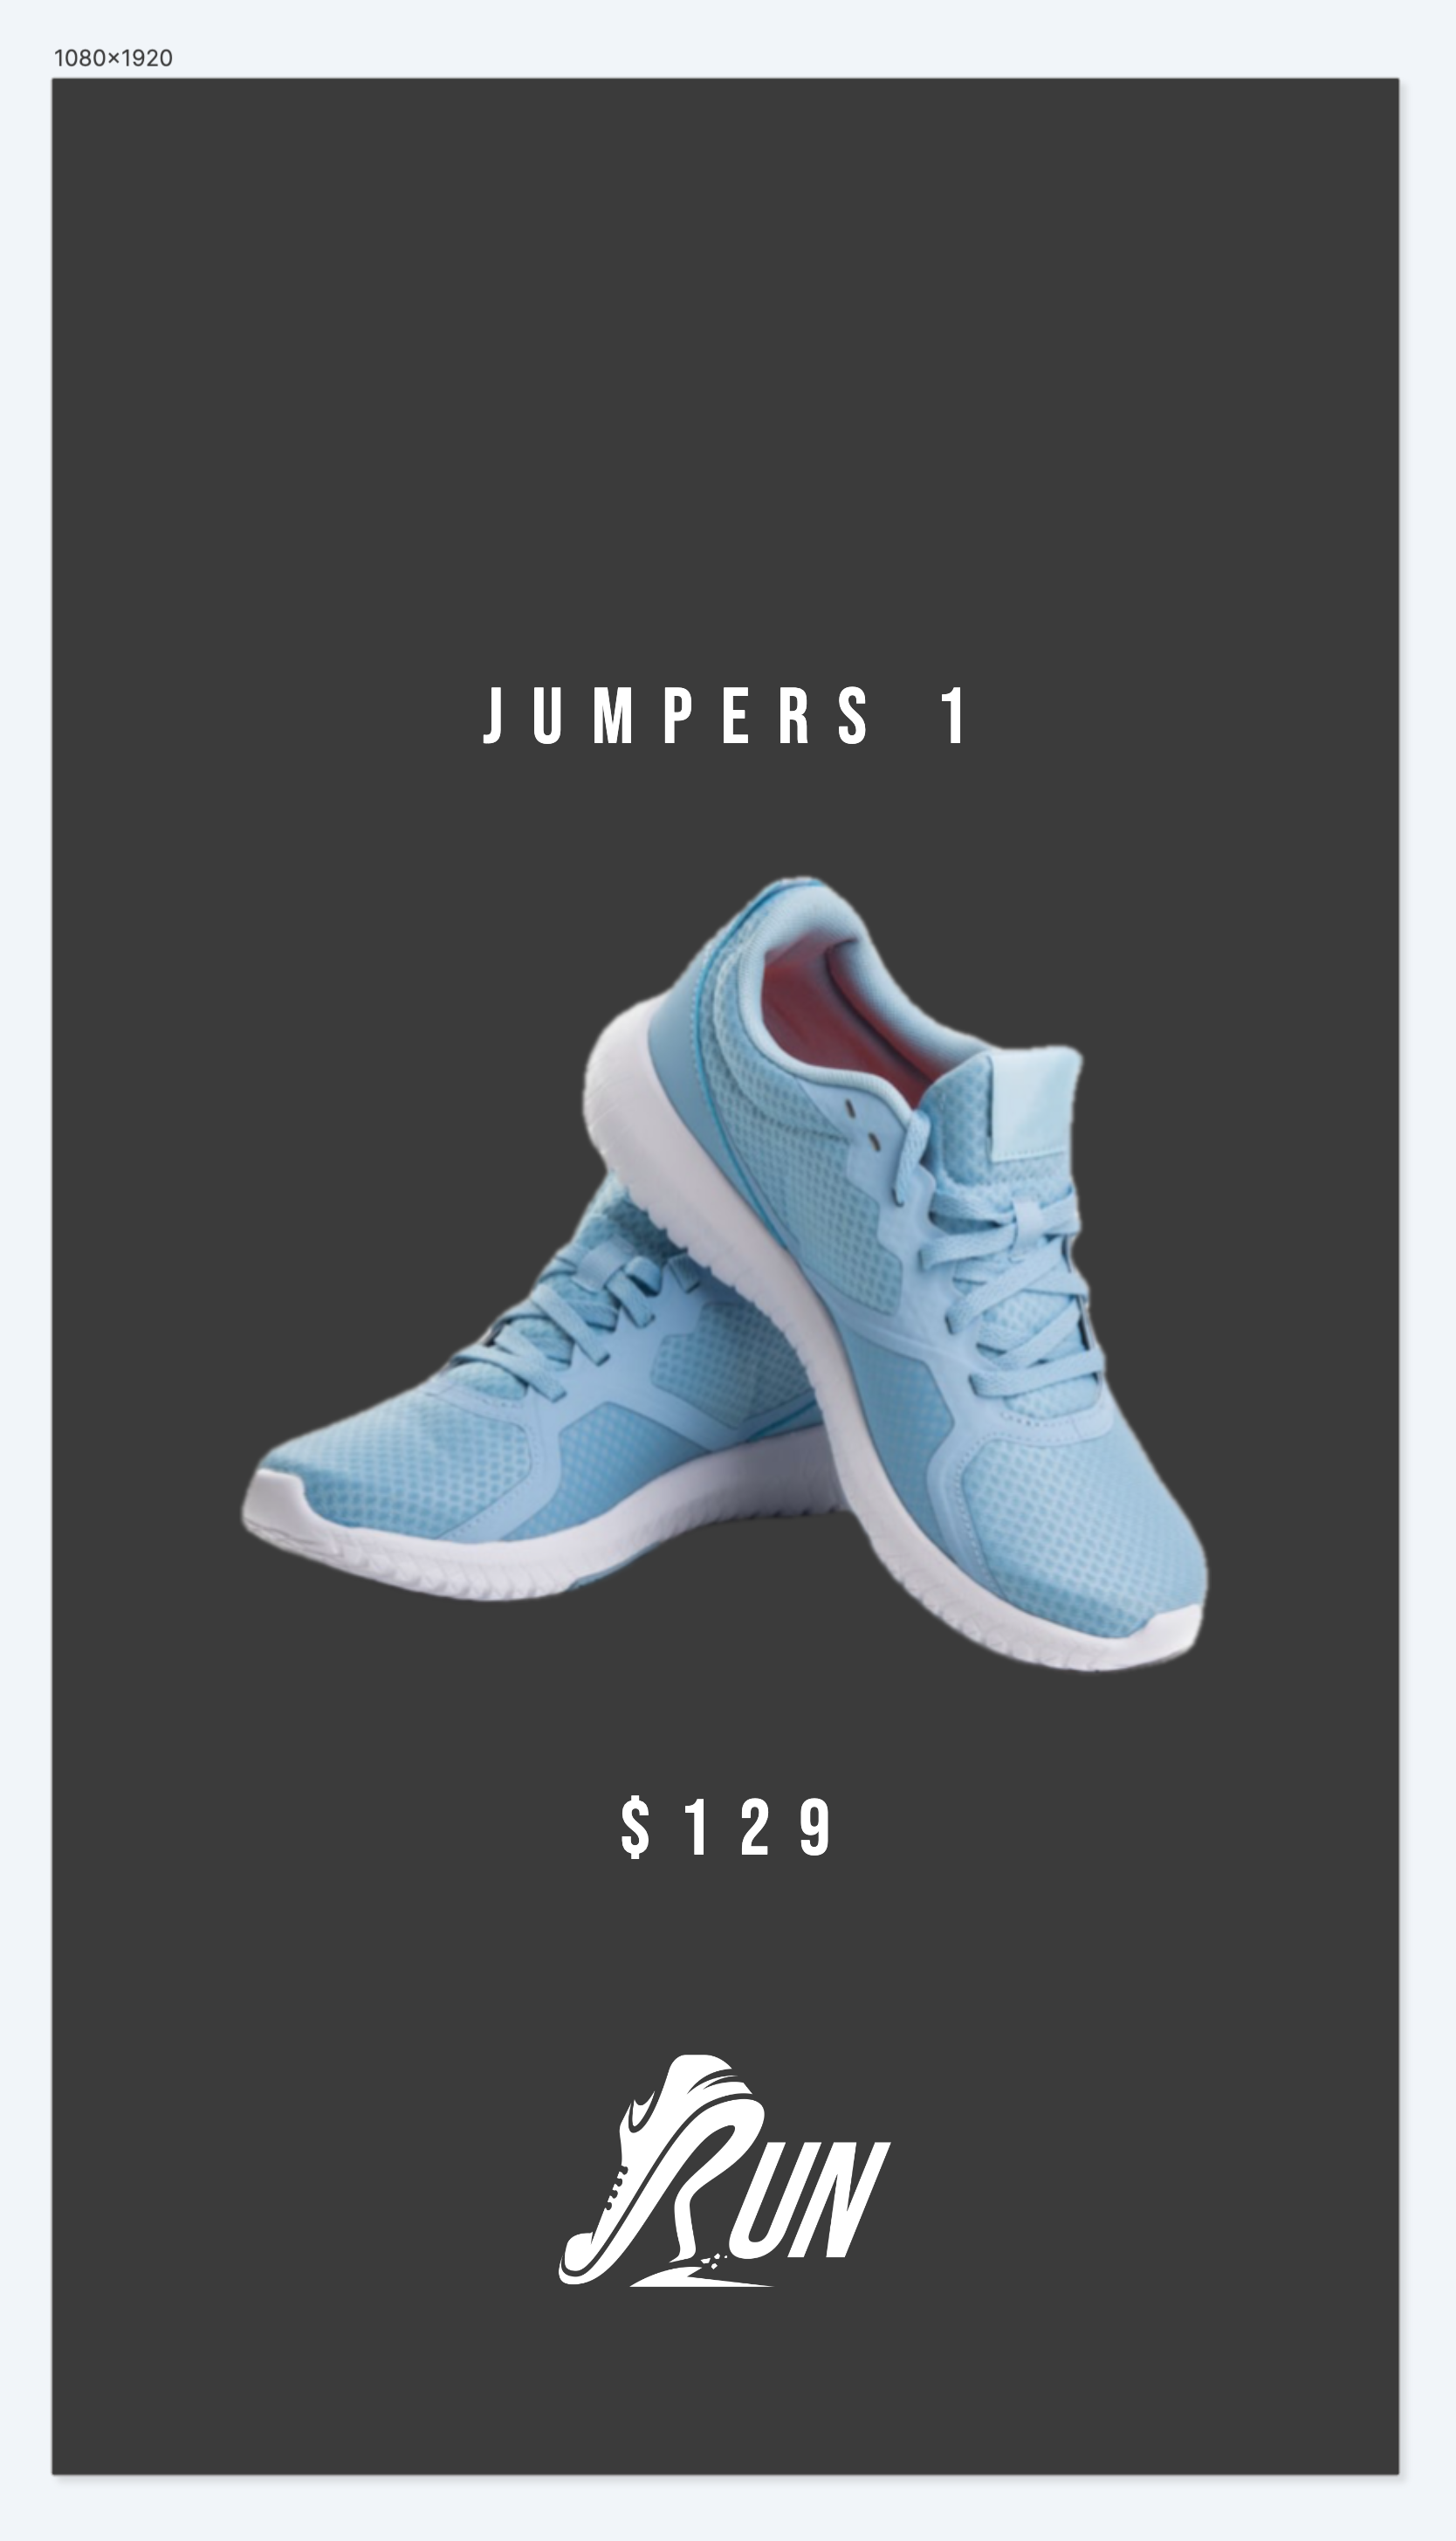
I added four elements:
model for the model of the sneakerprice to contain the price of the sneakerproduct to contain the image of the sneakerYou can watch the video tutorial to see how these elements were positioned in my example.
The product images need to be hosted somewhere publicly accessible on the internet. I used an AWS S3 bucket to store the images in the example. In a real example these images would be stored on your ecommerce site, i.e. Shopify or similar.
Next we need a Google Sheets document to store our data.
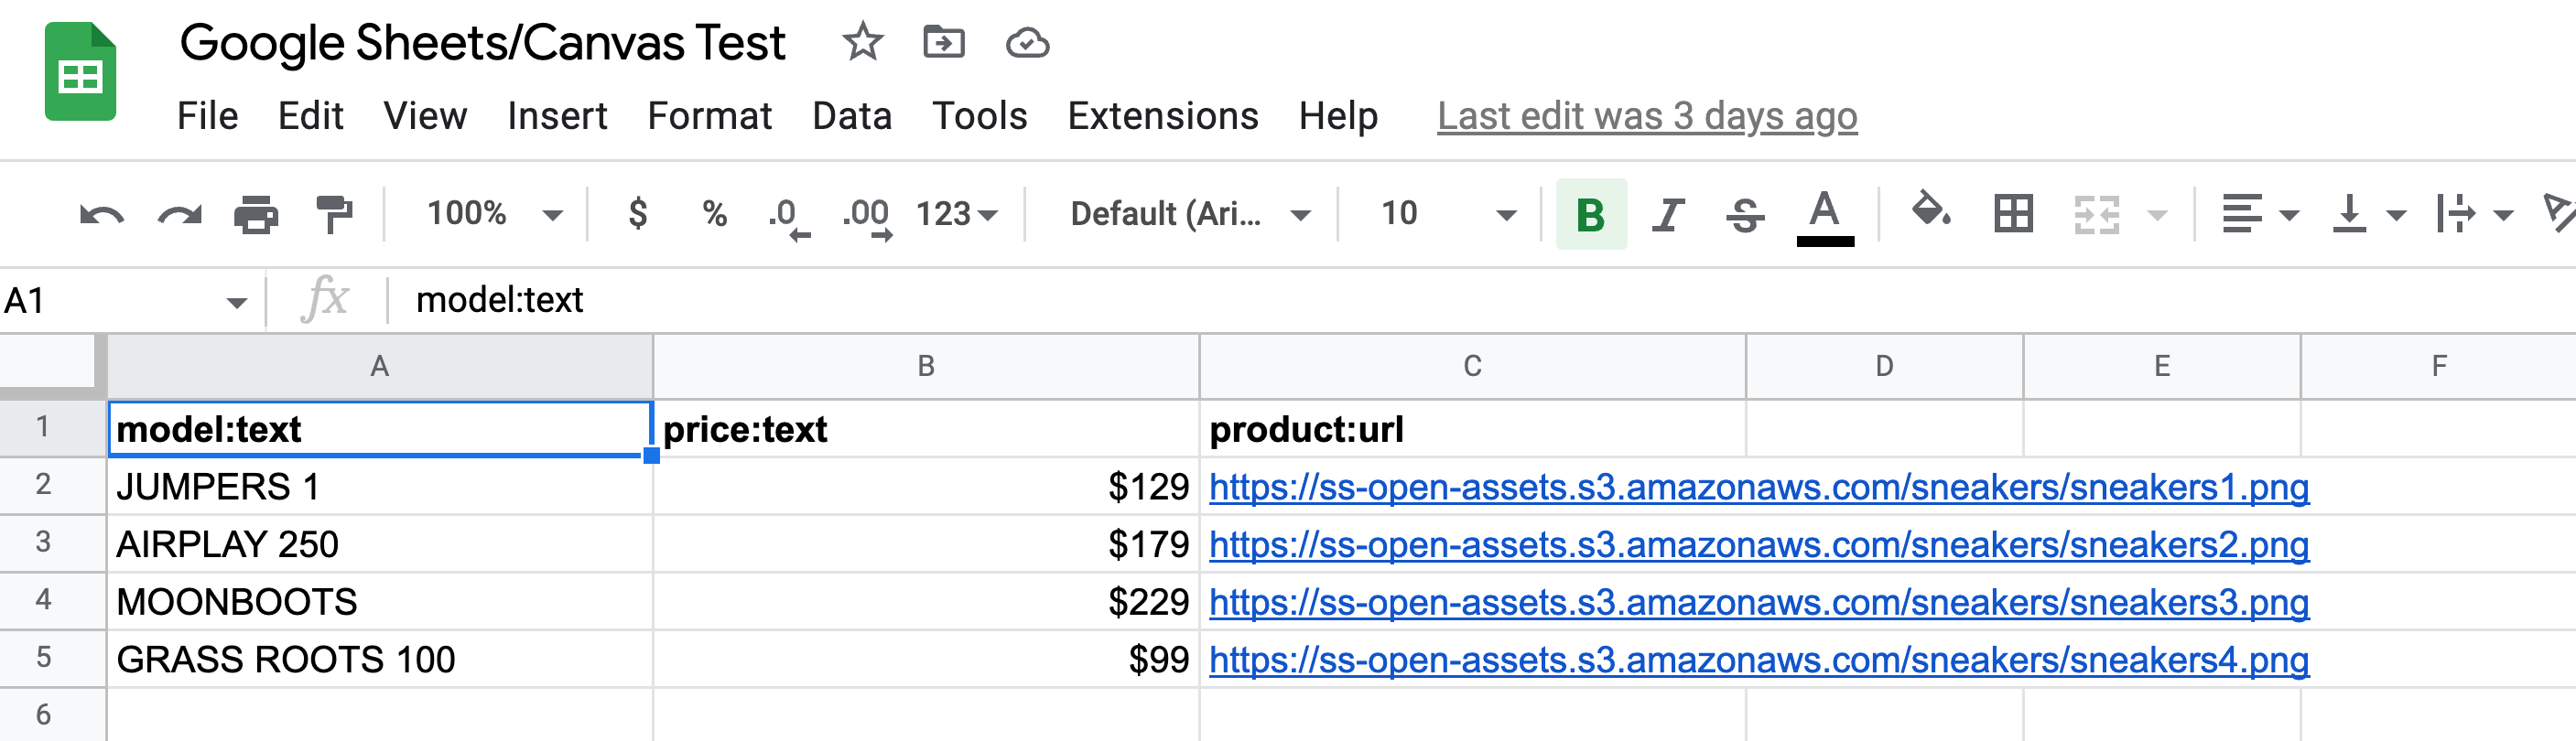
Here is the example I used.
The column headers are important because they tell Switchboard Canvas what to do when the images are created.
When you target an element in your template, you specify the element’s name and the property separated by a colon.
For example:
model:text targets the text property of the model element.
You can use this method to specify values for any property of any element in your template.
In this tutorial we’re just targeting the text property of the model and price Text elements, and the url of the product Image element.
You’ll notice the product:url column contains the URLs to the hosted product images.
I’m not trendy enough to know what sneakers are called in the real world so forgive my ridiculous model names!
To tell Switchboard Canvas which document we’re targeting, we need to know the document’s ID. We can’t reliably use the name because more than one document can have the same name.
The document’s ID is in the URL when you’re editing the document:

In this example it’s the long alphanumeric string that starts 1pJTOSbn...
The quickest way to grab the ID is to select the URL bar once (which highlights the entire URL), and then double-click somewhere in the middle of the long ID to select it:

Now you can copy and paste it with Ctrl/CMD + C and Ctrl/CMD + V.
When Switchboard Canvas is processing images as part of a batch, it needs to know what to do when it’s finished. The image creation process takes an arbitrary amount of time depending on how many images it needs to create and the complexity of each image in the batch.
A webhook is a URL on the internet that receives a notification when something happens. In tools such as Zapier and Pabbly Connect, a webhook is a trigger at the start of a workflow. Once data arrives at the trigger, you can add actions to do various things with that data.
For example, here’s a webhook trigger in Pabbly Connect:
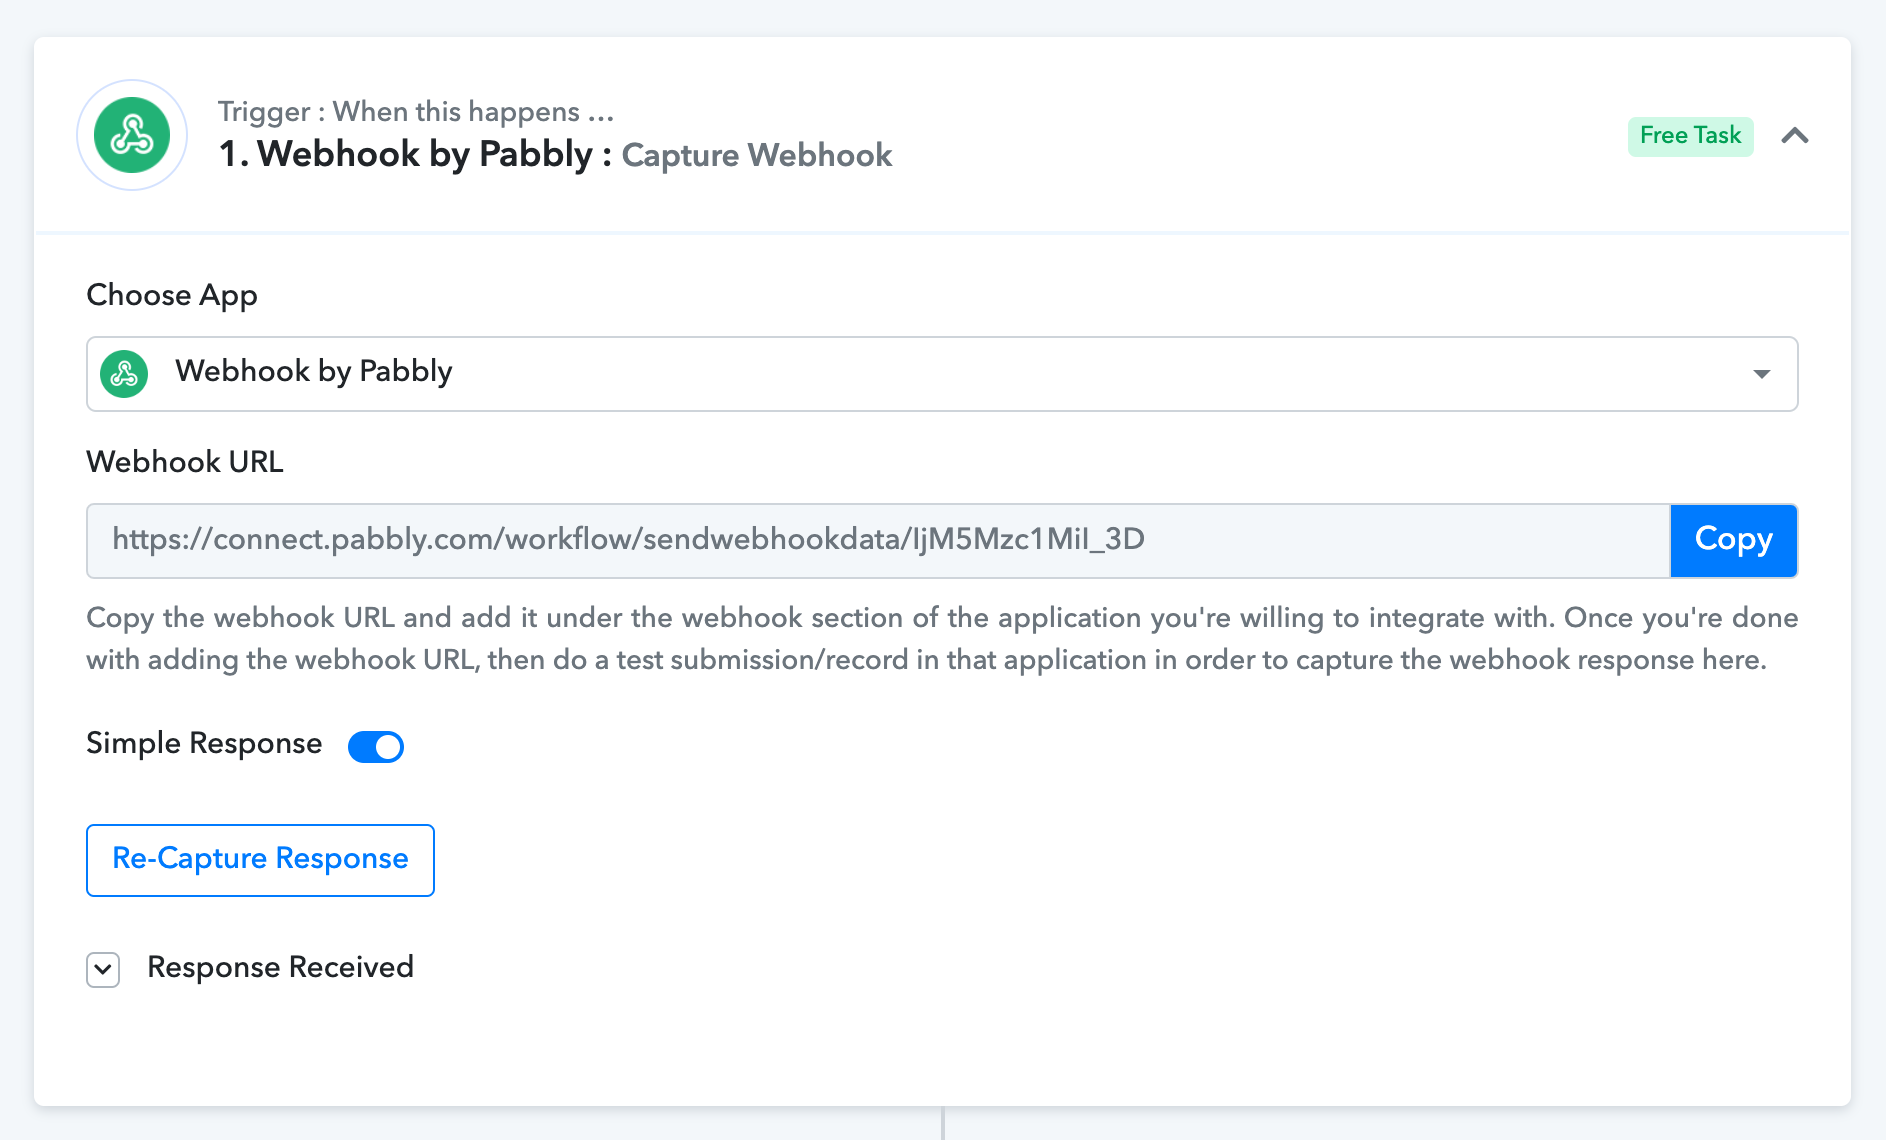
Pabbly Connect gives you the webhook URL and you can use this in the Switchboard Canvas API request. Switchboard Canvas sends data about the generated images to the webhook URL you specify when image creation is complete.
In the API request to Switchboard Canvas, we need to specify three additional properties:
googleSheetsDocumentId is the document ID we found in the previous step. googleSheetsSheetName is the name of the sheet within the document. webhook is the webhook URL we determined in the step above.
An example request looks like this. We’re specifying the template name (sheets-test) and the sizes as usual, plus our three additional properties.
{
	"template": "sheets-test",
	"sizes": [
		{
			"width": 1080,
			"height": 1920
		}
	],
	"googleSheetsDocumentId": "1pJTOSbnQDyNc21uIvyaZRb7PtvUh31CPznFskuhjxfg",
	"googleSheetsSheetName": "Sheet1",
	"webhook": "https://connect.pabbly.com/workflow/sendwebhookdata/IjM5Mzc1MiI_3D"
}
When the API request is sent, you’ll receive a response that indicates how many images will be processed:
{
	"success": true,
	"recordsSubmitted": 4
}In Pabbly Connect, the webhook receives the result of the batch image creation.
There’ll be four sets of results, one for each image. Here’s the first:
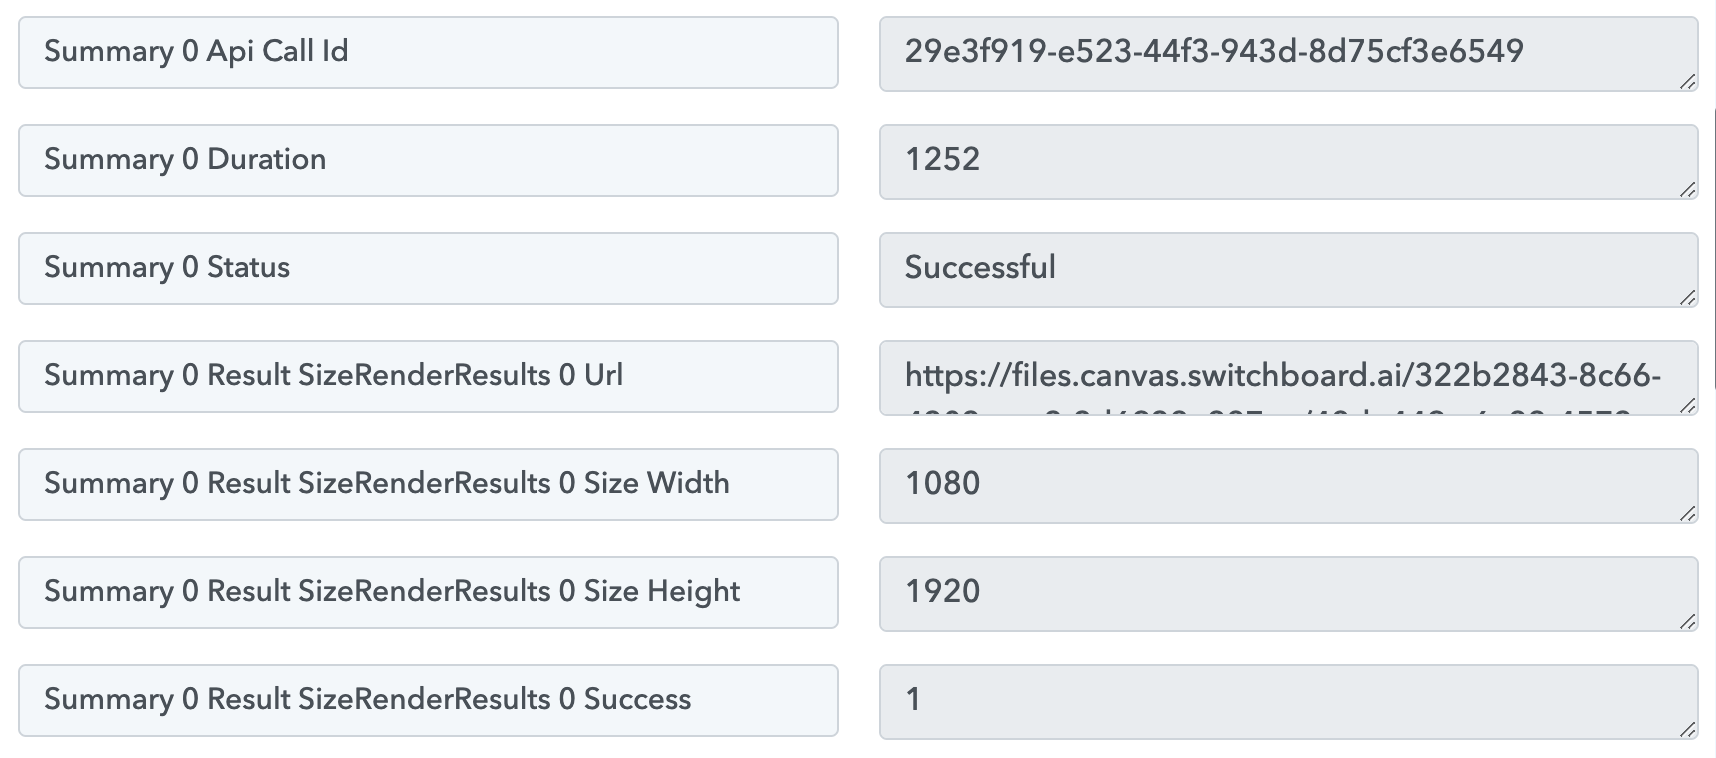
The most important property in the result here is the URL of the generated image, but you can also see the size of the images generated and the processing duration for each one if that is of use.
You can then use an action such as the Iterator task in Pabbly to loop through each image result and perform subsequent processing depending on your use case.


We care about the protection of your data.