Summary
Find out how to add QR codes to your Switchboard Canvas templates.
Jump To
Share
Find out how to add QR codes to your Switchboard Canvas templates.
Jump To
Switchboard Canvas recently added support for creating QR codes. Now it’s really easy to add one to your template and create images from it, supplying dynamic values in your image request.
To get started, make a new template and add an Image element. The Image element doesn’t need an existing image inside it (although you could add one) so just close the Library window when it pops up.
I’ve just placed the image in the center of a 1080x1080 template with a padding equal to 200px from the edges.
To do this quickly:
px box for Top and press SHIFT+Enter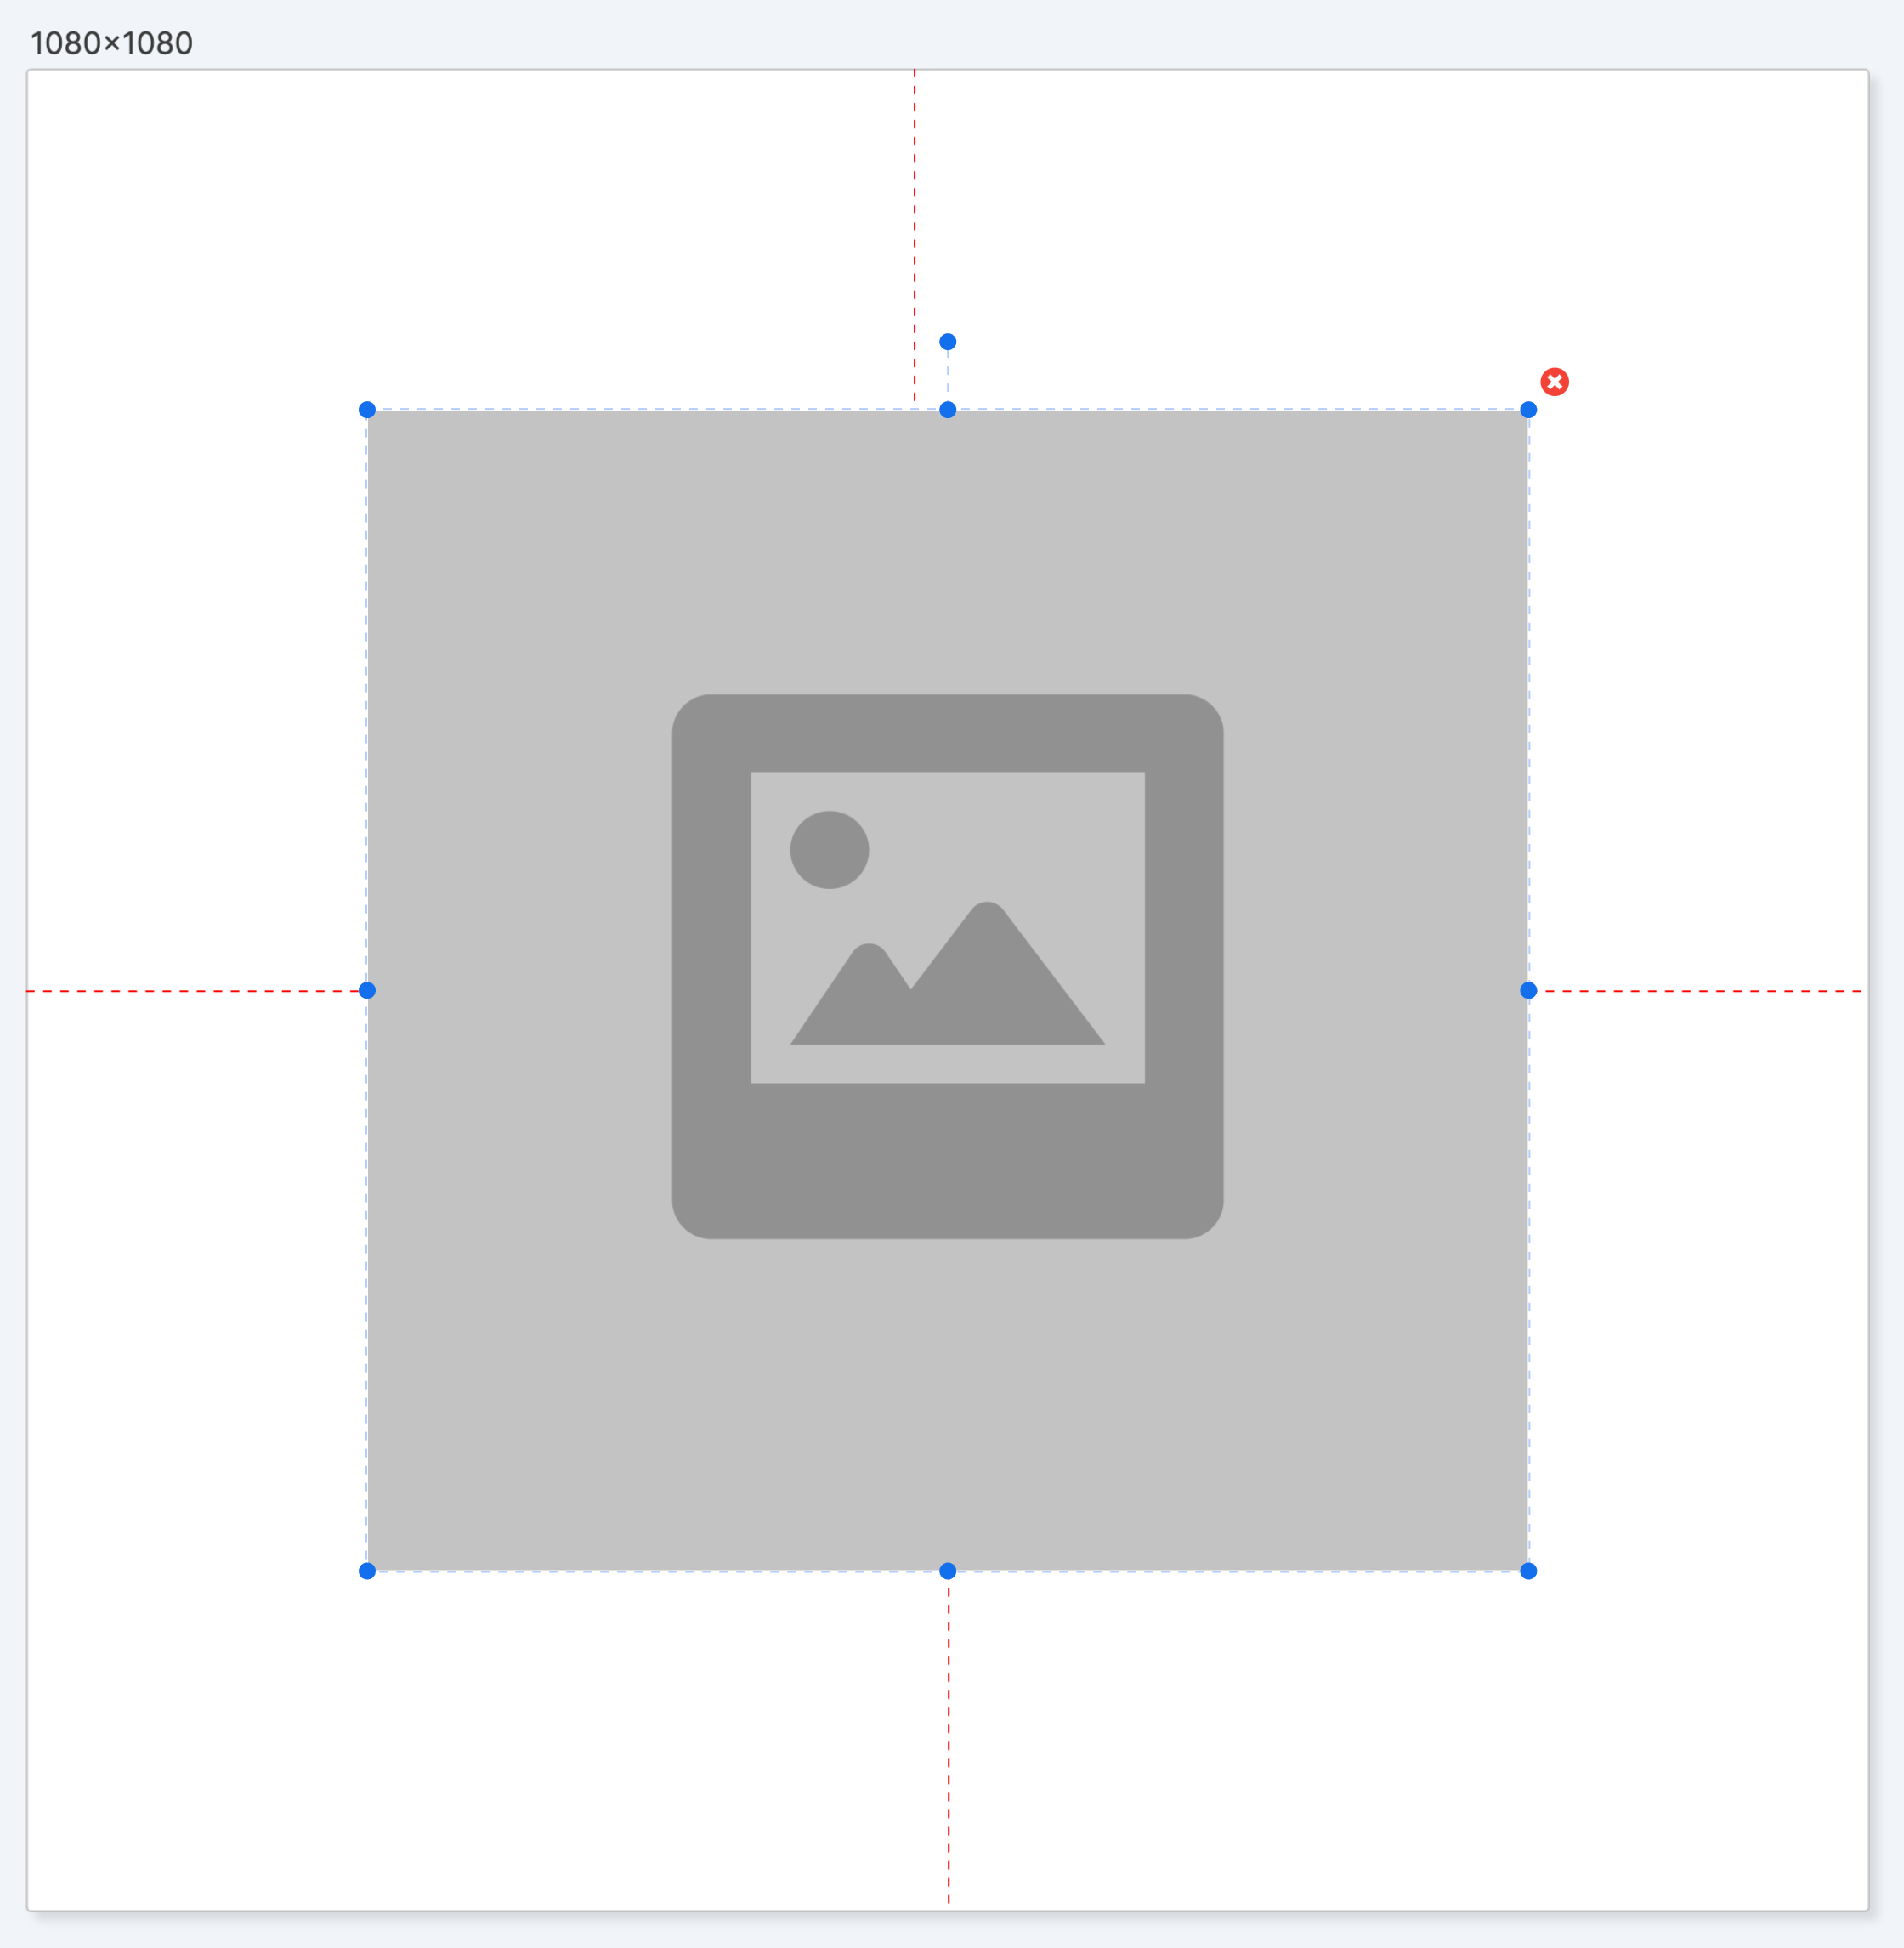
In the Image element properties, scroll down to QR code and enter a value. Press RETURN or tab to exit this box, and the image will update to a QR code:

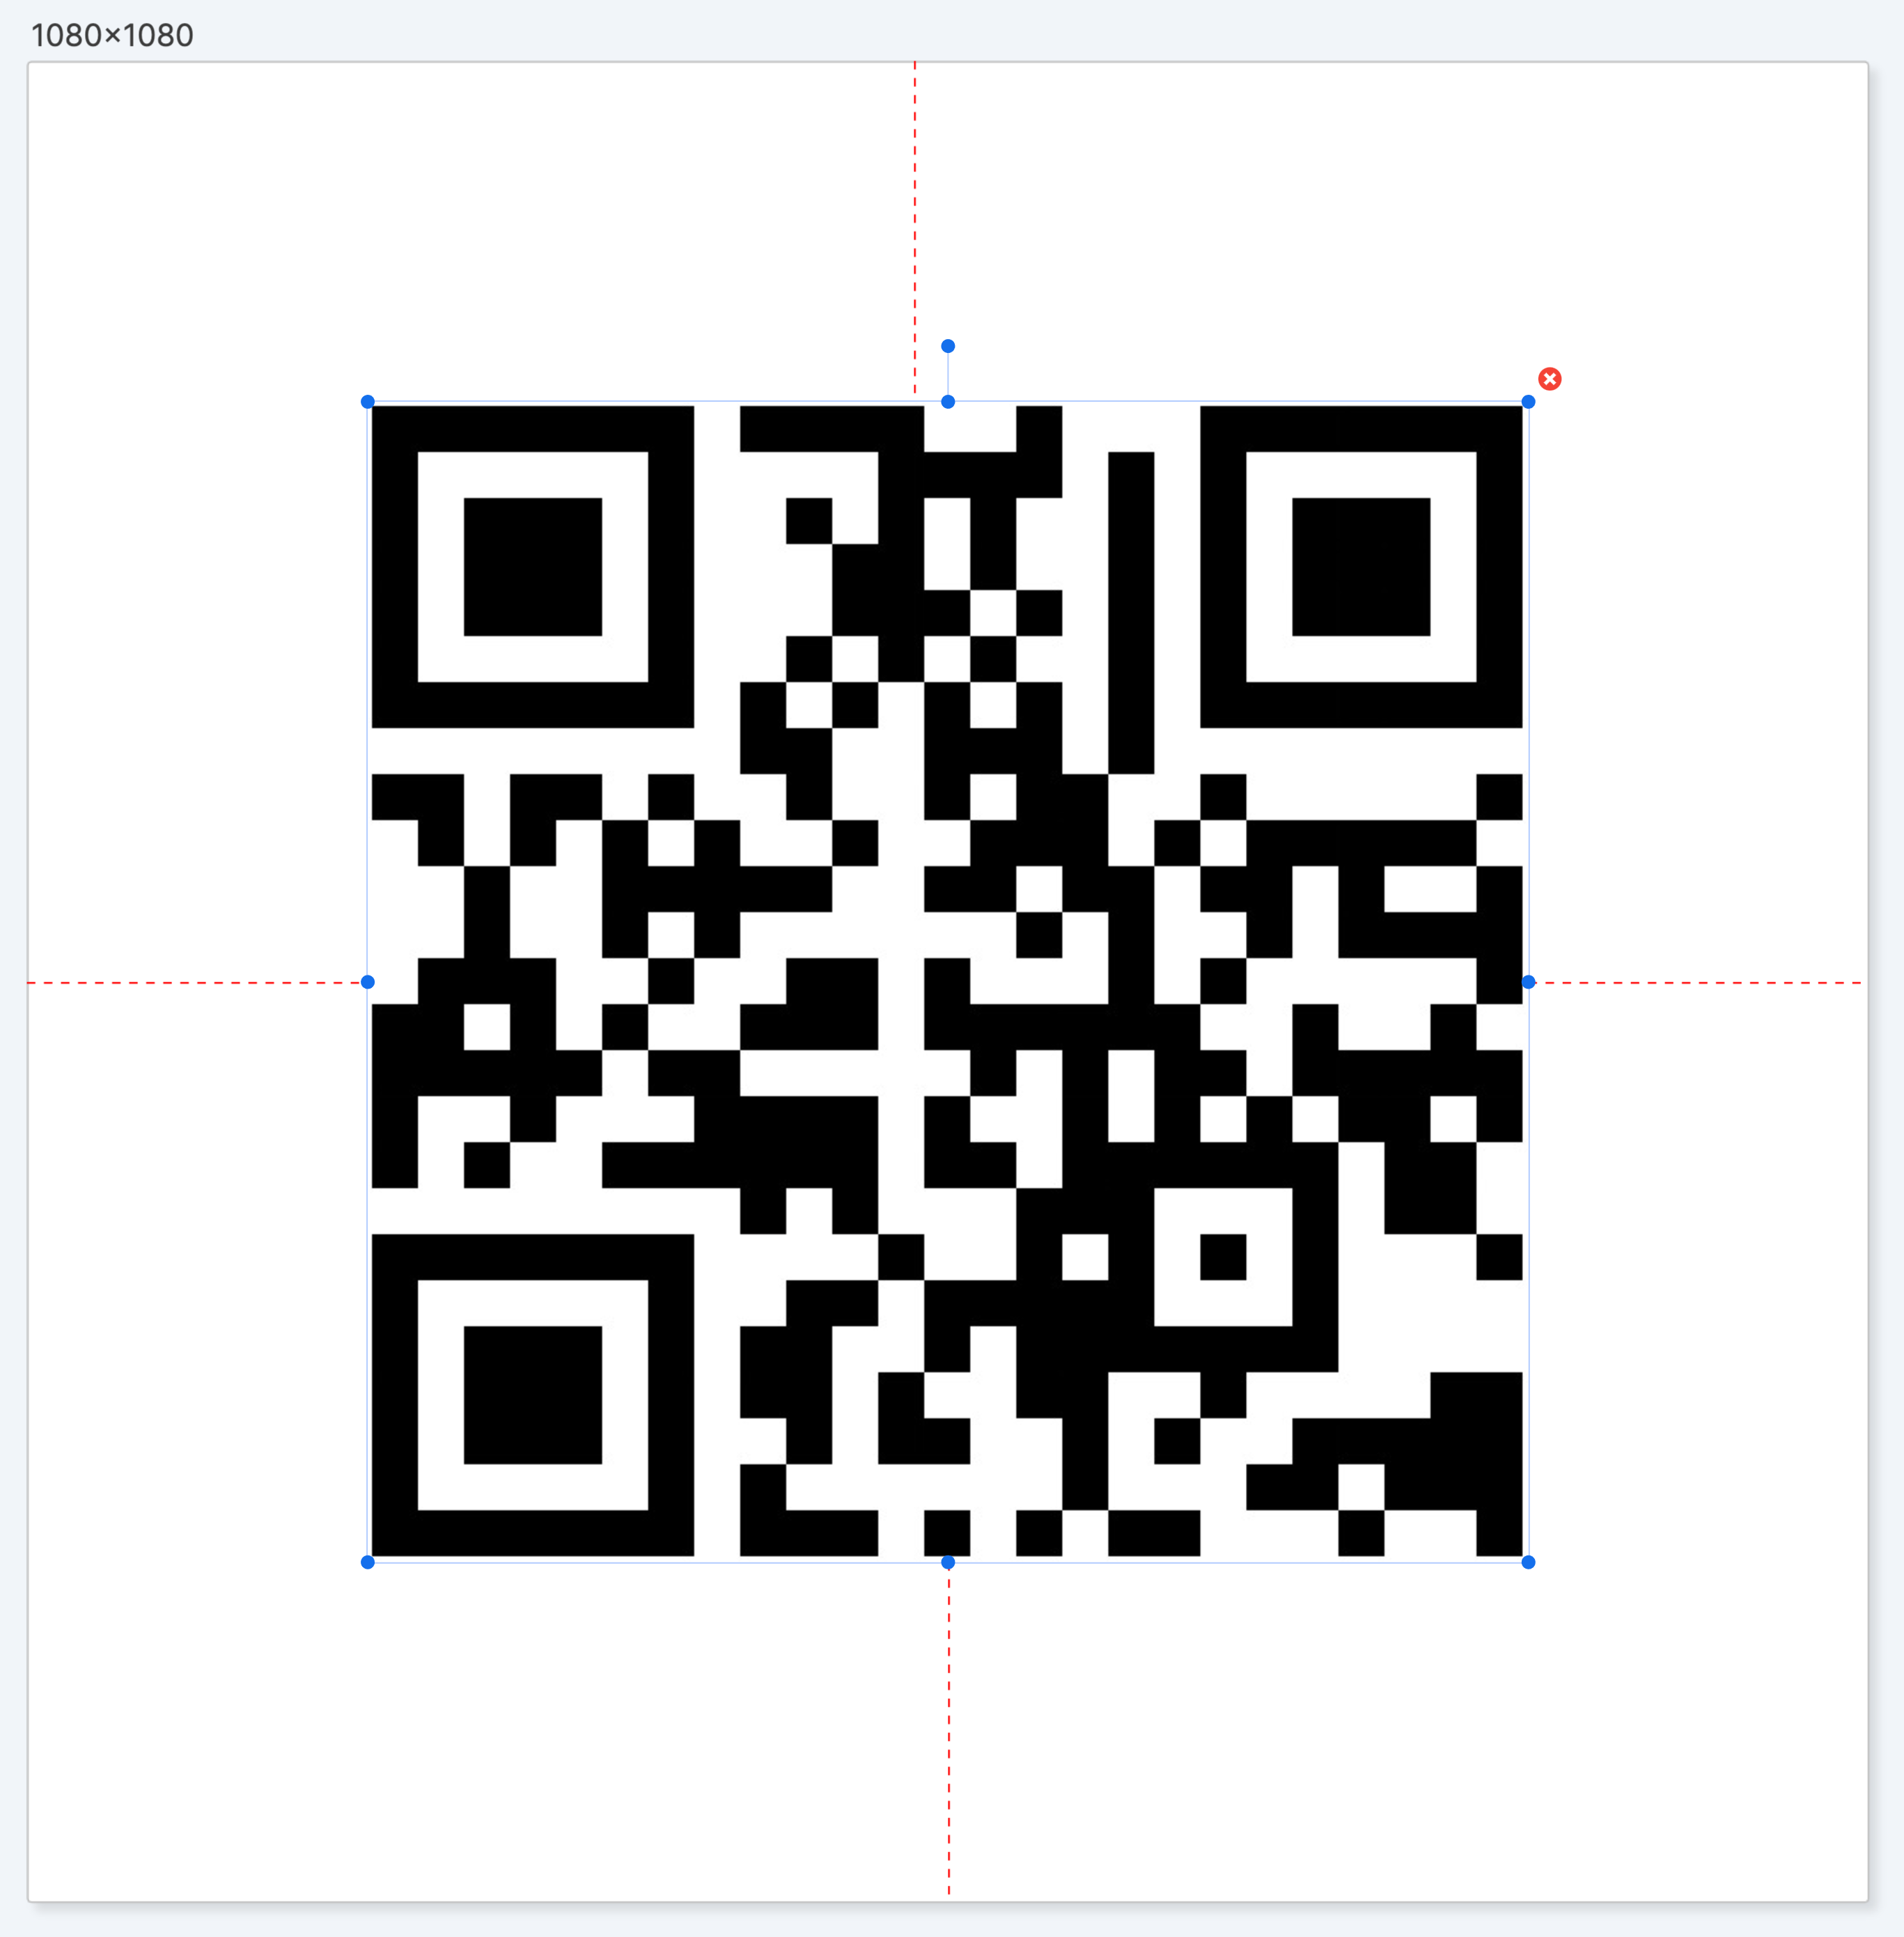
Note that the other image properties still apply to your QR code, so you can position it exactly where you need it and even pin its location to other elements.
Alignment, Corner Radius and Stroke all work as they do with a normal image.
In some cases, you might need to check Contain image in bounding box so that the full code appears inside your Image element’s bounding box.
Use the qrCode property of the Text element when supplying your override value with the API:
{
    "template": "qrcode",
    "sizes": [
        {
            "width": 1080,
            "height": 1080
        }
    ],
    "elements": {
        "image1": {
            "qrCode": "https://www.switchboard.ai"
        }
    }
}


We care about the protection of your data.